
Nothing undermines a beautifully decorated living room faster than a gloomy, shadow-filled corner. If you have ever walked into a space that felt flat, uneven, or oddly dim despite having a ceiling fixture, you are not alone. The secret to a truly radiant home lies in smart recessed lighting layout hacks that eliminate dead zones and wash every wall with even, flattering light. In this guide, we are diving deep into the science and art of can light placement so you never have to squint into a dark corner again.
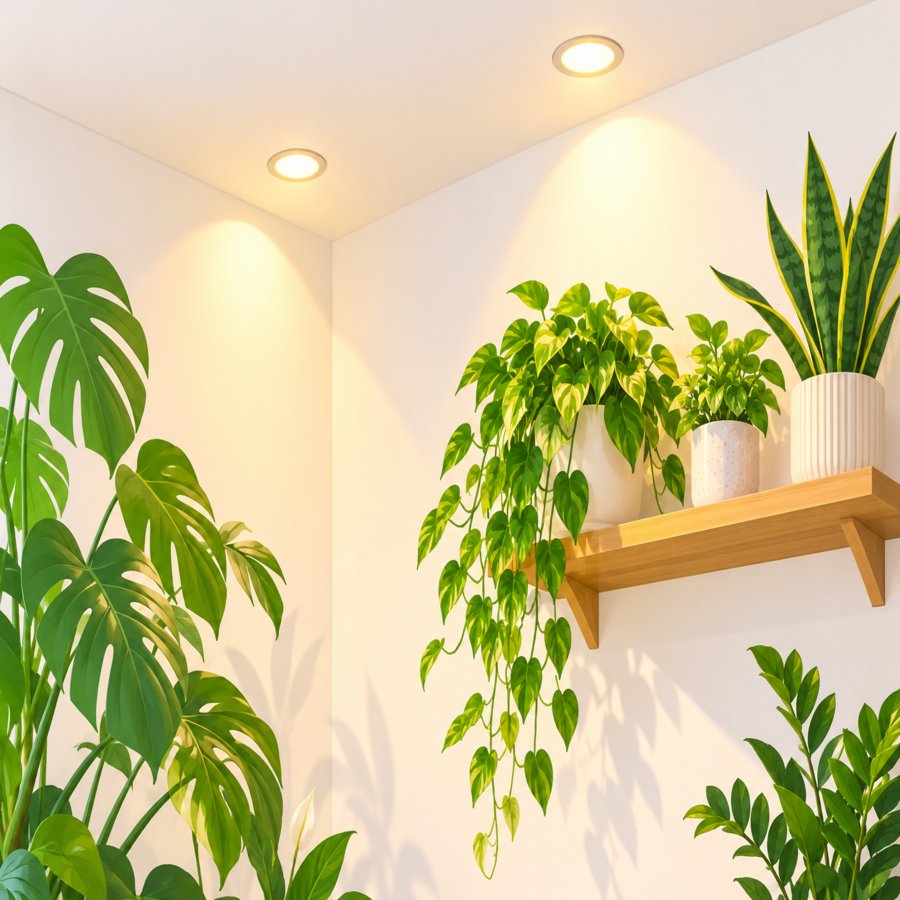
Why Dark Corners Happen in the First Place
Dark corners are rarely an accident of bad luck. They are almost always the result of poor planning during the electrical rough-in phase.
Most builders install a handful of ceiling pot lights in a generic grid without considering furniture placement, wall art, or the actual shape of the room.
The result is a bright center and gloomy perimeter, a classic sign that the layout was designed for the ceiling and not for how people actually live in the room below it.
Understanding this root cause is the first step toward mastering recessed lighting layout hacks that actually solve the problem instead of just adding more fixtures blindly.
The Golden Rule of Can Light Spacing
Before you grab a drill, you need to understand the math behind even illumination.
The Half-Height Formula. The most reliable rule for can light spacing is to divide your ceiling height in half, and that number becomes the maximum distance between each fixture. For an 8-foot ceiling, that means spacing cans roughly 4 feet apart.
Distance From Walls. A frequent mistake is placing the first row of lights too close to the wall, which creates harsh scalloping shadows. Keep the first can roughly 2 to 3 feet from the wall to graze it with soft, even light instead of hot spots.
Beam Spread Matters. Wider beam angles, typically 110 degrees, cover more floor area with fewer fixtures, which is one of the simplest recessed lighting layout hacks for budget-conscious renovators.
Getting the can light spacing right is non-negotiable; it is the structural backbone that every other lighting trick in this guide depends on.
Mapping Your Room Before You Drill
Grab a piece of graph paper or a free room-planning app and sketch your space to scale, including every door, window, and piece of permanent furniture.
Mark the exact locations of your sofa, reading chairs, artwork, and any built-in shelving, since these are the zones that need targeted illumination rather than generic overhead glow.
Next, draw a grid using the can light spacing formula from the previous section, then shift that grid slightly so individual fixtures land directly above key furniture pieces instead of in the dead center of empty floor space.
This simple mapping exercise is one of the most underrated recessed lighting layout hacks because it forces you to think about function before symmetry.
If you are tackling a budget renovation alongside your lighting project, this affordable kitchen makeover guide pairs beautifully with a fresh lighting plan to transform the whole space without blowing your budget.
Banishing Dark Corners With Wall-Wash Techniques
Corners are the enemy of an evenly lit room, but there is a professional trick that interior electricians swear by: wall-washing.
Angle the Trim. Swap a standard baffle trim for an adjustable eyeball or gimbal trim near corners so you can physically aim the beam toward the wall rather than straight down.
Use Wall-Wash Trims. A dedicated wall-wash reflector trim throws an asymmetrical beam that grazes vertical surfaces, instantly making corners feel larger and brighter.
Add a Corner Pair. Instead of one light awkwardly placed in a corner, install two smaller cans angled toward each adjoining wall for a soft, glowing frame effect.
These wall-wash recessed lighting layout hacks are especially effective in rooms with dark paint colors or heavy furniture that naturally absorb more light than they reflect.
Layering Light for a Warm, Livable Glow
Recessed cans alone, no matter how perfectly spaced, can still feel clinical if they are the only light source in the room.
Choose the Right Color Temperature. Select bulbs rated between 2700K and 3000K to achieve a warm ambient ceiling lighting effect that feels cozy rather than sterile, much like the soft glow of a candlelit evening.
Add Dimmers Everywhere. Dimmable drivers let you shift from bright task lighting during the day to a relaxed, moody ambiance at night, all from the same fixtures.
Supplement With Lamps. Floor lamps and table lamps fill in the lower third of a room that overhead ceiling pot lights simply cannot reach, softening shadows under chins and tabletops.
Combining layered light sources with smart recessed placement is the true secret behind every magazine-worthy living room you have ever admired.
Room-by-Room Recessed Lighting Layout Hacks
Every room in your home has unique lighting demands, so a one-size-fits-all grid rarely works.
Kitchens. Position cans along the front edge of upper cabinets rather than directly above them, which prevents your own body from casting a shadow onto the countertop while you cook.
Bathrooms. Flank the vanity mirror with two symmetrical cans spaced about 24 to 36 inches apart to eliminate the harsh under-eye shadows caused by a single overhead fixture.
Bedrooms. Keep fixtures away from the direct headboard zone and instead focus on closets, reading nooks, and dresser areas where task lighting genuinely improves daily function.
Hallways. Stagger lights every 6 to 8 feet in a straight line to guide the eye down the corridor without creating a tunnel effect of alternating bright and dim pools.
Tailoring your approach room by room ensures every one of these recessed lighting layout hacks earns its keep instead of just adding to your electric bill.
Common Mistakes That Create New Dark Zones
Even well-intentioned renovators can accidentally introduce fresh shadow problems while trying to fix old ones.
Ignoring Ceiling Obstructions. Ductwork, beams, and joists can force awkward fixture placement if you do not check the attic or crawlspace before finalizing your layout.
Mixing Color Temperatures. Combining 3000K cans with 5000K bulbs in the same room creates a jarring, uneven look that reads as a mistake rather than a design choice.
Overcrowding the Ceiling. More cans does not always mean better lighting; too many fixtures can flatten a room’s visual depth and wash out the cozy atmosphere you are trying to build.
Avoiding these pitfalls protects the investment you have made in planning thoughtful, corner-banishing recessed lighting layout hacks throughout your home.
Bringing the Outdoors In With Smart Ceiling Lighting
If your home features large windows, skylights, or indoor plants, your recessed lighting plan should work in harmony with natural daylight rather than fighting it.
Position a few cans to highlight statement houseplants or a living wall, since warm ambient ceiling lighting can keep foliage looking vibrant even on overcast days.
According to the Royal Horticultural Society, consistent supplemental light can meaningfully support indoor plant health during darker winter months, which makes your lighting layout a genuinely dual-purpose upgrade.
This cross-over between horticulture and home lighting is a refreshing reminder that the best recessed lighting layout hacks consider the whole living environment, not just the walls and ceiling.
Final Checklist Before You Call the Electrician
Before any wires are pulled or holes are cut, run through this quick checklist to make sure your plan is airtight.
Confirm Spacing. Double-check your can light spacing against the half-height ceiling formula one final time.
Verify Corner Coverage. Make sure every dark corner identified in your initial walkthrough now has a dedicated or angled fixture addressing it.
Test Bulb Temperature. Buy one sample bulb and test it in the actual room before committing to an entire case, since lighting always looks different in your space than on a store shelf.
With a solid plan in hand, your electrician can execute these recessed lighting layout hacks efficiently, saving you both time and money on installation day.
A well-lit home is never an accident; it is the product of intentional planning, the right spacing math, and a willingness to layer light sources for warmth and depth. Armed with these strategies, you can finally banish every dark corner and enjoy a home that glows beautifully from every angle, day or night.