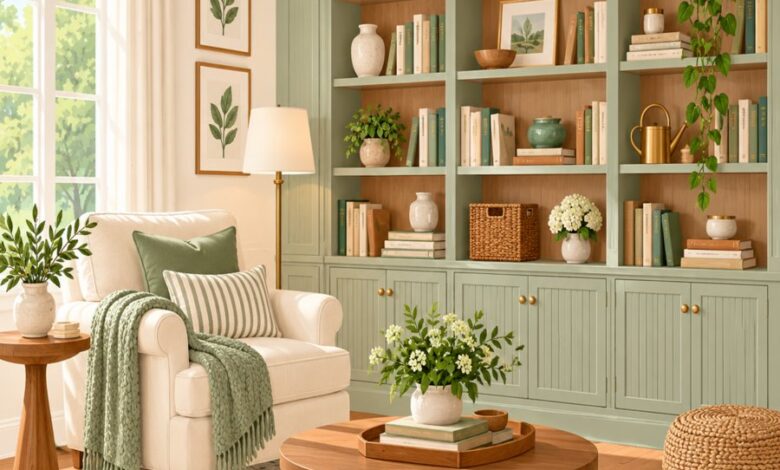
If you have ever drooled over a custom library wall in a glossy design magazine and assumed it cost a small fortune, it is time to rethink everything you know about budget-friendly built-ins. The secret weapon of savvy designers and DIY homeowners alike is a surprisingly humble piece of furniture, and these ikea billy bookcase hacks prove that architectural millwork is far more attainable than you think. With a few tools, some clever moulding, and a weekend of patience, you can transform flat-pack shelving into a feature wall that looks like it was custom-built by a high-end carpenter.
In this guide, we are breaking down nine of the most effective, budget-conscious, and visually stunning transformations that turn ordinary bookcases into showstopping focal points. Whether you are building a home office, a cozy reading nook, or a grand entryway, these projects will help you achieve that coveted bespoke look without the bespoke price tag.
Why IKEA Billy Bookcase Hacks Are the Designer’s Best Secret
There is a reason interior designers quietly rely on this particular bookcase as their foundation of choice. The frames are sturdy, the dimensions are modular, and the price point leaves plenty of budget left over for finishing details.
Unlike many flat-pack alternatives, this shelving system is designed to be modified. The simple rectangular silhouette acts as a blank canvas, which is exactly why ikea billy bookcase hacks have become the go-to method for achieving that elusive built-in look. The key is treating the bookcase as a skeleton, not a finished product. Once you start layering trim, paint, and hardware, the original flat-pack identity disappears entirely.
Before you begin, measure your wall carefully and plan your bookcase spacing so there are no awkward gaps. A tight, continuous run of cabinets reads as intentional millwork, while scattered units with visible space between them will always look like separate pieces of furniture.
Building a Custom Library Wall from Scratch
The most dramatic transformation on this list is turning a row of bookcases into a true custom library wall. This hack involves bolting several units together side by side, then building a unifying crown at the top that extends to the ceiling.
Start by securing each bookcase to the wall studs for safety, then connect adjacent units with L-brackets along the inner sides. This creates one continuous, rigid structure rather than several wobbly individual pieces.
Next, build a simple plywood soffit box above the units to close the gap to the ceiling, and wrap it in crown moulding. Paint everything, including the wall behind the top gap, in a single matching color so the entire wall reads as one seamless architectural element rather than retrofitted furniture.
The Baseboard Moulding Hack for a Grounded, Built-In Look
One of the fastest ways to eliminate the “floating furniture” appearance is a baseboard moulding hack that ties your bookcase visually to the floor. Store-bought bookcases almost always sit slightly above the baseboard, leaving a telltale shadow gap that screams flat-pack.
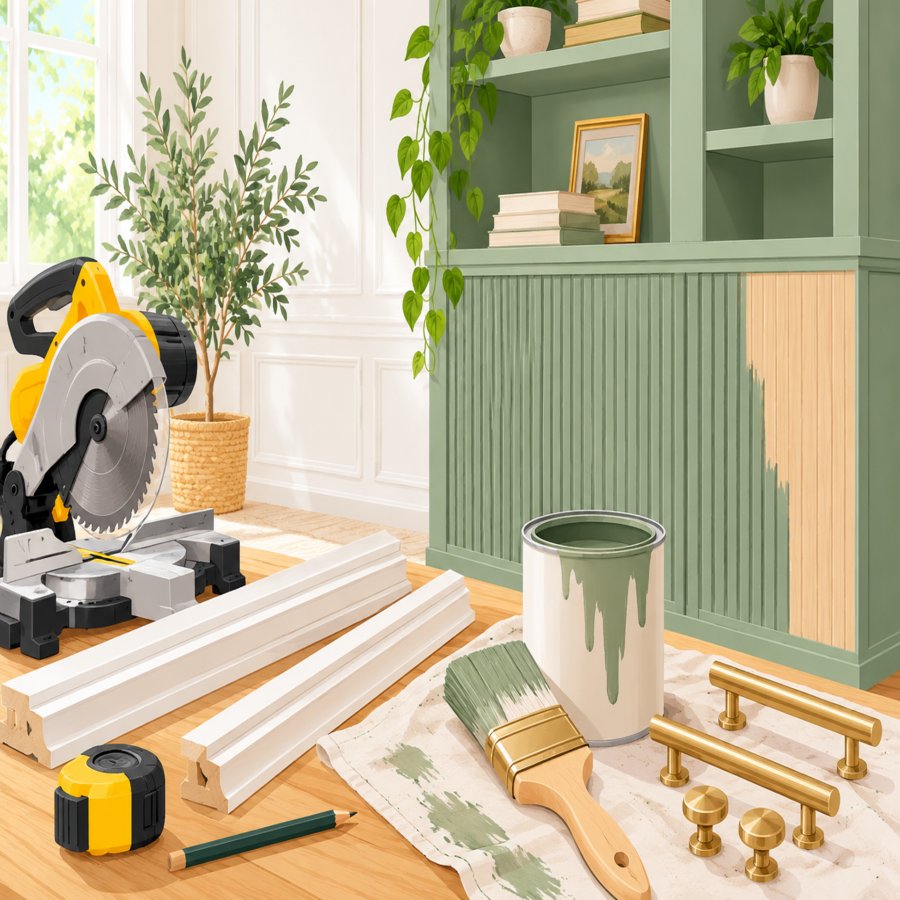
To fix this, purchase matching baseboard moulding from your local hardware store and cut it to fit snugly around the base of each unit. Miter the corners at 45-degree angles for a professional finish.
Attach the moulding with construction adhesive and a few finishing nails, then caulk and paint it to match your existing baseboards exactly. This single baseboard moulding hack is often the detail that finally convinces guests your shelving was built directly into the wall.
Adding Fluted Cabinet Doors for Textural Depth
Nothing elevates a plain bookcase quite like fluted cabinet doors. The vertical ridges catch light beautifully and instantly suggest high-end, custom millwork rather than mass-produced furniture.
You can source pre-fluted MDF panels online or create the ridged texture yourself using dowel rods glued in evenly spaced vertical lines across flat cabinet fronts. Sand the edges smooth before priming to ensure a flawless paint finish.
Swap out the standard bookcase doors or add new fluted cabinet doors to the lower cabinet sections for a mixed-storage look, pairing closed, textured bases with open shelving above for books and decor.
Extending Height with Custom Crown Moulding
Standard bookcases rarely reach the ceiling, and that leftover gap is one of the biggest giveaways of flat-pack furniture. Closing this gap is essential to any successful built-in transformation.
Measure the distance from the top of your bookcase to the ceiling, then build a simple frame using furring strips to bridge that space. Cap the frame with plywood and attach crown moulding around the perimeter.
This technique works beautifully in rooms with standard eight or nine-foot ceilings and is one of the most requested ikea billy bookcase hacks among homeowners aiming for a true architectural statement.
Layering Trim and Paneling for Dimension
Flat surfaces can look uninspired, so adding layered trim is a clever way to introduce shadow lines and dimension. Shaker-style panel moulding applied to the sides and face frames instantly adds depth.
Measure and cut thin strips of decorative trim to create rectangular frames on the bookcase sides, then caulk the seams before painting. This mimics the paneled look found in traditional custom cabinetry.
For an even more refined finish, consider pulling design inspiration from kitchen cabinetry trends, since many of the same panel techniques used in budget-friendly kitchen cabinet upgrades translate perfectly to bookcase makeovers.
Choosing Paint Colors and Hardware That Elevate the Look
Paint color can make or break a built-in transformation. Rich, saturated hues like deep forest green, navy, or charcoal create a dramatic, high-end feel, while soft white blends seamlessly into traditional trim work.
Always use a high-quality primer formulated for laminate surfaces before painting, since bookcase shells are often coated with a slick finish that resists standard paint adhesion. Two thin coats of a durable enamel will outperform one thick, uneven coat.
Hardware matters just as much as paint. Swapping basic knobs for brushed brass or matte black pulls instantly signals craftsmanship, and it is one of the simplest ikea billy bookcase hacks to execute in under an hour.
Styling and Maintaining Your Finished Built-In
Once your transformation is complete, styling the shelves properly is what truly sells the illusion of custom millwork. Mix books both vertically and horizontally, and incorporate varying heights with decorative objects, woven baskets, and a few trailing houseplants.
A trailing pothos or heartleaf philodendron on an upper shelf softens the hard lines of the woodwork beautifully. Leave roughly a third of each shelf empty to avoid visual clutter.
For long-term upkeep, dust shelves weekly with a microfiber cloth and check painted trim edges annually for chips, touching up with matching enamel as needed. If you are also incorporating live plants into your display, the Royal Horticultural Society offers excellent guidance on selecting low-maintenance indoor varieties suited to shelf placement and indirect light.
With thoughtful styling, consistent maintenance, and the structural upgrades outlined above, your finished project will hold up beautifully for years while continuing to look like a genuine architectural feature rather than a repurposed flat-pack piece.
Final Thoughts on Transforming Flat-Pack Furniture
What makes these ikea billy bookcase hacks so compelling is their accessibility. You do not need a carpentry degree or a massive renovation budget to achieve a library-worthy wall of shelving.
With a baseboard moulding hack to ground your units, fluted cabinet doors to add texture, and a well-planned custom library wall layout, you can replicate thousands of dollars worth of millwork for a fraction of the price. Start small with one bookcase before tackling an entire wall.
Grab your miter saw, pick a weekend, and give your space the architectural upgrade it deserves. Once you see the transformation in person, you will wonder why you ever considered paying full price for custom built-ins.