
Why Attic Insulation Mistakes Are Quietly Draining Your Winter Budget
If your heating bills climb every winter despite a seemingly well-insulated home, you are likely a victim of common attic insulation mistakes that most homeowners never notice.
Your attic is the single largest source of heat loss in most houses, and small oversights up there translate directly into wasted dollars down here.
As a home improvement specialist who has crawled through more attics than I can count, I have seen the same ten errors repeated in nearly every house, from century-old farmhouses to brand-new builds.
In this guide, we will walk through each costly misstep, explain exactly why it hurts your comfort and your wallet, and show you practical, budget-friendly fixes you can tackle this weekend.
By the end, you will understand how to transform your attic from an energy sieve into a tightly sealed thermal barrier that keeps warm air where it belongs.
Mistake #1: Skipping Air Sealing Attic Gaps Before Adding Insulation
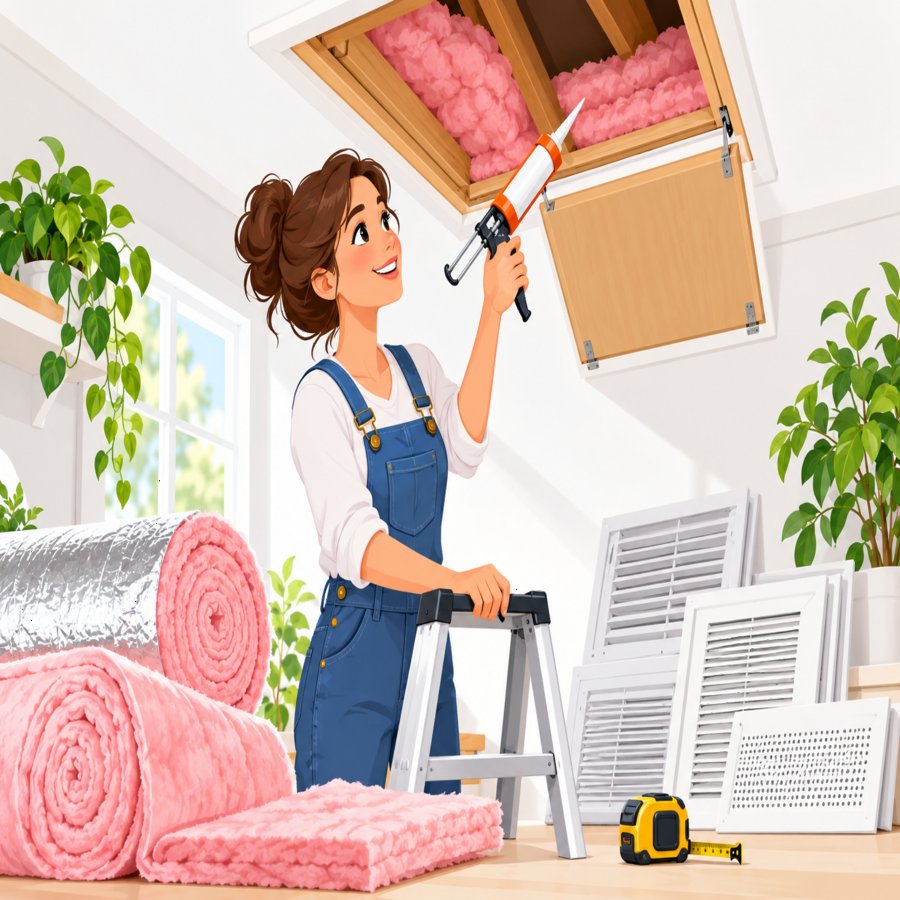
The single biggest error homeowners make is piling on fluffy insulation without first air sealing attic penetrations, gaps, and cracks.
Insulation slows conductive heat transfer, but it does almost nothing to stop air leakage, which is responsible for a huge share of winter heat loss.
Warm, moist indoor air rises through recessed lighting fixtures, plumbing stacks, electrical wire penetrations, and the gap around your attic hatch, escaping directly into the attic space.
The fix: Before adding a single bag of insulation, seal every visible penetration with fire-rated caulk or canned spray foam.
Pay special attention to the top plates of interior walls, chimney chases, and bathroom exhaust fan housings, as these are notorious leak points.
Properly air sealing attic surfaces first can reduce heat loss dramatically, often making a bigger difference than simply adding more insulation depth.
Mistake #2: Choosing the Wrong R-Value Insulation for Your Climate
Another frequent misstep among these attic insulation mistakes is installing insulation with the wrong thermal rating for your region.
The r-value insulation rating measures how well a material resists heat flow, and different climate zones require different minimums to perform efficiently.
Homes in northern climates typically need an attic R-value between R-49 and R-60, while milder southern regions may only require R-30 to R-38.
Many older homes were insulated decades ago to outdated standards and have never been upgraded to reflect current recommendations.
You can check your local recommendations through resources like the USDA home energy guidance, which outlines regional efficiency standards for rural and residential properties.
The fix: Measure your current insulation depth with a tape measure, calculate your existing R-value, and top up to meet or exceed your zone’s recommendation.
Mistake #3: Compressing Insulation and Reducing Its Effectiveness
Fiberglass batts and loose-fill insulation work by trapping air pockets, and anything that compresses that material destroys its insulating power.
Homeowners frequently stack storage boxes directly on top of attic insulation or stuff batts too tightly into narrow joist spaces.
Compressed insulation can lose up to half of its rated R-value, which means you are paying for full performance while receiving only partial protection.
The fix: If you need attic storage, install raised platforms above the joists rather than resting boxes directly on the insulation layer.
Always lay batts loosely without forcing them into spaces, and allow loose-fill material to settle naturally to its full loft.
Mistake #4: Blocking Soffit Vents and Disrupting Airflow
Proper attic ventilation works hand in hand with insulation, yet many installations accidentally block the soffit vents along the eaves.
When insulation is pushed all the way to the roof edge, it smothers the intake vents that allow fresh air to circulate through the attic space.
This blockage causes moisture buildup, ice dam formation in winter, and premature roof deck deterioration.
The fix: Install rigid foam baffles at the eaves before adding loose-fill or batt insulation to maintain a clear air channel.
These simple cardboard or foam baffles cost just a few dollars each but preserve the balanced airflow your roof depends on.
Mistake #5: Ignoring the Attic Hatch and Pull-Down Stairs
Your attic access hatch or pull-down stairway is often the single largest unsealed opening in your entire thermal envelope.
Standard pull-down stair units are rarely insulated or weatherstripped from the factory, creating a direct pipeline for heated air to escape upward.
This is one of the most overlooked attic insulation mistakes, since homeowners focus on the attic floor and forget the door leading into it.
The fix: Build or buy an insulated cover box that fits over the hatch opening, and apply weatherstripping tape around the perimeter of the door frame.
A simple foil-faced foam board attached to the back of the hatch door can also significantly boost its insulating value.
Mistake #6: Forgetting Recessed Light Fixtures and Electrical Boxes
Older recessed can lights generate heat and are not rated for direct insulation contact, forcing installers to leave gaps around them.
Those required gaps become chimneys for warm air, silently undermining your attic’s overall performance even when everything else looks properly insulated.
The fix: Replace older fixtures with IC-rated (insulation contact) LED recessed lights, which run cooler and allow insulation to be installed directly over them.
Covering fixtures with approved airtight covers before insulating is a quick, affordable upgrade that pays for itself within a season or two.
Mistake #7: Letting Moisture and Humidity Degrade Your Insulation
Attic moisture is a silent destroyer of insulation performance, and it often stems from everyday household humidity rather than roof leaks.
Bathroom exhaust fans, kitchen vents, and even dryer ducts are sometimes mistakenly routed directly into the attic instead of outside the home.
This constant stream of warm, humid air condenses on cold rafters, soaking insulation and encouraging mold growth that reduces its effectiveness permanently.
The fix: Trace every exhaust duct in your attic and confirm each one vents fully outside through a proper roof or wall cap, never just dumping into the attic space.
Just as regularly maintaining kitchen appliances prevents costly breakdowns, the same proactive mindset applies here; in fact, homeowners who stay on top of small maintenance tasks, like learning these simple dishwasher filter cleaning tricks, tend to catch attic moisture issues early too.
Mistake #8: Using a Single Insulation Type Without Layering Strategically
Many homeowners assume they must choose one insulation material and stick with it, but combining types often yields superior results.
A layer of fiberglass batts topped with blown-in cellulose, for example, fills gaps the batts could not reach while boosting overall depth and r-value insulation performance.
Relying on a single thin layer because it was the cheapest option at the hardware store is one of the more common attic insulation mistakes that costs homeowners year after year.
The fix: Consider a hybrid approach, laying unfaced batts perpendicular to joists first, then adding loose-fill cellulose or fiberglass on top to eliminate seams and gaps.
This layered method is widely recommended by energy auditors because it addresses both conductive and convective heat loss simultaneously.
Mistake #9: Overlooking Knee Walls and Skylight Shafts in Finished Attics
Finished attic rooms present unique challenges because knee walls, sloped ceilings, and skylight shafts all create hidden unconditioned pockets.
Homeowners often insulate the visible living space walls but neglect the small triangular attic areas behind knee walls, leaving a direct path for cold air infiltration.
Skylight shafts are equally problematic, as their narrow framed channels are frequently left with little to no insulation at all.
The fix: Access the space behind knee walls and insulate both the sloped rafters and the small floor area, sealing the access hatch tightly afterward.
For skylight shafts, line the interior framing with rigid foam board cut to fit snugly before closing up the drywall or trim.
Mistake #10: Never Measuring Results, Missing Real Winter Energy Savings
The final and perhaps most important mistake is failing to verify whether your insulation upgrades actually delivered meaningful winter energy savings.
Without before-and-after data, it is impossible to know whether your efforts worked or whether hidden gaps are still undermining your investment.
A professional blower door test and thermal imaging scan can pinpoint exactly where warm air is escaping, giving you a clear roadmap for remaining fixes.
Many utility companies offer free or heavily subsidized energy audits specifically to help homeowners avoid exactly these kinds of attic insulation mistakes.
You can also track your own progress by comparing monthly heating bills year over year, adjusted for outdoor temperature differences, to confirm real winter energy savings.
For additional seasonal home efficiency tips, the Old Farmer’s Almanac winter preparation guide offers excellent supplementary advice on preparing your entire home for cold weather.
Putting It All Together: A Quick Attic Insulation Checklist
Correcting these ten attic insulation mistakes does not require a complete renovation; most fixes can be completed over a single productive weekend.
Start with air sealing: Caulk and foam every penetration before touching the insulation itself.
Check your depth: Measure existing insulation and compare it against your climate zone’s recommended r-value insulation target.
Protect ventilation: Install baffles at soffits so air sealing attic work never accidentally chokes off necessary airflow.
Seal the hatch: Treat your attic door with the same priority as an exterior door, since it is just as critical to your thermal envelope.
Verify your work: Schedule an energy audit or compare bills to confirm your changes produced genuine winter energy savings.
Tackling your attic methodically, rather than treating insulation as a single quick fix, is what separates a truly efficient home from one that keeps bleeding money every winter.
The experts at Better Homes & Gardens consistently emphasize that attic performance is one of the highest-return home improvement projects a homeowner can undertake.
With the knowledge from this guide, you are now equipped to identify and correct every one of these common attic insulation mistakes before they drain another dollar from your winter heating budget.