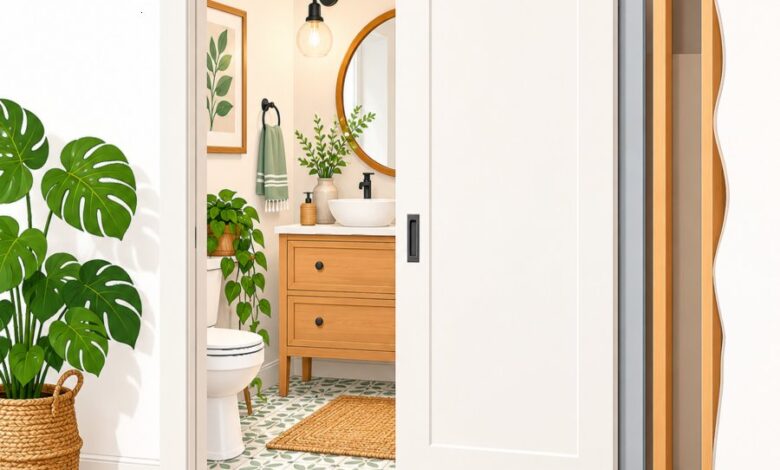
If you’ve ever smashed a knuckle on a swinging bathroom door in a cramped powder room, you already understand the appeal of going sliding. These pocket door installation secrets are exactly what separate a wobbly, noisy, off-track disaster from a smooth, whisper-quiet upgrade that instantly makes a small bathroom feel twice as large. Pocket doors have been quietly reclaiming square footage in tight homes for over a century, but most DIYers get tripped up by the hidden details inside the wall cavity. Today we’re pulling back the curtain on exactly what separates a professional-grade install from a shaky, off-track disaster.

Essential Guide to pocket door installation secrets
Why Pocket Doors Are the Ultimate Small Bathroom Door Solution
A standard swinging door needs a clearance arc of roughly ten to twelve square feet to operate safely.
In a half bath or ensuite, that arc eats into the exact floor space you need for a vanity, a towel bar, or simply room to turn around.
Sliding the door into the wall cavity instantly returns that space to you, which is why a small bathroom door upgrade is one of the highest-impact renovations you can tackle in a weekend.
It also opens up design freedom wider vanities, corner showers, even stacked storage that a swinging door would otherwise block.
But here’s the catch: because the hardware disappears inside the wall, mistakes are also hidden until they become expensive problems. That’s exactly where these pocket door installation secrets become essential reading before you pick up a single tool.
Secret 1: The Wall Cavity Must Be Treated as Sacred Ground
The single biggest point of failure in any pocket door project is discovering plumbing, wiring, or ductwork already living inside your target wall.
Before you cut anything, use a stud finder with AC detection and, ideally, a borescope camera through a small inspection hole to confirm the cavity is clear.
Pro tip: bathroom walls are notorious for hidden supply lines feeding the sink or toilet on the opposite side, so always check both faces of the wall, not just the side facing the door opening.
If you find an obstruction, don’t force the project. Many pros simply shift the pocket a few inches or choose the adjacent wall instead, which is far cheaper than rerouting plumbing.
Secret 2: Choosing and Sizing the Sliding Door Frame Correctly
The prefabricated sliding door frame kit is the skeleton of the entire system, and skimping here is where most budget installs fail within a year.
Look for a frame rated for the actual weight of your chosen door slab, including any solid-core or glass-paneled options that are increasingly popular in bathrooms.
Measure twice: the rough opening needs to be exactly twice the door width plus roughly one inch, since the pocket itself must swallow the full door when open.
Steel-reinforced frame kits cost more upfront but resist the sagging that plagues thin aluminum versions, especially in humid bathroom environments where moisture can warp lesser materials.
This single decision is one of the most overlooked pocket door installation secrets, because a flimsy frame will undo even the most careful carpentry around it.
Secret 3: Silent Track Hardware Changes Everything
Nothing ruins the luxury feel of a pocket door faster than a grinding, rattling track every time someone uses the bathroom at 2 a.m.
Upgrading to silent track hardware with sealed ball-bearing rollers is, hands down, one of the most transformative pocket door installation secrets professional installers rarely advertise.
Nylon or polyurethane-wheeled rollers glide almost silently along a steel track, compared to the cheap stamped-metal wheels bundled with big-box starter kits.
Look for hardware rated for soft-close and soft-open motion, which gently decelerates the door in the last few inches instead of letting it slam into the jamb or bounce back out.
This upgrade typically adds only forty to sixty dollars to your materials list but delivers the single biggest improvement in everyday user experience.
Secret 4: Header Support Is Non-Negotiable
Because a pocket door removes a traditional stud from the load path, the header above the frame must be properly sized to carry the weight it’s now solely responsible for.
On load-bearing walls, this almost always means consulting a structural reference or local contractor rather than guessing, since an undersized header can cause ceiling cracks months later.
Even on non-load-bearing partition walls, which is the case for most interior bathroom walls, you still want a doubled 2×4 header to keep the frame rigid and prevent the track from flexing under daily use.
According to the Better Homes & Gardens renovation guidelines, proper structural support is consistently cited as the difference between a pocket door that lasts decades and one that fails within a few years.
Secret 5: Floor-Level Guide Tracks Prevent the Wobble Effect
A top-hung pocket door without a floor guide will wobble and swing like a pendulum, especially in bathrooms where humidity and temperature swings cause minor material movement.
Installing a low-profile floor guide at the leading edge of the pocket keeps the bottom of the door anchored without requiring an unsightly floor track that collects dust and hair.
Installer’s note: adjustable guides let you fine-tune clearance seasonally, which matters more in bathrooms than almost any other room due to constant humidity shifts.
Skipping this step is one of the most common regrets homeowners mention after a rushed weekend install, and it’s an easy fix to get right the first time.
Secret 6: Privacy Hardware Designed Specifically for Pocket Doors
Standard swinging-door locksets won’t fit inside a pocket door’s thin edge-mounted hardware channel, which trips up plenty of first-time installers.
You need a dedicated edge-pull privacy lock designed specifically for pocket applications, typically featuring a recessed flush pull with an integrated turn latch.
Look for models with an emergency release slot on the exterior side, a thoughtful safety feature in case a lock jams while someone is inside the bathroom.
Matching the pull’s finish to your existing bathroom fixtures, whether brushed nickel, matte black, or warm brass, ties the whole room together far better than a mismatched generic hardware set.
Secret 7: Sealing and Soundproofing for Bathroom-Specific Privacy
Pocket doors have an inherent weakness that swinging doors don’t: a small air gap along the top and the leading edge where the door meets the jamb.
In a bathroom, that gap means sound and light leak out more than homeowners expect, which is a common post-installation complaint.
Adding a compressible felt or rubber seal strip along the jamb closes this gap significantly while still allowing smooth sliding motion.
For households prioritizing acoustic privacy, a solid-core door slab paired with these seals outperforms hollow-core doors by a wide margin, and it’s one of the pocket door installation secrets that pays off every single day the bathroom is in use.
Secret 8: Future-Proofing Access for Repairs
The biggest long-term complaint about pocket doors isn’t the door itself, it’s that fixing a derailed roller years later means tearing into drywall if no access panel exists.
Smart installers build in a removable access panel on the header, secured with finish screws rather than nails or adhesive, hidden behind the trim casing.
This small addition takes an extra twenty minutes during installation but can save hundreds of dollars and a full weekend of drywall repair down the road.
It’s the kind of forward-thinking detail that separates true pocket door installation secrets from basic how-to advice you’ll find in a typical instruction pamphlet.
Maintaining Your Pocket Door for Decades of Smooth Use
Once installed, a quarterly maintenance habit keeps your sliding door frame and hardware performing like day one.
Vacuum the floor guide and track channel to prevent hair, lint, and bathroom dust from building up and causing drag.
A light application of dry silicone lubricant on the rollers, never a wet oil-based product that attracts grime, keeps the silent track hardware gliding smoothly for years.
Interestingly, the same discipline of sticking to a seasonal maintenance checklist applies across your whole home; just as we outlined common pitfalls in our guide to avoiding costly oven cleaning mistakes, small consistent habits prevent big repair bills later.
If you ever notice the door dragging on the floor guide, check first for humidity-related wood swelling before assuming the hardware itself has failed.
Final Thoughts on Reclaiming Your Tight Bathroom
A pocket door is one of the rare renovations that delivers both functional square footage and a genuine upgrade in how a bathroom feels to use every day.
The difference between a mediocre result and a flawless one almost always comes down to the hidden details: a verified clear cavity, a properly sized sliding door frame, a reinforced header, and genuinely silent track hardware.
Take your time on the planning phase, don’t rush the demolition, and reference these pocket door installation secrets at every step of the build.
Done right, your new small bathroom door will quietly glide for decades, making that cramped powder room finally feel like the spacious retreat it was always meant to be.