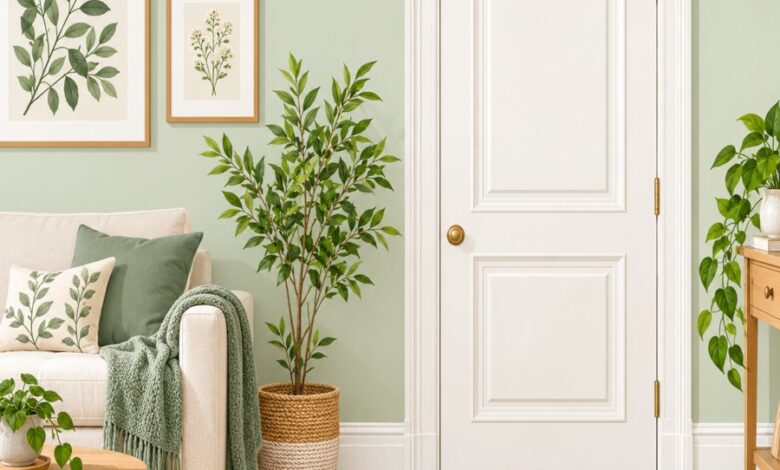
If your home still has flat, builder-grade hollow doors and bare, unremarkable casings, you are sitting on one of the easiest architectural upgrades available to any homeowner. Trim molding upgrades are the secret weapon professional designers use to transform plain, forgettable rooms into spaces that feel custom-built and intentional. Best of all, you do not need to replace a single door or wall to achieve this transformation — you simply need the right approach, the right tools, and a little patience.
In this guide, we will walk through five upscale, achievable projects that elevate hollow core doors and plain trim into architecturally rich features. Whether you are working on a weekend budget or planning a full home refresh, these ideas scale beautifully to fit your skill level and timeline.
Why Trim Molding Upgrades Matter More Than You Think
Most homes built in the last several decades were finished with speed and cost in mind, not character. That usually means thin, flat baseboards, narrow door casings, and smooth, featureless hollow core doors throughout the interior.
These elements are functional, but they contribute almost nothing to a room’s visual depth or perceived value. This is exactly where trim molding upgrades step in to do the heavy lifting.
Adding dimension through layered casings, picture frame molding, and thoughtfully proportioned baseboards instantly signals craftsmanship. It mimics the kind of millwork found in older, higher-end homes, and appraisers and buyers notice this detail even if they cannot always articulate why a room feels “finished.”
Beyond resale value, there is a personal payoff too. A home filled with rich architectural detail simply feels more comfortable and intentional to live in every day.
Upgrade One: The Hollow Core Door Makeover
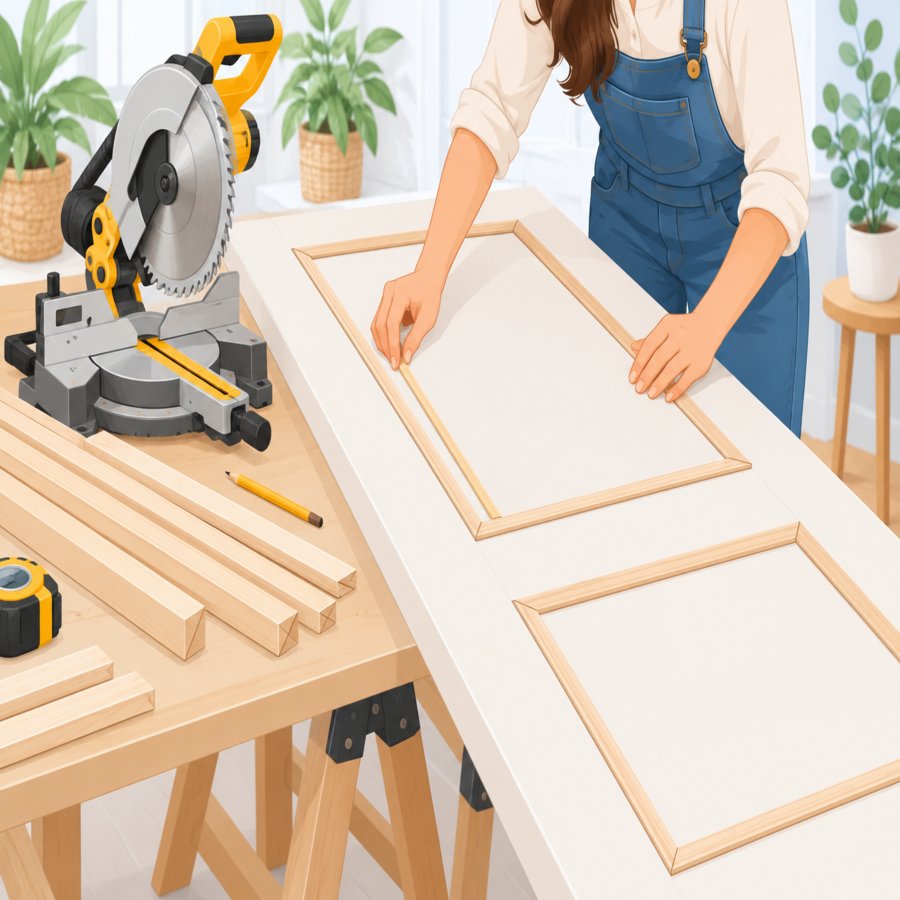
A full hollow core door makeover is one of the highest-impact, lowest-cost projects in this entire guide. Instead of replacing every interior door in your home with solid wood alternatives, you can dress up the existing flat-panel doors using thin strips of applied molding.
The process starts by measuring the door face and planning a simple rectangular or two-panel layout. Lightweight MDF panel molding, mitered at the corners, is glued and pinned directly onto the flat surface.
Materials you will need:
Flat panel molding strips, wood glue, a miter saw or miter box, a brad nailer, caulk, and paintable primer are the essentials. Most doors require two to four strips per panel, depending on your chosen design.
Once the molding is secured and the glue has cured, caulk every seam to blend the new trim seamlessly into the door surface. After a coat of primer and two coats of paint, the door reads as a substantially more expensive, solid-panel style door, even though the structure underneath remains unchanged.
This is one of the most budget-friendly trim molding upgrades because a single door can often be completed for under thirty dollars in materials.
Upgrade Two: Picture Frame Molding for Walls and Panels
Picture frame molding is not limited to doors. Applying the same principle to hallway walls, dining room panels, or even stairwell risers creates a cohesive, custom millwork story throughout the home.
The technique involves creating rectangular “frames” directly on the wall surface using the same panel molding profile used on your doors. Spacing them evenly and aligning the top rail with existing door casings creates visual harmony across the room.
A level, a stud finder, construction adhesive, and finish nails are the core tools for this project. Always dry-fit your layout with painter’s tape first to confirm spacing looks balanced before committing to adhesive and nails.
When picture frame molding is paired with a matching hollow core door makeover in the same hallway, the result feels like a unified architectural statement rather than a series of disconnected projects.
For a cohesive aesthetic, consider carrying the same molding width and reveal spacing from your walls onto your window casings, so every architectural element in the room speaks the same visual language.
Upgrade Three: Layered Baseboard and Casing Builds
One of the fastest ways to make thin, builder-grade baseboards look substantial is to layer additional molding profiles on top of the existing trim rather than tearing it out entirely.
Adding a cap molding strip along the top edge of a flat baseboard, or building up door casings with a backband profile, instantly increases visual weight without the labor of removing old trim and patching walls.
Pro tip: Keep proportions in mind. Baseboards should generally be taller than door casings are wide, and ceiling height should guide how dramatic your trim scale can be without overwhelming the room.
This layering approach is one of the most forgiving trim molding upgrades for beginners, since mistakes are easier to correct when you are adding to existing trim rather than starting from a bare wall.
For design inspiration on proportion and classic molding profiles, Better Homes & Gardens offers excellent reference galleries showing how trim scale shifts across different home styles and eras.
Upgrade Four: Custom Interior Doors Without a Full Replacement
Not every home needs a full swap to achieve the look of true custom interior doors. Beyond applied molding, hardware and paint finish play an enormous role in how “custom” a door reads.
Swapping builder-grade hinges and knobs for weighted, matte black or brushed brass hardware changes the entire personality of a molded hollow door. Pair this with a slightly glossier paint sheen than the surrounding walls to catch light along the new molding lines.
For homeowners wanting an even higher-end result, adding a thin shadow-line reveal around the molded panels using a V-groove router bit creates a crisp, shadowed edge that mimics true solid-core, factory custom interior doors.
This combination of applied molding, upgraded hardware, and refined paint sheen is frequently indistinguishable from true custom interior doors once installed, at a fraction of the replacement cost.
Just as a healthy houseplant needs consistent care to thrive, your newly molded doors need proper seasonal maintenance. Humidity swings can affect both wood trim and nearby greenery, so if you are also maintaining indoor plants near your entryways, our guide on how to keep a ficus tree healthy through seasonal changes offers helpful parallel care tips for the living elements sharing your newly upgraded spaces.
Upgrade Five: Transom and Overdoor Molding Details
For a truly architectural finish, consider adding a built-up header or faux transom detail above your doorways. This technique borrows from classic colonial and craftsman-style homes, where door headers were often capped with a decorative shelf or crown detail.
Building a simple header involves adding a flat board above the existing door casing, then capping it with a small crown or cove molding profile. This creates a shadow and shelf effect that draws the eye upward, making ceilings feel taller and doorways feel more substantial.
This detail pairs beautifully with the other four upgrades discussed above, especially when the same molding profile used in your picture frame wall panels is echoed in the overdoor cap.
When you combine layered baseboards, molded doors, and overdoor headers throughout a single hallway or living space, the collective effect of these trim molding upgrades rivals what you would find in a professionally designed custom home.
Choosing the Right Molding Profile and Material
Not all trim material behaves the same way, and choosing correctly will determine how professional your finished project looks.
MDF (medium-density fiberboard) is the most popular choice for interior applied molding. It is affordable, cuts cleanly, and takes paint beautifully, though it should always be primed and sealed since it is sensitive to moisture.
Solid poplar or pine is a step up in cost but offers better durability and a more authentic feel for homeowners who may eventually want a stained, natural wood finish rather than paint.
Flexible polyurethane molding is worth considering for curved walls, arched doorways, or homes in humid climates where wood movement is a concern.
Whichever material you choose, consistency matters most. Mixing profiles or materials across adjoining rooms can undercut the cohesive, custom look that makes these upgrades so effective.
Tools, Budgeting, and Realistic Timelines
Before starting any of these projects, assemble a core toolkit: a miter saw, a brad nailer with an air compressor or cordless option, a level, a stud finder, wood filler, caulk, and quality painter’s tape.
A single door makeover typically takes two to three hours from measuring to final caulking, not including dry time. A full hallway combining picture frame molding and layered baseboards can take a full weekend, especially with proper drying and painting time factored in.
Budget roughly twenty to forty dollars per door for a basic panel makeover, and anywhere from one hundred to three hundred dollars per room for a full picture frame molding and baseboard build-up, depending on material choice and room size.
Patience during the caulking and priming stage is what separates an amateur-looking result from a seamless, professional finish. Never skip the caulk, and always sand lightly between primer and final paint coats.
Final Thoughts on Elevating Your Home With Trim
You do not need a full renovation budget to make your home feel architecturally rich and intentional. Thoughtful trim molding upgrades, applied gradually room by room, can transform even the most generic builder-grade interior into a space that feels custom-designed.
Start small with a single hollow core door makeover to build confidence and skill, then expand into picture frame molding, layered baseboards, and overdoor details as your timeline and budget allow.
For further guidance on classic trim proportions and historically accurate molding styles, resources like the Royal Horticultural Society also offer excellent inspiration on pairing indoor architectural detail with the plantings and garden views framed just outside your newly upgraded doorways.
Each project in this guide is reversible, budget-conscious, and achievable over a single weekend, making these upgrades some of the most rewarding ways to invest in your home’s long-term character and value.