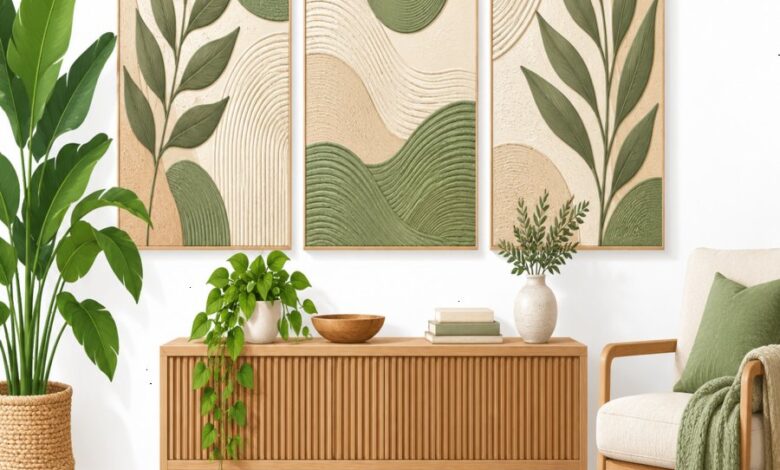
Blank walls are one of the biggest missed opportunities in home design, and the fastest way to fix them is with clever canvas art diy hacks that bring sculptural, minimalist texture into any room. Instead of spending hundreds of dollars on gallery-bought pieces, you can craft dramatic, dimensional wall hangings using simple materials you likely already have on hand. This guide walks you through seven elegant techniques that transform plain canvas into statement-making decor, blending the tactile charm of textured plaster with the clean lines of modern minimalism.
Whether you are decorating a cozy reading nook or an entire gallery wall, these canvas art diy hacks are designed to be approachable for beginners while still delivering a sophisticated, designer-level finish. We will cover everything from plaster techniques to oversized framing tricks that make small spaces feel grander. Grab your apron, because your walls are about to get a serious upgrade.
Why Sculptural Canvas Art Diy Hacks Are Trending
Minimalist interiors have shifted away from flat, glossy prints toward textured, sculptural pieces that add depth without clutter. This is exactly where canvas art diy hacks shine, because they let you control texture, shadow, and dimension with your own hands.
Homeowners are increasingly drawn to organic, tactile finishes that mimic the look of carved stone or weathered plaster walls. These pieces feel collected and intentional, rather than mass-produced, which is a hallmark of elevated minimalist design.
The appeal of texture over print. A flat printed canvas reflects light evenly, but a textured piece catches light differently depending on the time of day, creating a living, shifting artwork.
Budget-friendly luxury. Sculptural wall art in boutique stores can cost several hundred dollars, but recreating the look at home costs a fraction of that price using basic plaster, canvas, and paint.
Hack One: Mastering Plaster Canvas Painting
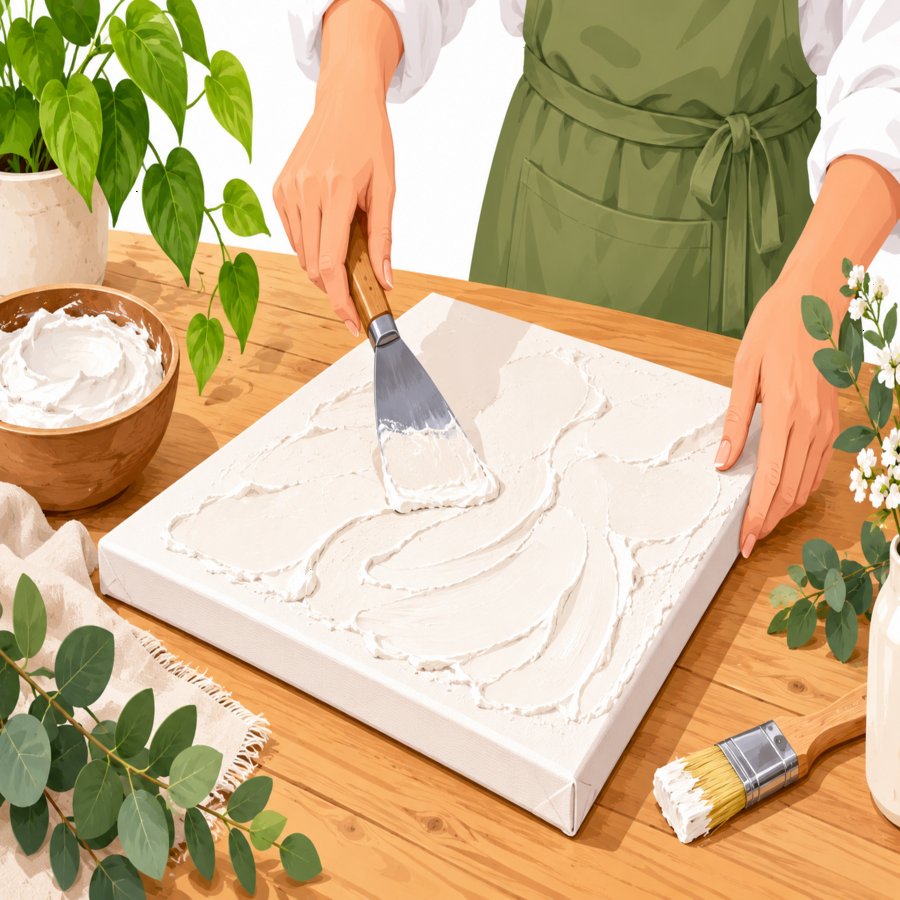
The foundation of many sculptural wall pieces is plaster canvas painting, a technique that uses joint compound or lightweight spackle to build raised, organic shapes directly on stretched canvas.
Start by laying your canvas flat on a drop cloth, then apply plaster using a putty knife in sweeping, curved motions. Think of waves, moon phases, or abstract line work rather than precise shapes.
Allow the plaster to cure for at least 24 hours before sanding lightly to smooth any sharp edges. Once dry, a single coat of matte white or warm beige paint gives it that gallery-ready, sculptural finish.
This method is one of the most satisfying canvas art diy hacks because the final result genuinely looks hand-carved, even though it took less than an hour of active work.
Hack Two: Building Dimensional Textured Wall Art
If plaster feels intimidating, you can achieve similarly impressive textured wall art using layered fabric, rope, or even dried botanicals glued onto canvas before painting everything in one unifying color.
Try gluing coiled jute rope in a spiral pattern onto a square canvas, then spray-painting the entire surface a soft sage or terracotta hue. The monochromatic finish hides the raw materials and highlights pure shadow and shape.
Layering with fabric scraps. Linen or burlap offcuts can be bunched, folded, and adhered with heavy-duty glue to create soft, cloud-like dimension that pairs beautifully with neutral interiors.
Using natural elements. Dried palm leaves, seed pods, or pressed grasses arranged in a grid pattern add an organic, garden-inspired touch that connects your indoor decor to the natural world outside.
Hack Three: Oversized Framed Art Diy for Maximum Impact
Scale matters enormously in minimalist design, and nothing makes a statement quite like oversized framed art diy projects that stretch from floor to ceiling in a living room or entryway.
Rather than purchasing an expensive pre-made oversized canvas, buy a large sheet of plywood or MDF, wrap it in budget canvas fabric, and staple the edges tightly on the back for a seamless, frameless look.
Add a simple raw wood or black metal frame around the perimeter for structure, or skip the frame entirely for a floating, minimalist edge that blends into the wall.
This approach is especially useful for awkward, oversized wall spaces above sofas or staircases where smaller artwork tends to look lost and disproportionate.
Hack Four: Layered Shadow-Box Canvas Techniques
For a truly architectural effect, mount two or three canvases of decreasing size on top of each other using wood blocks or foam spacers to create a layered, shadow-box style sculpture.
Paint each layer a slightly different shade within the same color family, such as cream, oatmeal, and soft gray, so the shadows between layers do the visual storytelling.
This technique works wonderfully in hallways or above console tables, where the artwork needs to feel substantial without competing with other decor pieces nearby.
Hack Five: Carved Line Art With a Simple Comb Tool
One of the simplest yet most elegant canvas art diy hacks involves dragging a notched comb or fork through wet plaster to create rhythmic, repeating line patterns across the canvas surface.
Apply a thick, even layer of joint compound, then drag your tool in consistent arcs, waves, or straight horizontal bands while the plaster is still workable.
Once fully dry, a dry-brushed layer of white or soft gray paint will settle into the grooves, emphasizing every carved line and giving the piece an almost architectural, ceramic-like quality.
Hang two or three of these in a horizontal row for a cohesive, museum-style display that feels custom-made for your specific wall dimensions.
Hack Six: Botanical-Inspired Textured Panels
Bring your love of gardening indoors by pressing real leaves, ferns, or botanical cuttings into wet plaster before carefully removing them to leave behind delicate, nature-cast impressions.
This technique produces some of the most unique textured wall art you can make, since no two leaves create identical impressions, guaranteeing a one-of-a-kind finished piece.
For gardeners who enjoy sourcing their own materials, the Royal Horticultural Society offers excellent guidance on identifying leaf shapes and seasonal foliage that press and cast especially well.
Consider pairing this indoor project with outdoor inspiration by exploring our guide to creative small backyard landscaping ideas to source fresh leaves and cuttings directly from your own garden beds.
Hack Seven: Easy Canvas Art Diy Hacks Using Paint Pouring
Not every project needs plaster at all. Acrylic paint pouring remains one of the most forgiving canvas art diy hacks for anyone who wants dimensional-looking results without any sculpting skills whatsoever.
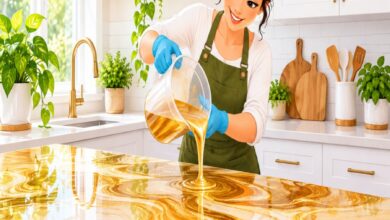
Mix two or three neutral tones with pouring medium, then tilt the canvas slowly in different directions to let the colors blend into soft, cloud-like formations reminiscent of marble or limestone.
Once dry, seal with a matte varnish to mute any glossy sheen, keeping the finished look firmly within minimalist, understated territory rather than appearing overly glossy or crafty.
This is an ideal beginner entry point among all seven canvas art diy hacks, since mistakes are easy to paint over and the learning curve is virtually nonexistent.
Styling and Hanging Your Finished Canvas Art
Once your plaster canvas painting has fully cured, proper hanging is essential to showcase the texture correctly, since poor lighting or incorrect height can flatten the visual impact entirely.
Use directional lighting. A single angled spotlight or wall sconce placed slightly off-center will cast dramatic shadows across the raised texture, amplifying the sculptural effect after dark.
Mind the hanging height. Center your artwork at roughly 57 to 60 inches from the floor to the middle of the piece, which matches standard gallery display height and feels naturally balanced to the eye.
Give it breathing room. Oversized or textured pieces need negative space around them, so resist the urge to crowd the wall with too many smaller frames nearby.
For seasonal inspiration on pairing indoor decor with your garden’s natural color palette, the Old Farmer’s Almanac offers helpful insight into which hues dominate each season, helping you time your next painting project perfectly.
Maintaining and Caring for Textured Canvas Pieces
Textured and plaster-based canvases require slightly different care than flat printed artwork, mainly because dust and debris can settle into the raised grooves and crevices over time.
Dust gently and regularly. Use a soft, dry paintbrush or a microfiber duster to sweep across textured surfaces weekly, reaching into grooves that a standard cloth would miss entirely.
Avoid direct moisture. Never spray cleaning solutions directly onto plaster canvas, as moisture can cause the compound to soften, crack, or separate from the fabric base over time.
Keep away from humidity. Bathrooms and steamy kitchens are poor locations for plaster-based art, so reserve these pieces for living rooms, bedrooms, and hallways with stable humidity levels.
With minimal upkeep, these handmade pieces can last for decades, aging gracefully in a way that mass-produced prints simply cannot match.
Final Thoughts on Elevating Your Walls
From carved plaster to botanical impressions, these seven canvas art diy hacks prove that sculptural, gallery-worthy wall art is well within reach of any home decorator with a free afternoon.
Start small with a single comb-textured panel or paint pour, then build confidence toward larger, oversized framed art diy projects as your skills and creative vision grow.
Your walls deserve more than mass-produced prints, and with just plaster, canvas, and a little patience, you can create pieces that feel as personal and curated as the rest of your home.