
Few home improvement disasters are as frustrating as watching a beautiful new floor crumble within months of installation, and in almost every case, the culprit traces back to a handful of avoidable tile grouting blunders. Grout might seem like a simple finishing touch, but it is actually the structural glue that keeps moisture out and tiles locked in place. When homeowners rush this step or misunderstand the chemistry involved, the results are cracked lines, crumbling joints, and premature floor failure. This guide walks through the eleven most common mistakes that sabotage tile work, and more importantly, how to avoid them so your floors last for decades rather than months.
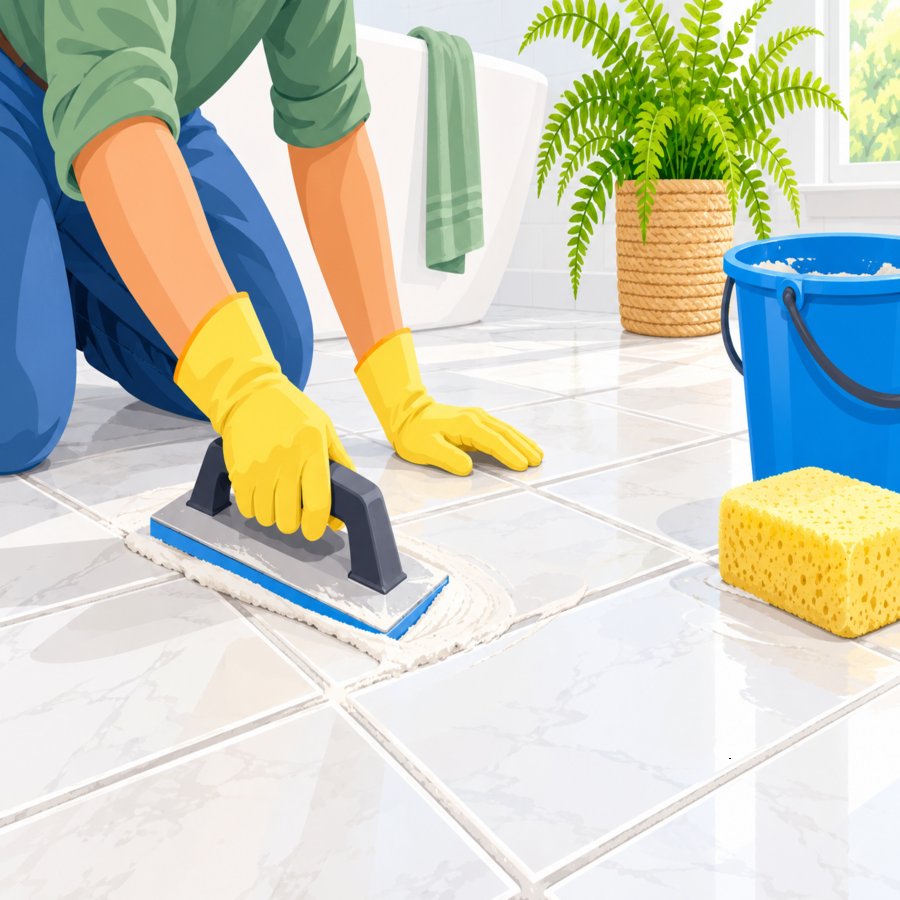
Why Tile Grouting Blunders Lead to Premature Floor Failure
Grout serves two critical functions: it seals the gaps between tiles and it absorbs the natural movement of a floor as temperatures and humidity shift. When grouting is done incorrectly, these joints become weak points rather than protective barriers. Water infiltration is usually the first sign of trouble, followed by loosening tiles and eventually full detachment from the substrate.
Most tile grouting blunders stem from rushing the process or skipping preparation steps that seem unnecessary at the time. Unfortunately, grout failure rarely shows up immediately, which means homeowners often don’t connect the dots between a weekend DIY shortcut and a floor problem that appears a year later. Understanding the root causes is the first step toward lasting results.
Blunder #1 and #2: Skipping Prep Work and Ignoring Cure Times
The single most damaging mistake is applying grout before the tile adhesive has fully cured. Rushing the timeline traps moisture beneath the surface and prevents the thinset from reaching full strength, which creates an unstable foundation for everything that follows.
Equally damaging is failing to clean tile edges and spacers before grouting begins. Dust, adhesive residue, and debris left in the joints prevent grout from bonding properly to the tile surface. A quick vacuum and damp wipe of every joint before grouting takes only minutes but saves countless headaches later.
Blunder #3: Getting the Mixing Grout Consistency Wrong
Perhaps the most underestimated factor in a successful grout job is mixing grout consistency correctly. Too much water weakens the final cured product and leads to shrinkage, while too little water makes the grout impossible to spread evenly into the joints.
The ideal mixing grout consistency should resemble smooth peanut butter: thick enough to hold its shape on a trowel but pliable enough to pack into narrow joints without excessive force. Always follow the manufacturer’s water-to-powder ratio precisely, and mix in small batches so the grout doesn’t begin setting before you’ve finished applying it.
Blunder #4: Choosing Epoxy Grout vs Cement Without Research
One of the most consequential tile grouting blunders happens before the trowel ever touches the floor: selecting the wrong grout type for the application. The epoxy grout vs cement debate isn’t just a matter of preference, it’s about matching material properties to the environment the tile will endure.
Cement-based grout is budget-friendly and easy to work with, making it suitable for low-moisture areas like living rooms and bedrooms. Epoxy grout, on the other hand, resists stains, chemicals, and water penetration far better, making it the superior choice for kitchens, bathrooms, and outdoor patios. The epoxy grout vs cement decision should always factor in how much moisture and foot traffic the space will see over its lifetime.
Blunders #5 Through #7: Application Errors That Cause Cracked Grout Lines
Uneven tile spacing is a quiet saboteur. When joints vary in width across a floor, the grout cures at different rates and thicknesses, creating stress points that eventually become cracked grout lines. Consistent tile spacers used throughout the entire installation prevent this uneven curing pattern.
Overworking the grout with a float is another frequent error. Dragging the float back and forth excessively pulls grout out of the joints just as it begins to set, leaving voids that weaken the line. A single diagonal pass at a 45-degree angle packs the joint fully without disturbing the setting process.
Failing to account for expansion joints at room perimeters and transitions is the third application error in this cluster. Hard grout lines running wall-to-wall with no flexible joint will crack as the house settles and materials expand with temperature changes. Flexible caulk, not grout should always be used at these transition points.
Blunders #8 and #9: Cleanup Mistakes That Weaken Fresh Grout
Wiping away excess grout too aggressively, or too soon, pulls material out of the joints before it has had a chance to firm up. This single habit is responsible for a surprising number of cracked grout lines appearing within the first few weeks after installation.
Using excess water during the cleanup pass is the companion mistake. Soaking sponges repeatedly over the same joints washes out the cement binder near the surface, leaving a chalky, weak layer that erodes quickly under foot traffic. Wring sponges thoroughly and change rinse water often to avoid reintroducing slurry back into clean joints.
Blunders #10 and #11: Sealing Failures and Neglecting Long-Term Maintenance
Skipping the sealing step on cement-based grout leaves it permanently porous and vulnerable to staining and moisture absorption. Sealant should be applied once the grout has fully cured, typically 48 to 72 hours after installation, and reapplied annually in high-traffic or wet areas.
The final tile grouting blunders on this list involve simple neglect after the project is finished. Ignoring hairline cracks when they first appear allows water to work its way underneath the tile, accelerating damage that could have been stopped with a small tube of matching grout and five minutes of attention. Routine inspection twice a year catches these small issues before they become expensive repairs.
How to Repair Existing Cracked Grout Lines
If you’re already dealing with damage from past tile grouting blunders, the good news is that repairs are manageable for most DIY enthusiasts. Start by using a grout saw or rotary tool to remove the damaged material to a depth of at least two millimeters, creating a clean channel for new grout to bond.
Vacuum the channel thoroughly and dampen it slightly before applying fresh grout mixed to the correct consistency. Matching the original grout color is essential for a seamless repair, so bring a sample to the hardware store if you’re unsure of the exact shade. Once cured and sealed, these repaired sections should perform just as well as the surrounding original grout.
Extending These Lessons to Outdoor Tile and Paver Projects
The same principles that govern indoor tile apply with even greater urgency to outdoor installations, where freeze-thaw cycles and constant moisture exposure accelerate any weakness in the grout line. Homeowners planning an outdoor renovation should consider how joint material choices affect long-term durability before breaking ground.
If you’re tackling a patio project this season, our detailed walkthrough on building a durable DIY patio with properly jointed pavers covers joint sand alternatives and base preparation techniques that complement everything discussed here. For additional guidance on selecting durable outdoor materials suited to your climate zone, the Royal Horticultural Society’s hard landscaping resources offer excellent region-specific advice for gardeners and homeowners alike.
Ultimately, avoiding tile grouting blunders comes down to patience, proper material selection, and respecting the chemistry of the products you’re working with. A floor grouted correctly the first time will outlast one that was rushed, saving you money, time, and the frustration of repeated repairs for years to come.