
A sudden gust rolls across your backyard, your beautiful shade canopy shudders, and within seconds the fabric is flapping like a sail about to tear free from the wall. This terrifying scene is the direct result of retractable awning installation mistakes that homeowners make every single season. Most collapses are not caused by faulty equipment, but by preventable errors made during mounting, pitch setup, and wind calibration. In this guide, we are breaking down the eleven most fatal retractable awning installation mistakes that cause units to buckle, bend, or completely collapse under gale-force winds, and exactly how to fix them.
Why Retractable Awning Installation Mistakes Are So Dangerous
Unlike a fixed patio cover, a retractable awning is a dynamic structure. It extends, retracts, and pivots every time you use it, which means every bolt, bracket, and joint is under constant mechanical stress.
When installers skip steps or guess at measurements, the awning may look perfectly fine on a calm day. The real danger surfaces the moment wind speeds climb past 20 mph, which is precisely when these hidden retractable awning installation mistakes turn a shade structure into a projectile hazard.
Insurance claims related to storm-damaged patios often trace back to improper anchoring rather than product defects. Understanding the mechanics behind these failures is the first step toward a safer backyard setup.
Mistake #1 to #3: Exterior Wall Bracket Mounting Failures
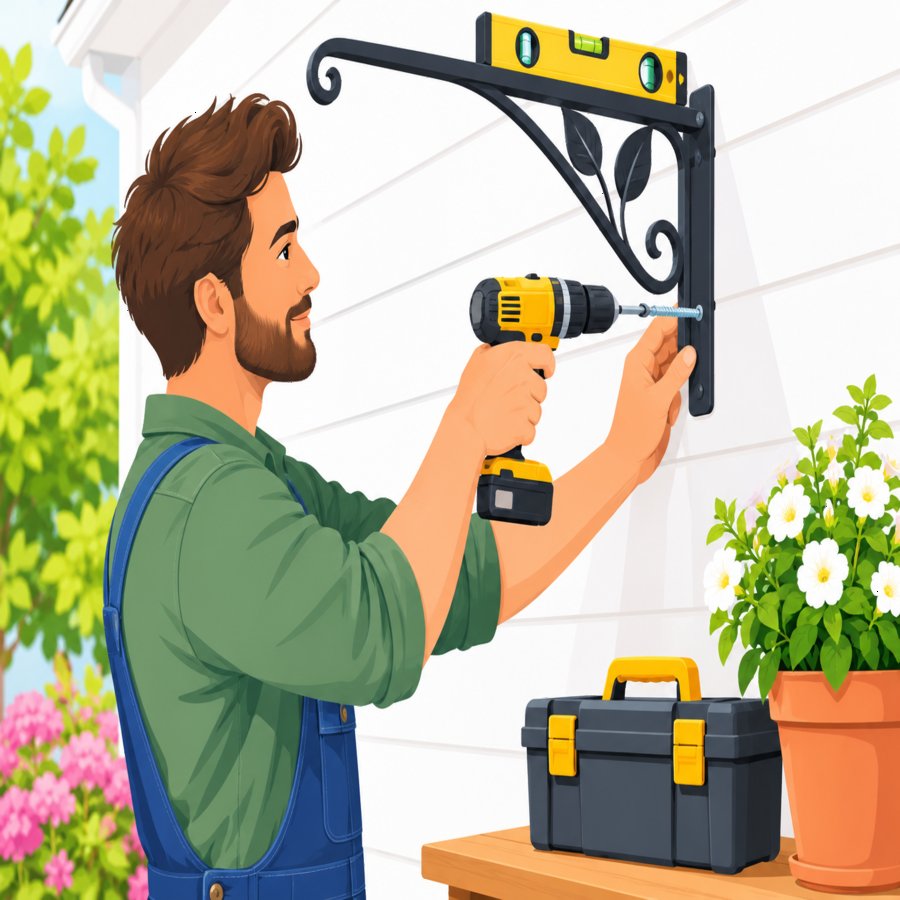
The single most catastrophic failure point is poor exterior wall bracket mounting . If the brackets are not anchored into solid structural material, the entire awning arm can rip away from the house during high winds.
Mistake #1: Mounting into stucco or siding alone. Stucco, vinyl siding, and foam insulation panels cannot bear structural load. Brackets must reach through these surfaces into the framing, masonry, or concrete beneath.
Mistake #2: Using undersized lag bolts. Many DIY installers use the hardware included in the box, which is often generic and not rated for the actual wall material. Heavy-duty awnings demand structural-grade fasteners sized specifically for brick, concrete, or engineered lumber.
Mistake #3: Skipping a stud finder or masonry scan. Guessing bracket placement is one of the most common retractable awning installation mistakes we see in the field. A single missed stud can mean the bracket is resting on drywall or thin veneer with zero holding power.
Always verify spacing according to the manufacturer’s template, and use a masonry bit with appropriate anchors when mounting to brick or block. A professional-grade installation should never flex when you apply firm hand pressure to the mounted bracket.
Mistake #4 to #6: Awning Pitch Adjustment Errors
Pitch, or the slope angle of the awning fabric, is frequently overlooked, yet incorrect awning pitch adjustment is a leading cause of wind-related collapse.
Mistake #4: Setting the pitch too flat. A nearly horizontal awning catches wind like a wing on an airplane, generating lift that can snap the arms upward. A pitch that is too flat also allows rainwater to pool rather than drain.
Mistake #5: Setting the pitch too steep. While a steeper angle sheds wind better, an excessive slope reduces shade coverage and puts uneven tension on the torsion bar, leading to premature fabric sag.
Mistake #6: Ignoring the manufacturer’s recommended angle range. Most quality awnings specify an optimal pitch between 15 and 30 degrees depending on climate and rainfall patterns. Skipping this step is one of the quieter but still fatal retractable awning installation mistakes homeowners make.
Correct pitch should be set using the adjustable elbow joints at the point where the arms meet the wall bracket, and re-checked seasonally since extreme temperature swings can cause slight frame shifts.
Mistake #7 to #9: Wind Sensor Setup Oversights
Modern motorized awnings often include automated safety features, but a botched wind sensor setup leaves these protections completely useless when you need them most.
Mistake #7: Mounting the sensor in a sheltered spot. If the anemometer is tucked under an eave or behind a wall corner, it will never register true wind speed, and the awning will stay extended during a storm.
Mistake #8: Setting the wind threshold too high. Many installers leave the factory default sensitivity, which may be calibrated for 25 mph or higher. Coastal and open-plain properties need a lower, more conservative trigger point around 15 to 18 mph.
Mistake #9: Forgetting to test the automatic retraction function. A sensor that has never been tested is a sensor you cannot trust. Simulate a trigger during installation to confirm the motor actually retracts the fabric on command.
These overlooked details rank among the most dangerous retractable awning installation mistakes because they create a false sense of security. Homeowners assume the “smart” sensor will protect their investment, unaware that it was never properly calibrated.
According to guidance from the Old Farmer’s Almanac seasonal wind pattern resources, regional wind behavior varies significantly by season, so sensor thresholds should be reviewed at least twice a year rather than set once and forgotten.
Mistake #10 and #11: Structural and Spacing Oversights
Mistake #10: Choosing an oversized awning for the mounting surface. A wall rated for a 10-foot projection will not safely hold a 16-foot awning, regardless of how many brackets you add. Match the projection length to the wall’s load rating before purchase.
Mistake #11: Uneven bracket spacing across the width of the frame. Brackets placed too far apart create a seesaw effect on the main tube during gusts, causing metal fatigue at the weld points over time. Follow the exact spacing diagram, typically no more than 24 to 32 inches apart depending on arm length.
Both of these retractable awning installation mistakes share a common thread: they stem from treating the installation as a simple DIY weekend task rather than a structural project requiring real engineering judgment.
Preparing the Wall and Surrounding Structure
Before any bracket touches the wall, inspect the mounting zone for moisture damage, rot, or previous patch jobs. A visually solid wall can still hide compromised framing underneath.
If your home features decorative overhead structures near the patio, it is worth reviewing how other load-bearing accents are reinforced; for inspiration on combining structural strength with style, see these creative faux beam ceiling reinforcement ideas that illustrate how proper anchoring techniques apply across different outdoor living upgrades.
Clean the surface thoroughly, mark your pilot holes with painter’s tape to avoid drill wander, and always pre-drill masonry or stucco surfaces to prevent cracking around the bracket footprint.
A Step-By-Step Checklist to Avoid Retractable Awning Installation Mistakes
1. Confirm wall material and load rating. Identify whether you are mounting into wood framing, brick, concrete, or engineered siding, and select fasteners accordingly.
2. Mark bracket spacing precisely. Use a level and tape measure, never eyeball spacing on a structure that will bear repeated mechanical stress.
3. Torque bolts to spec. Over-tightening can crack masonry anchors, while under-tightening leaves play in the frame. Use a torque wrench when the manual specifies a value.
4. Set and test the pitch. Extend the awning fully and check the slope with a digital angle finder before locking the elbow joints.
5. Calibrate the wind sensor outdoors, in open air. Mount it where real gusts will reach the unit, not in a sheltered corner.
6. Run a full retraction cycle test. Simulate wind triggers manually to confirm automated safety retraction works before you ever rely on it during an actual storm.
Following this checklist closely eliminates the majority of retractable awning installation mistakes before the unit ever sees its first storm season.
Seasonal Maintenance to Prevent Future Failures
Even a flawless installation needs periodic attention. Inspect bracket bolts twice a year for rust, loosening, or hairline cracks in the surrounding wall surface.
Lubricate the torsion bar and elbow joints according to the manufacturer’s schedule, and re-test the wind sensor at the start of storm season to ensure the retraction trigger still fires correctly.
Gardeners and homeowners managing nearby plant beds should also keep climbing vines or shrub growth trimmed away from the mounting area, since unchecked foliage can trap moisture against brackets and accelerate corrosion. The Royal Horticultural Society’s guidance on climbing plant maintenance offers excellent tips on keeping vegetation controlled near structural wall fixtures.
Always retract the awning manually before any forecasted storm, even with a functioning wind sensor installed, as a backup safety habit.
Final Thoughts on Safe Retractable Awning Installation
A retractable awning should enhance your outdoor living space, not become a liability during the next windstorm. By addressing exterior wall bracket mounting with real structural anchors, dialing in a correct awning pitch adjustment, and completing a thorough wind sensor setup, you eliminate nearly every risk factor tied to collapse.
Take the time to review this list before your next installation or inspection. Avoiding these eleven retractable awning installation mistakes is the difference between a shade structure that lasts decades and one that becomes storm debris in its first season.