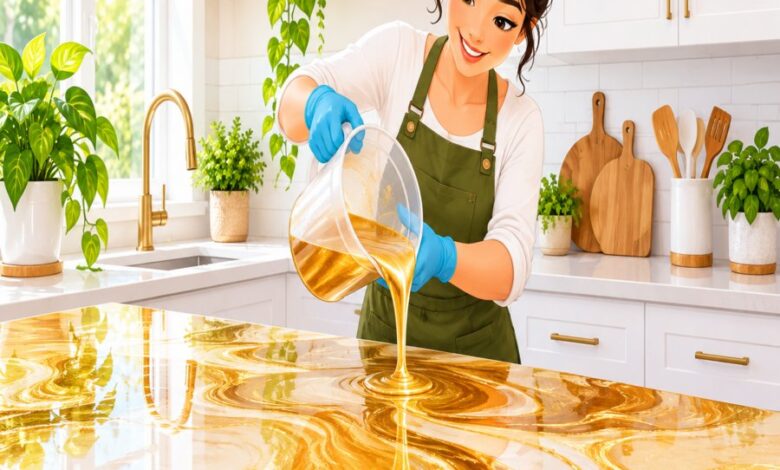
There is nothing quite as deflating as stripping off the plastic sheeting to reveal a countertop covered in cloudy swirls, bumpy ridges, or a surface that stays tacky to the touch days after pouring. Unfortunately, these frustrating outcomes are some of the most common epoxy countertop mistakes that DIY renovators run into, and they usually trace back to a handful of avoidable missteps. Epoxy resin is an unforgiving medium: it rewards precise ratios and clean prep, and it punishes shortcuts with sticky, tacky, or discolored surfaces that can ruin an entire weekend project.
The good news is that nearly every one of these failures is preventable once you understand why it happens. In this guide, we are breaking down the seven most costly epoxy countertop mistakes, how to recognize them before they ruin your pour, and exactly what to do to fix or avoid them for good.
Why Epoxy Countertop Mistakes Happen More Often Than You Think
Epoxy resin feels deceptively simple. Mix two parts, pour, and wait. In reality, it is a chemical reaction that is extremely sensitive to temperature, humidity, ratios, and timing.
Even a small five percent error in your measuring can throw off the entire cure, leaving you with a countertop that never fully hardens. Most epoxy countertop mistakes are not the result of bad products, but of rushed prep work and guesswork instead of precision.
Understanding the chemistry, even at a basic level, is the single best way to avoid the sticky, tacky disasters that send so many home renovators back to the hardware store for a second batch of resin.
Mistake 1: Inaccurate Mixing Ratios
The single most damaging error in any epoxy project is an incorrect resin-to-hardener ratio. Most countertop epoxies call for a precise 1:1 or 2:1 ratio by volume or weight, and eyeballing it is never acceptable.
Use a digital scale, not measuring cups. Weight-based measuring is far more accurate than volume because resin and hardener have different viscosities. A kitchen scale accurate to a gram will save you from one of the most frequent resin curing issues homeowners face.
Mix in small, manageable batches. Large batches are harder to measure accurately and tend to generate excess heat, which can accelerate curing unevenly and cause warping or cloudiness across the surface.
Mistake 2: Skipping Proper Surface Preparation
Epoxy bonds to a surface mechanically, not magically. If your substrate still has dust, grease, wax, or old sealant on it, the resin will struggle to adhere and may peel or bubble later.
Sand thoroughly before pouring. A light scuff with 120 to 150 grit sandpaper creates the microscopic texture epoxy needs to grip. Skipping this step is one of the quieter but costliest epoxy countertop mistakes, since the failure might not show up until weeks later when the coating starts lifting at the edges.
Wipe with isopropyl alcohol, not water. Water can leave behind mineral residue and introduce moisture into porous substrates like wood or laminate, which later surfaces as fisheyes or cloudy patches in the cured resin.
Mistake 3: Pouring in the Wrong Temperature or Humidity
Epoxy is highly sensitive to the environment it cures in. Most formulas are designed to work best between 72 and 80 degrees Fahrenheit with humidity below 50 percent.
Pour in a room that is too cold, and the resin will thicken prematurely, trapping air and creating a lumpy, uneven finish. Pour somewhere too hot or humid, and you risk a flash cure that skins over on top while the underside stays soft and tacky indefinitely.
This is one of the most common sources of resin curing issues, and it is entirely preventable with a simple room thermometer and a dehumidifier if you live somewhere damp. According to the Old Farmer’s Almanac, indoor humidity fluctuates significantly with the seasons, so checking conditions before every pour is a habit worth building, especially for DIYers working in garages or basements.
Mistake 4: Ignoring Bubbles During the Pour
Bubbles are inevitable when mixing resin, but leaving them untreated is what turns a minor cosmetic flaw into a permanent eyesore frozen inside your countertop.
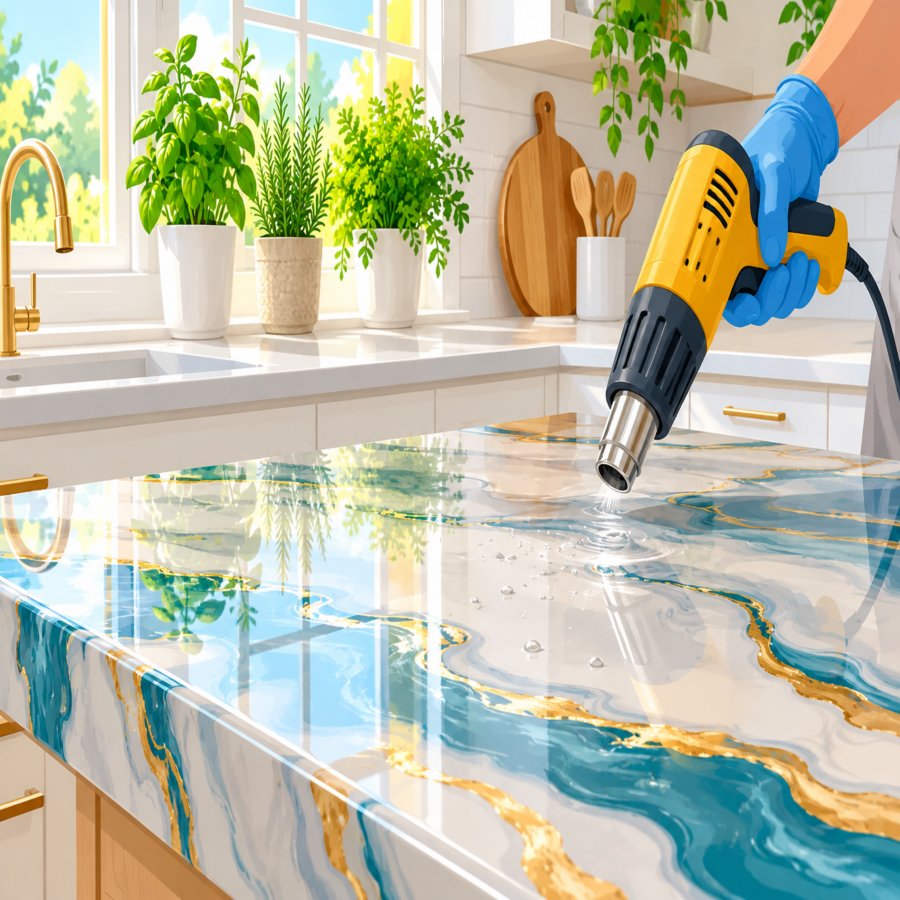
Use a heat gun or propane torch, briefly. Passing a torch quickly over the surface is the most reliable epoxy bubbles fix, as the heat lowers the surface tension and lets trapped air escape within seconds. Never linger in one spot, or you risk scorching the resin.
Pour slowly and mix gently. Aggressive stirring whips extra air into the mixture before it ever hits the countertop. Stir deliberately along the sides and bottom of your mixing container rather than whisking vigorously.
Catching bubbles within the first 20 minutes of pouring, while the resin is still self-leveling, gives you the best chance of a glass-smooth result.
Mistake 5: Rushing the Cure Time
Patience is the least glamorous but most important ingredient in any epoxy project. Most tabletop and countertop epoxies reach a touch-dry state within 24 hours but need 48 to 72 hours before light use, and up to a week for full chemical cure.
Placing items on the surface too soon, or wiping it down with cleaning products before it has fully hardened, is one of the epoxy countertop mistakes that leaves permanent indentations or a slightly tacky film that never quite disappears.
If your countertop still feels sticky after the manufacturer’s recommended cure window, it is almost always tied back to an earlier mixing or environmental error rather than simply needing more time.
Mistake 6: Choosing the Wrong Epoxy for the Job
Not all epoxy resins are created equal, and grabbing whatever is cheapest at the craft store is a recipe for disappointment on a full-size kitchen or bathroom surface.
Tabletop resin is not countertop resin. Thinner craft resins are designed for jewelry and coasters, not for surfaces that need to withstand hot pans, knife nicks, and daily scrubbing. Look specifically for food-safe, high-build countertop epoxy formulas.
Check the UV stability rating. Kitchens near sunny windows need a UV-resistant formula, or the surface will yellow within months, a disappointing outcome after all that careful work.
Mistake 7: Skipping a Test Batch Before the Real Pour
It is tempting to dive straight into the main pour, especially after weeks of planning, but skipping a small test batch is one of the most overlooked epoxy countertop mistakes among first-timers.
A test pour on a scrap piece of wood or tile lets you confirm your ratios, working time, and finish before committing your actual countertop. If the test batch stays tacky or cures cloudy, you have just saved yourself an expensive redo.
This single extra step, which takes less than an hour, is the cheapest insurance policy against every other mistake on this list.
How to Fix a Tacky or Sticky Epoxy Countertop
If you are already staring at a sticky countertop, do not panic. Most resin curing issues can be corrected with a recoat rather than starting completely over.
Wait it out first. Sometimes tackiness is simply an underestimated cure time, particularly in cooler rooms. Give it an extra 48 hours before taking any corrective action.
Sand and recoat if it stays sticky. Lightly sand the tacky layer, wipe it clean with isopropyl alcohol, and apply a fresh, correctly measured topcoat. This is the standard approach for any countertop refinishing diy project that has gone slightly sideways.
Strip it completely as a last resort. For countertops that never cured at all, a full sand-down back to the substrate and a fresh pour with corrected ratios is sometimes the only true fix.
Finishing Touches That Pull the Whole Room Together
Once your countertop cures beautifully and glossy, it is worth looking at the rest of the room with the same critical eye. A flawless epoxy surface deserves a kitchen or bar area that feels just as intentional.
If your ceiling still feels plain compared to your new statement countertop, consider adding architectural warmth overhead with these clever faux beam ceiling ideas that pair beautifully with a glossy epoxy finish below.
For gardeners who also like to bring greenery into kitchens with epoxy island counters, the Royal Horticultural Society offers excellent guidance on choosing low-maintenance houseplants that thrive in bright kitchen environments without clashing with glossy surfaces.
Final Thoughts on Avoiding Epoxy Countertop Mistakes
Epoxy countertops remain one of the most rewarding countertop refinishing diy projects a homeowner can tackle, delivering a custom, high-end look for a fraction of the cost of quartz or granite.
The difference between a showroom-quality finish and a sticky, cloudy disappointment almost always comes down to precision: accurate ratios, clean prep, controlled temperature, and patience through the full cure window.
Keep this list of epoxy countertop mistakes nearby during your next pour, and you will be far more likely to end up with the glassy, durable surface you pictured when you started the project.