Bottom Watering Plants: 7 Proven Hacks for Amazing Root Growth
Mastering the art of bottom watering plants is the single most effective way to guarantee spectacular root development. If you are tired of dealing with fungus gnats or crispy leaves, this technique will completely change your indoor gardening game. It is a simple shift that delivers massive results for your houseplants.
Many plant owners struggle with soil that becomes hydrophobic over time. When soil dries out completely, it repels moisture instead of absorbing it. By changing your hydration strategy, you can rescue struggling greenery and promote vibrant, unstoppable growth.
Why Bottom Watering Plants Works Better Than Traditional Methods
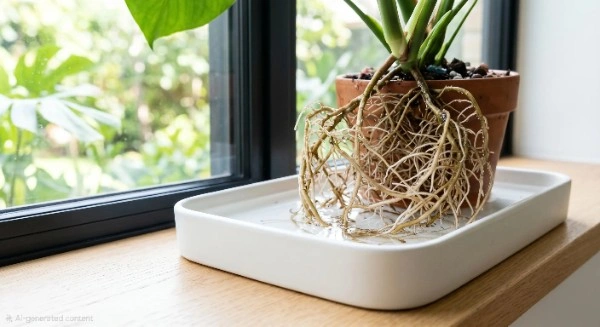
When you water from the top, the moisture often rushes down the sides of the nursery pot without truly saturating the root ball. This leaves the core of the root system bone dry and starving for nutrients. Bottom watering plants forces the potting soil to absorb moisture upward through capillary action.
This natural wicking process ensures every single root hair gets exactly the hydration it needs to thrive. It also keeps the top layer of the soil dry, which is the ultimate defense against annoying indoor pests. Fungus gnats need damp topsoil to lay their eggs, so keeping the surface dry eliminates their breeding ground instantly.
7 Proven Hacks for Bottom Watering Plants
1. Choose the Perfect Container
You need a shallow basin, a dedicated watering tray, or even a clean sink that is larger than your nursery pots. Fill the tray with a few inches of room temperature water to prevent shocking the sensitive roots. Never use freezing cold tap water, as it can severely stunt your plant growth and cause leaf drop.
For heavy feeders, using a large boot tray works exceptionally well for hydrating multiple pots at once. Just ensure the container is perfectly clean to avoid spreading bacterial infections between your indoor plants.
2. Time Your Soaking Routine Strictly
Knowing exactly when to pull your greenery out of the water is a critical hack for indoor gardening success. Most standard houseplants only need about fifteen to twenty minutes of soaking to become fully saturated. If you leave them submerged for hours, you risk drowning the delicate root hairs.
Set a loud timer on your phone the moment you place the pots in the water reservoir. Forgetting them in the basin is the fastest way to accidentally induce root rot and destroy your collection.
3. Check the Soil Surface Moisture
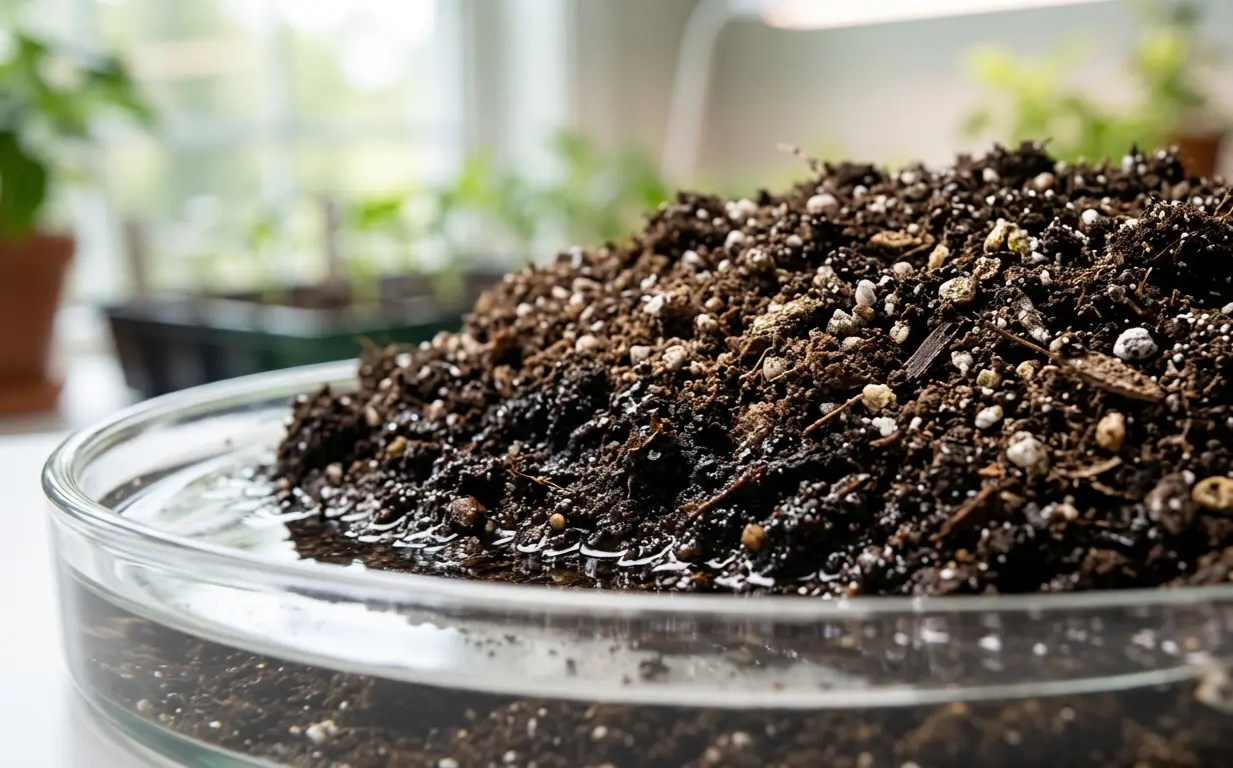
You will know the hydration process is complete when the potting soil just beneath the surface feels slightly damp. Touch the soil surface with your finger to verify the moisture has traveled all the way up through the root system. If it is still completely dry, let the pot sit in the tray for another five minutes.
If your plant is already suffering, check out our guide on Indoor Plants Dying? The Ultimate 5-Minute Fix to Save Them.
Some incredibly dense soils may take a bit longer to wick the moisture upward. Be patient and trust the capillary action to do the heavy lifting for you.
4. Let the Drainage Holes Breathe
After bottom watering plants, never put them directly back into a decorative cachepot without properly draining them first. Let the pots rest on a wire draining rack or empty sink for at least ten to fifteen minutes. This allows all excess water to escape freely.
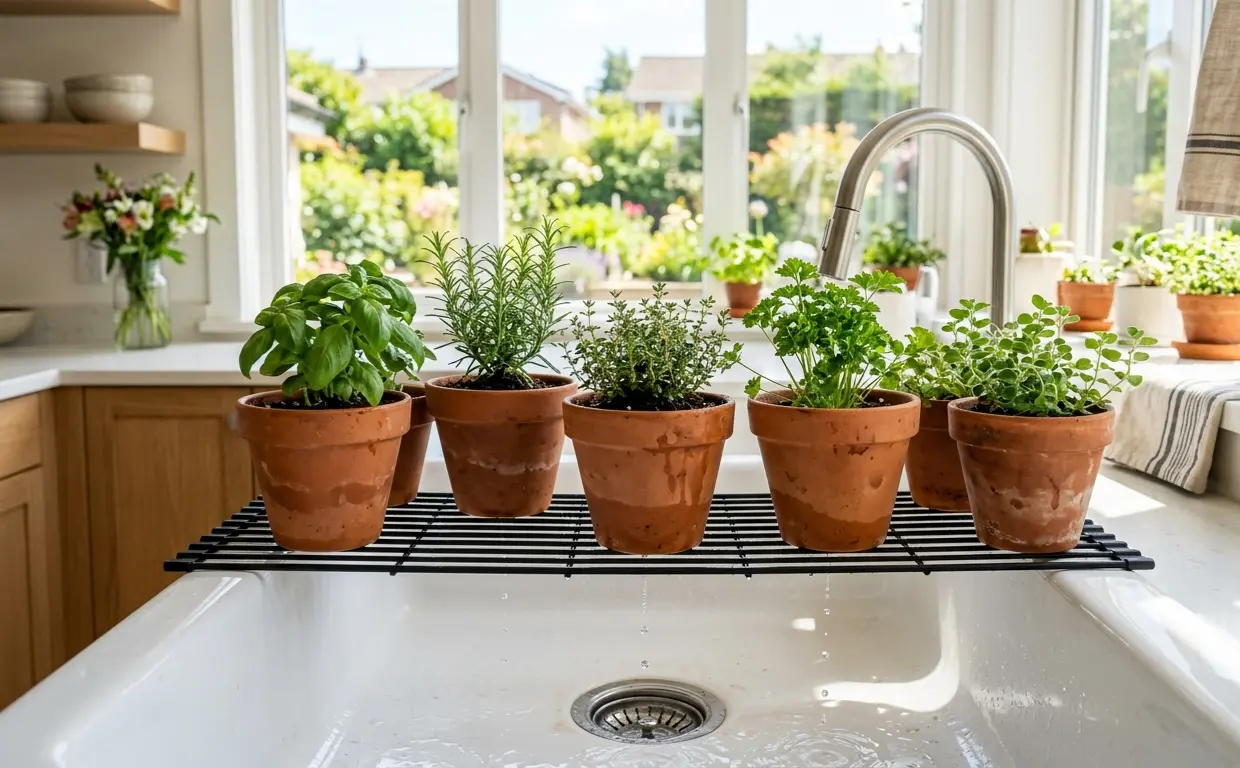
Trapping excess water inside a decorative pot creates a swampy environment at the base of the plant. Letting the drainage holes breathe prevents the dreaded soggy bottom that kills so many expensive tropical plants.
5. Add Liquid Fertilizer to the Reservoir
You can supercharge your seasonal growth by adding a high-quality diluted liquid fertilizer directly to your watering tray. The roots will pull the essential nutrients up evenly, preventing chemical burns on the fragile surface roots. This method provides a steady, gentle feeding for your greenery.
Always dilute your liquid fertilizer to half the recommended strength on the bottle to be perfectly safe. This gentle feeding routine provides brilliant foliage color without overwhelming the plant.
6. Flush the Soil Monthly
While bottom watering plants is incredible for overall root health, it can cause mineral salts from tap water to accumulate near the top of the soil. Once a month, you must flush the pot from the top with distilled or filtered water. This heavy top-watering washes away harmful buildup.
Master Gardeners Guide to Soil Flushing and Salt Buildup
Flushing keeps the soil pH perfectly balanced and prevents the leaf tips from turning brown and crispy. Just make sure you let the water run completely through the drainage holes during this monthly flush.
7. Group Your Pots by Size and Soil Type
To save massive amounts of time, place similarly sized pots in your watering tray together. Small terracotta pots will absorb moisture much faster than large plastic planters with dense soil. Grouping them ensures you do not overwater the tiny plants while waiting for the large ones to finish.
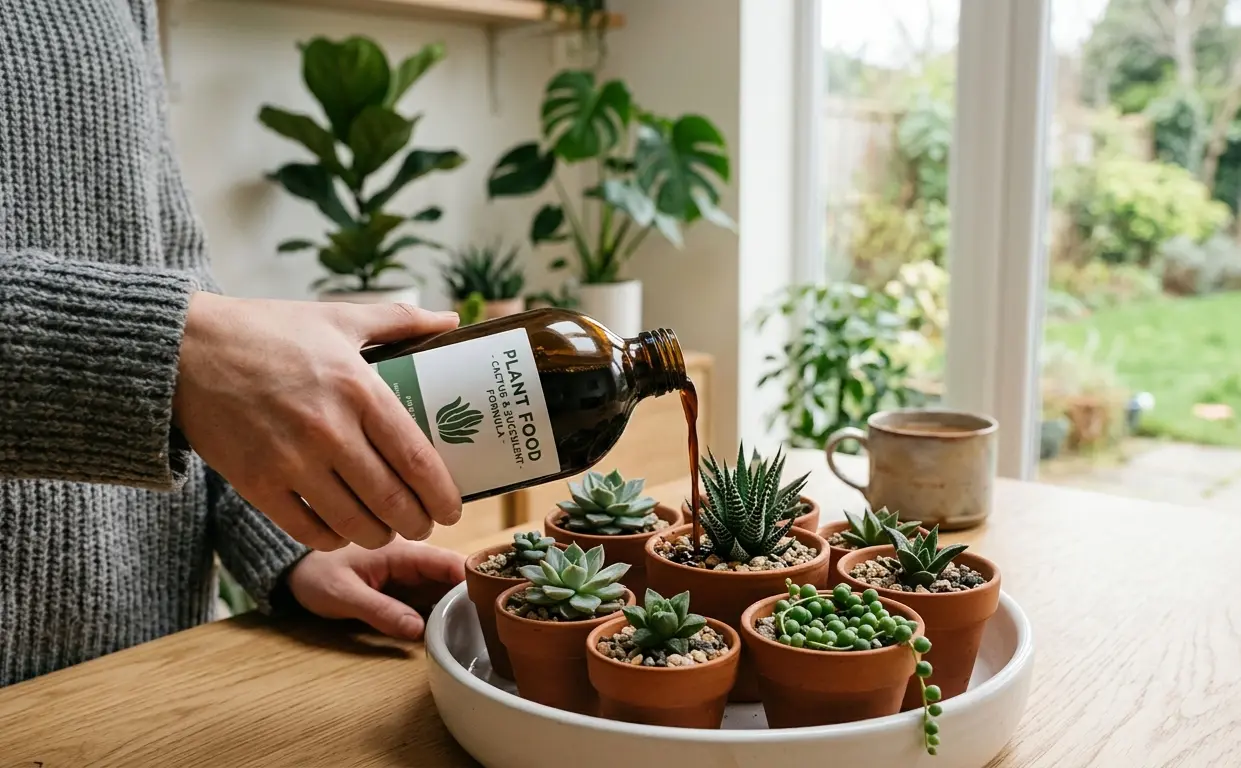
You can create a streamlined assembly line on your kitchen counter during watering day. Process all your small succulents first, then move on to the medium aroids, and finish with your large floor plants.
Final Thoughts on Upgrading Your Plant Care
Implementing these specific hacks will dramatically transform your indoor jungle into a thriving, vibrant oasis. Bottom watering plants builds a robust, incredibly deep root system that makes your houseplants highly resilient to environmental stress. Start using this method today and watch your foliage explode with life.