If you have been looking for the absolute best methods for propagating your Monstera, you have finally found the right place. Multiplying your beautiful Swiss Cheese plant is one of the most rewarding experiences for any indoor gardening enthusiast. However, turning a single beautiful plant into a sprawling indoor jungle requires a bit more than just snipping a stem and throwing it in a glass of tap water. You need a solid, proven strategy to guarantee success.
Many plant parents feel intimidated by the idea of taking a sharp pair of shears to their prized foliage. The fear of causing permanent damage or losing a beautiful leaf to rot is incredibly common. But mastering this botanical skill is entirely within your reach, regardless of your past gardening experience.
By following a few expert-level guidelines, you can ensure a nearly perfect success rate with your plant cuttings. We have compiled the ultimate masterclass to guide you through the process step by step. Let us explore the fundamental secrets and creative rules that will make the entire journey foolproof.
Rule 1: The Golden Rule of Propagating Your Monstera Is Finding the Node
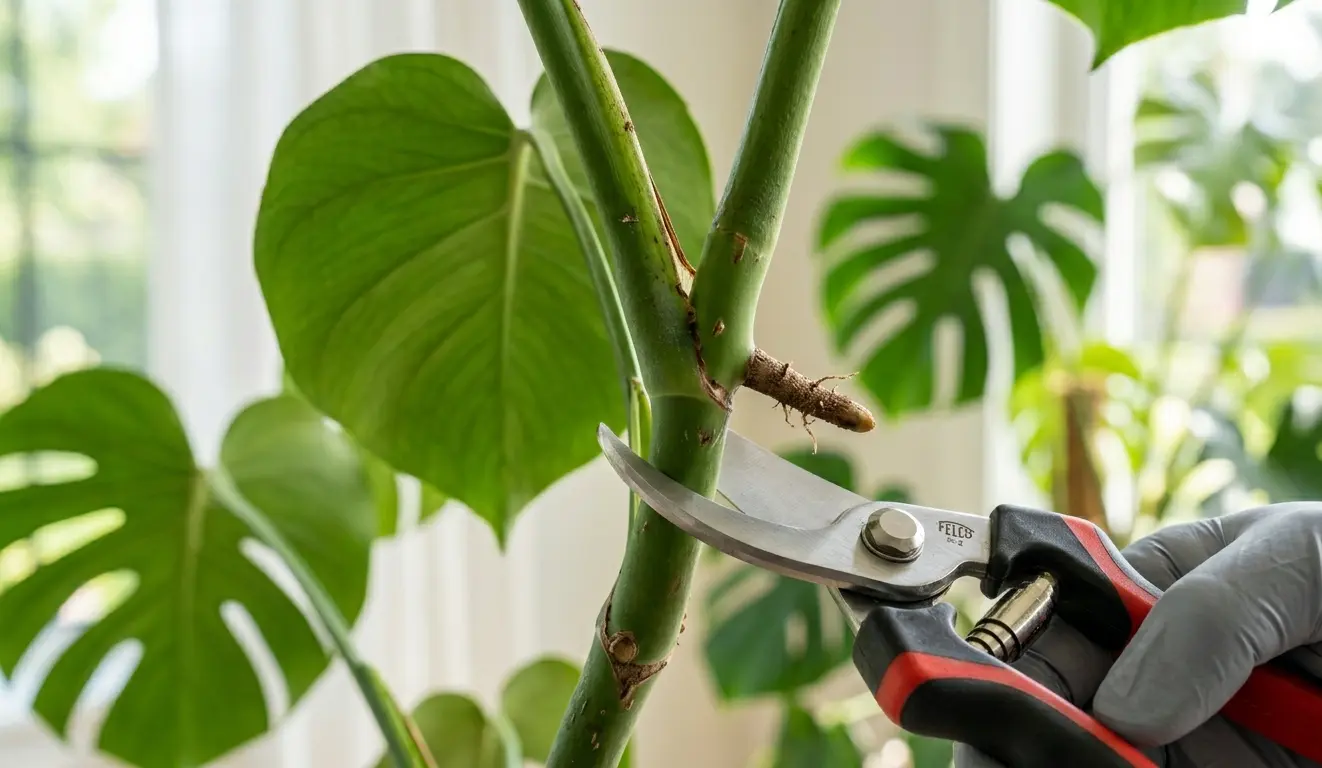
The single most critical factor in propagating your Monstera is successfully identifying and cutting below a node. A node is the thick, bumpy joint on the main stem where leaves, aerial roots, and new growth originate. If you cut a beautiful leaf by the petiole without including a node, you will simply end up with a “zombie leaf.”
A zombie leaf might look green and healthy in a vase of water for several months. However, because it lacks the crucial cellular blueprint found only in the node, it will never grow new roots or transform into a full plant. You must train your eyes to locate these structural bumps along the main vine.
identifying a healthy node on a Monstera
Once you locate a healthy node, you need to prepare your tools carefully. Always use a pair of bypass pruning shears or a razor-sharp horticultural knife that has been thoroughly sterilized. Wiping your blades with isopropyl alcohol prevents the transfer of harmful bacteria or fungal spores directly into the fresh wound of your plant.
Make your cut approximately one inch below the node at a clean, forty-five-degree angle. This angled cut increases the surface area for water absorption while preventing the bottom of the stem from sitting flat against the base of your propagation vessel. A clean, angled slice is the foundation of healthy root development.
Rule 2: Implement the Callus Protocol to Prevent Rot
A common mistake eager plant owners make is immediately dunking their fresh cutting directly into water or wet soil. Doing this drastically increases the risk of stem rot, which is the number one enemy of propagating your Monstera. Instead, you need to practice the art of patience by allowing the fresh cut to form a protective callus.
After making your precise cut, lay the cutting on a clean paper towel in a warm, dry area away from direct sunlight. Leave it alone for at least one to two hours, or even up to twenty-four hours for particularly thick stems. This exposure to air allows the plant’s natural healing mechanisms to seal the wound.
The cut end will eventually look slightly dried out and form a thin, hardened crust. This protective barrier acts like a botanical scab, keeping devastating waterborne pathogens out of the vascular tissue while still allowing new roots to push through.
For an extra layer of protection, many greenhouse experts utilize a simple pantry staple. Dipping the freshly cut, callused end into a light dusting of ordinary cinnamon can work wonders. Cinnamon acts as a natural, mild fungicide that helps ward off rot while the cutting establishes its new root system.
Our guide to 7 Brilliant Low Cost Kitchen Layout Designs You Will Love
Rule 3: Choose Your Medium Wisely When Propagating Your Monstera
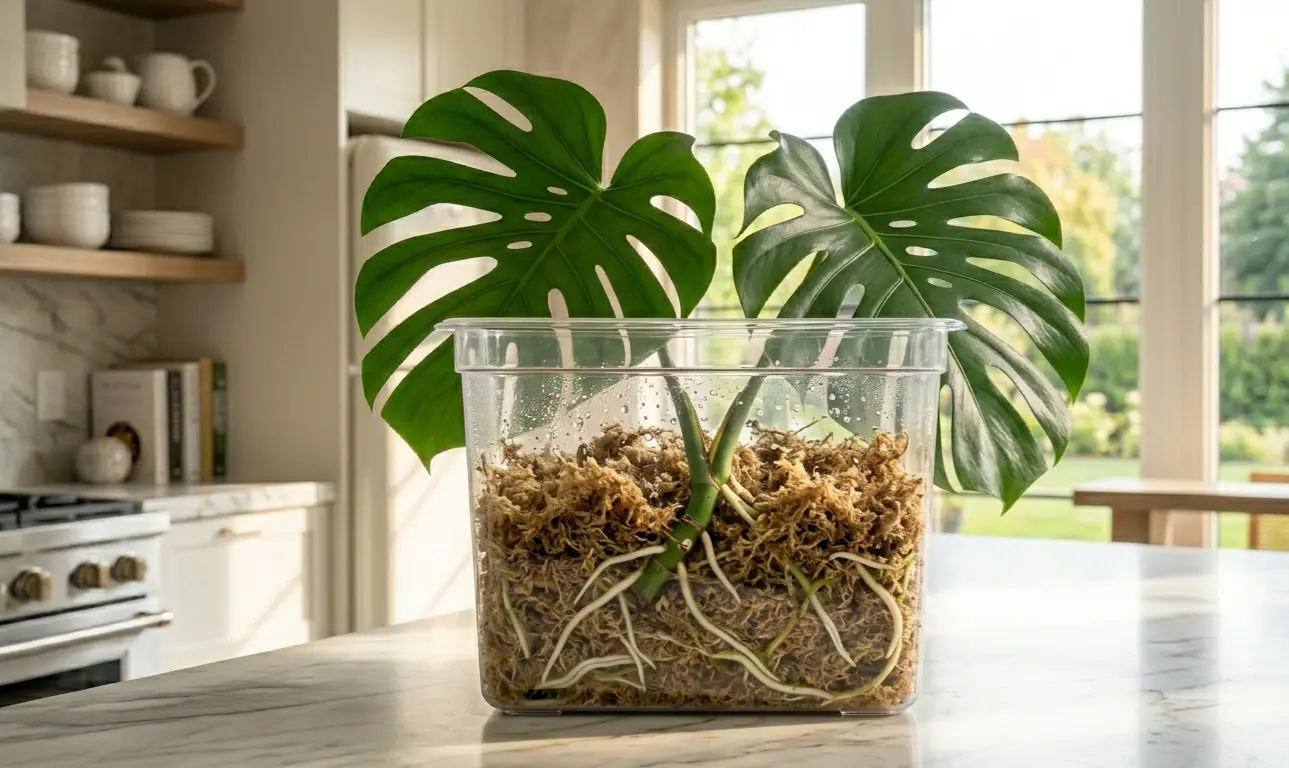
While sticking a cutting in a decorative glass jar filled with water is visually stunning, it is not the only way to encourage root growth. Exploring alternative rooting mediums can significantly speed up the time it takes for your plant to establish itself. Sphagnum moss is highly regarded by professional growers for its incredible moisture retention and natural aeration.
To propagate in moss, soak high-quality, long-fibered sphagnum moss in warm water and then squeeze out the excess moisture until it feels like a damp sponge. Place your cutting in a clear plastic cup or propagation box, gently packing the damp moss around the node and aerial roots. The high humidity environment created by the moss encourages rapid, robust root branching.
Another highly effective alternative is Lightweight Expanded Clay Aggregate, commonly known as LECA. These baked clay pebbles provide excellent structural support for heavy cuttings while delivering a perfect balance of oxygen and water to the developing roots. LECA drastically reduces the risk of rot because the plant stem never sits directly in stagnant water.
Watch this visual guide on executing the perfect moss propagation setup for your Monstera cuttings.
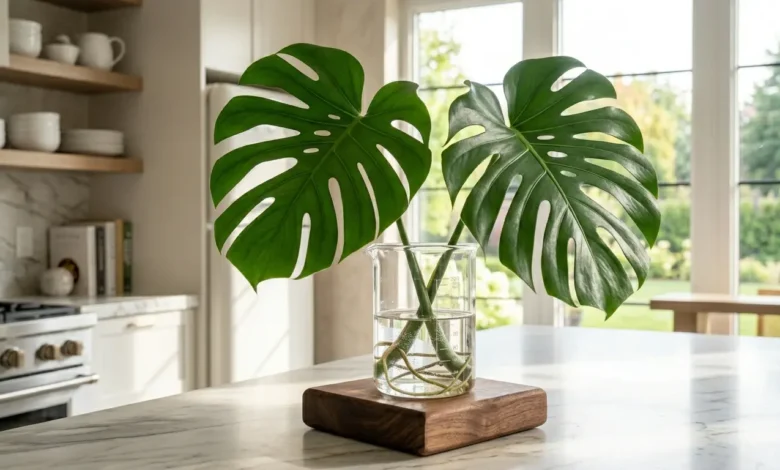
If you choose to stick with the classic water propagation method, you must remain diligent about maintenance. You cannot simply set it on a shelf and forget it. You must change the water completely every three to five days to replenish depleted oxygen levels and wash away any bacterial buildup.
Rule 4: Master the Rooting Environment and Microclimate
Your newly taken cuttings are highly vulnerable and require specific environmental conditions to thrive. Temperature plays a massive role in the success rate of propagating your Monstera. These tropical beauties prefer ambient room temperatures resting consistently between seventy and eighty degrees Fahrenheit.
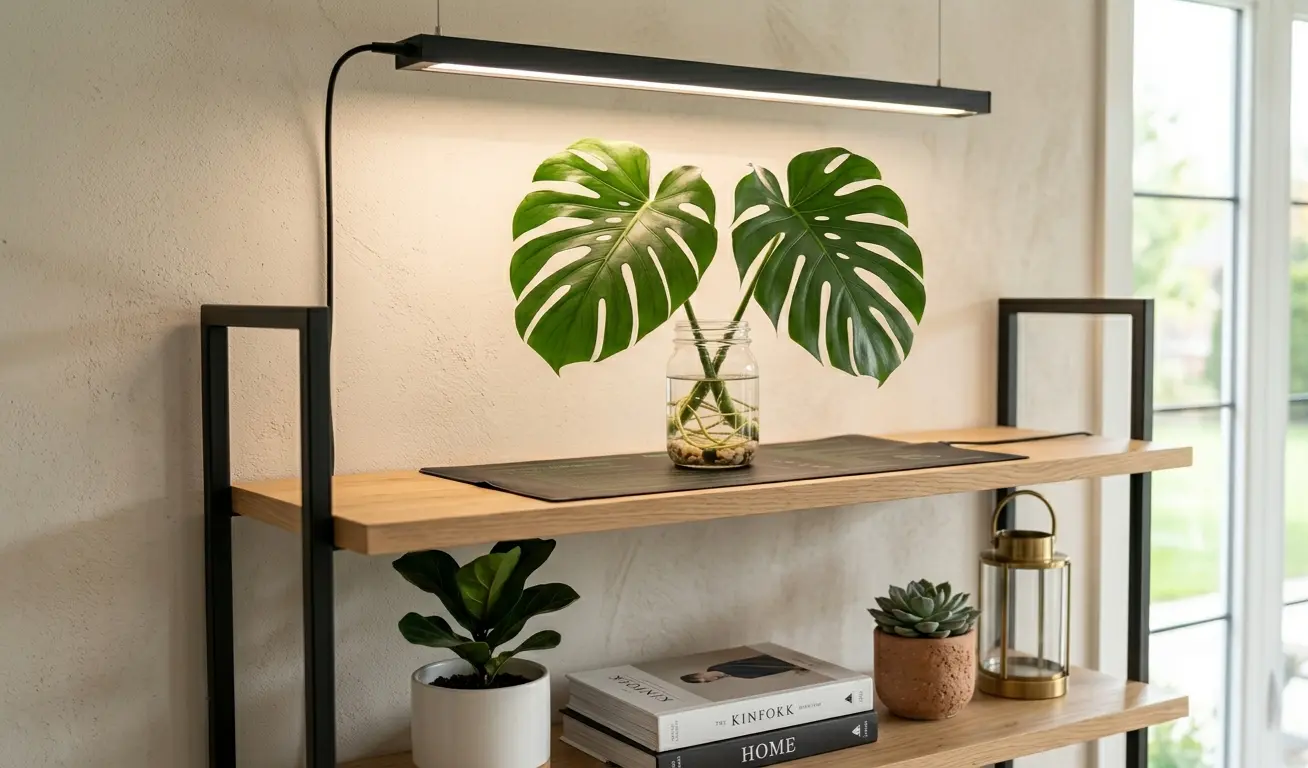
If your home runs cold, especially during the winter months, investing in a seedling heat mat can be a game-changer. Placing your propagation vessels on a heat mat gently warms the rooting medium, which stimulates cellular division and signals the plant to push out new roots rapidly. Cold, stagnant water or soil will almost always lead to failure.
Lighting is equally crucial during this delicate phase. Cuttings do not have established root systems to hydrate themselves efficiently, so placing them in harsh, direct sunlight will scorch the leaves and dehydrate the plant. Instead, provide them with abundant, bright, indirect light.
A spot near an east-facing window or a few feet back from a bright south-facing window is usually ideal. If natural light is scarce in your home, utilize a full-spectrum LED grow light positioned about twelve inches above the foliage. Keep the lights on a timer for twelve to fourteen hours a day to simulate ideal growing conditions.
Rule 5: Execute the Perfect Transition to Soil
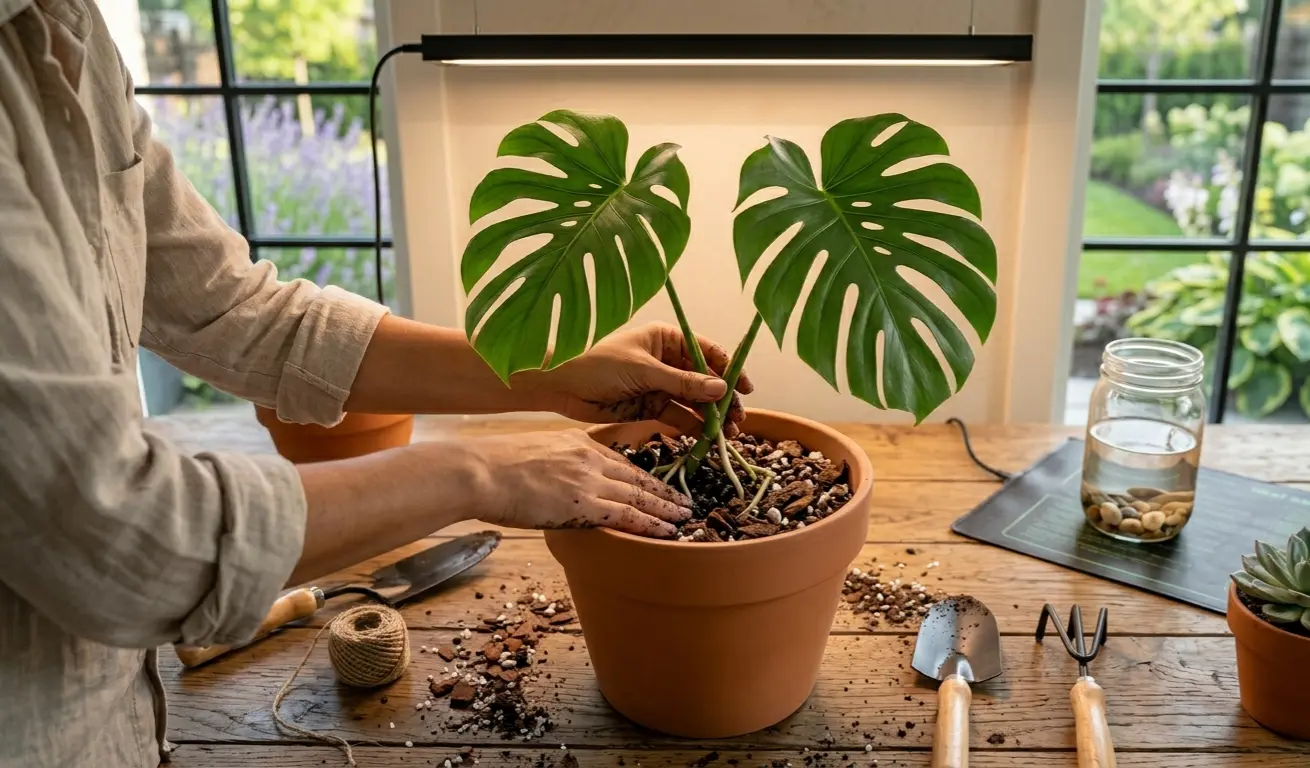
The final and most sensitive step in propagating your Monstera is the transition from the rooting medium into a permanent planter. You should wait until the new water roots or moss roots are at least two to three inches long. More importantly, wait until those primary roots have started growing smaller, secondary lateral roots.
Water roots are physically different from soil roots; they are thinner, more fragile, and adapted to an aquatic environment. Moving them directly into dense, heavy potting soil will shock the plant and suffocate the roots. You must prepare a specialized, highly aerated aroid mix to ensure a seamless transition.
Create a chunky mixture utilizing equal parts high-quality potting soil, coarse orchid bark, and chunky perlite. Adding a handful of horticultural charcoal and nutrient-rich worm castings will elevate the mix significantly. This specific blend mimics the loose, well-draining forest floor where these plants naturally grow in the wild.
When potting your newly rooted cutting, use a nursery pot that is only slightly larger than the root ball itself. Overpotting leaves too much excess wet soil around the roots, leading directly to suffocation and rot. Water the newly potted plant thoroughly until water runs out of the drainage holes, and keep the soil slightly more moist than usual for the first two weeks as the plant adapts to its new home.
Enjoying Your Expanding Indoor Jungle
By implementing these expert-level strategies, you will drastically increase your success rate and confidence as an indoor gardener. The journey of snipping a vine and nurturing it into a fully established, thriving plant is an incredibly satisfying process. Patience, cleanliness, and the right environmental controls are your best tools.
Do not be discouraged if a cutting occasionally fails to root; it happens to even the most seasoned greenhouse professionals. Learn from the process, adjust your lighting or watering habits, and try again. Soon enough, you will have more thriving plants than you have window space.
Whether you plan to keep your new plants to create a lush, tropical oasis in your living room or give them away to friends and family, mastering this skill is invaluable. Happy growing, and enjoy the beautiful rewards of your hard work and botanical dedication.