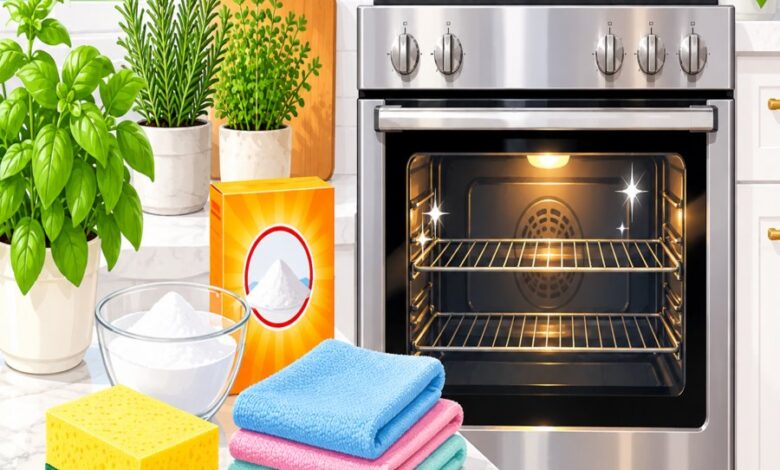
A sparkling oven feels like a small domestic victory, but that satisfaction can turn sour fast when you discover scratches, dullness, or rust spots creeping across the enamel surface. Most of this damage traces back to common oven cleaning mistakes that homeowners repeat without realizing the harm they cause. Interior porcelain enamel is tougher than it looks, yet it has real limits, and pushing past them with the wrong tools, products, or techniques slowly destroys the glossy, nonstick finish you paid for. This guide walks through the ten most destructive habits sabotaging your oven, and shows you exactly how to clean with confidence instead of chemistry-set guesswork.
Essential Guide to oven cleaning mistakes
Why Porcelain Enamel Is More Fragile Than It Looks
Porcelain enamel is essentially glass fused onto metal at extremely high heat, which gives it that smooth, glossy, heat-resistant shine. That glass-like quality is exactly why it chips, scratches, and etches so easily when treated roughly.
Unlike stainless steel or cast iron, enamel doesn’t forgive abrasive scrubbing or harsh acids. Once the surface is compromised, moisture and grease seep into the exposed metal underneath, leading to rust, discoloration, and permanent dull patches.
Understanding this fragility is the first step toward avoiding the oven cleaning mistakes that quietly degrade your appliance every time you clean it. Enamel protection starts with respecting what the material actually is, not just what it looks like.
Mistake One: Scrubbing With Steel Wool or Abrasive Pads
Steel wool feels satisfying because it cuts through baked on grease removal challenges almost instantly. Unfortunately, it also leaves thousands of microscopic scratches across the enamel’s glassy surface.
Those scratches trap future grease and grime even more stubbornly than before, creating a frustrating cycle where each cleaning session makes the next one harder.
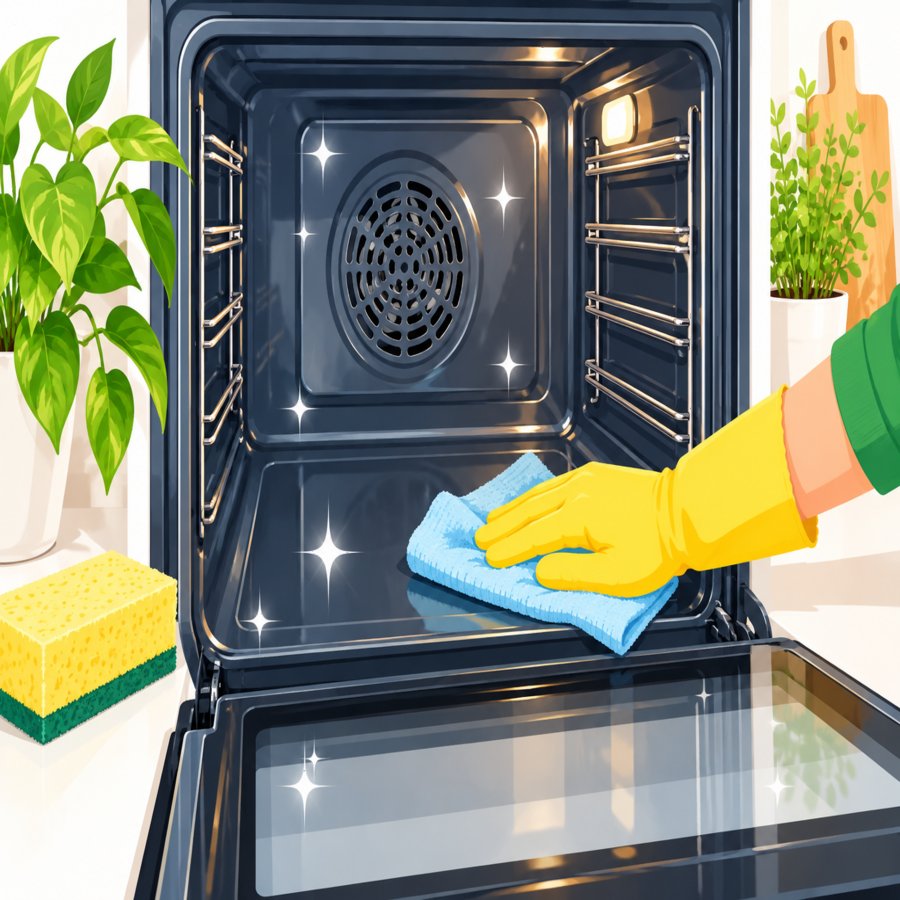
Better approach: Use a soft nylon brush, microfiber cloth, or non-abrasive sponge paired with a baking soda paste. Let the paste sit before wiping, rather than relying on brute force.
Mistake Two: Ignoring Self Clean Cycle Hazards
The self-cleaning feature seems like a magic shortcut, but it carries real risks that many owners overlook. The extreme heat, often exceeding 800°F, can crack enamel that already has small chips or stress points.
These self clean cycle hazards extend beyond the enamel itself. The intense heat can also damage heating elements, trigger smoke from residual grease, and even warp nearby plastic components if ventilation is poor.
Running this cycle repeatedly without giving the oven rest periods between uses is one of the more overlooked oven cleaning mistakes that shortens appliance lifespan significantly.
Better approach: Reserve self-clean for a few times a year at most, and always remove loose debris beforehand to reduce smoke and residue buildup.
Mistake Three: Spraying Harsh Chemical Cleaners Directly on Hot Surfaces
Commercial oven cleaners often contain lye or sodium hydroxide, powerful enough to dissolve grease but also strong enough to etch enamel when applied to a hot or warm surface.
Spraying these chemicals while the oven is still warm accelerates the reaction, causing uneven bleaching or clouding across the enamel finish. It also releases fumes faster than your kitchen ventilation can handle.
Better approach: Always let the oven cool completely, open windows for ventilation, and test any commercial cleaner on a small hidden area first.
Mistake Four: Letting Spills Bake Over and Over Again
Every time a spill goes uncleaned and gets reheated during the next cooking session, it bonds more tightly to the enamel surface. This compounding effect is what turns a simple wipe-up into a serious baked on grease removal project.
Sugary spills are particularly destructive because they caramelize and essentially fuse to the surface, sometimes requiring aggressive scraping that damages the glossy coating.
Better approach: Wipe spills while the oven is still warm but not hot, using a damp cloth. This prevents layers of grease from accumulating over weeks or months.
Mistake Five: Using Metal Scrapers and Sharp Tools
Reaching for a butter knife or metal putty scraper to chip away hardened residue feels efficient, but it gouges the enamel almost instantly. Even a single aggressive scrape can leave a permanent mark.
These marks aren’t just cosmetic. Once the enamel barrier is broken, the exposed metal beneath becomes vulnerable to rust, especially in humid kitchens or near steam-heavy cooking.
Better approach: Soften stuck-on residue first with a damp cloth or baking soda paste left to sit for 15-20 minutes, then use a plastic scraper or silicone spatula edge to lift it gently.
Mistake Six: Overlooking Door Seals and Hinges
Most cleaning attention goes to the oven floor and walls, leaving the door gasket, hinges, and glass edges neglected. Grease buildup in these areas eventually seeps toward enamel seams, accelerating wear from the edges inward.
A damaged seal also lets heat escape unevenly, forcing the oven to work harder and run hotter than necessary, which stresses the enamel surface over time.
Better approach: Wipe the gasket area monthly with a barely damp cloth, and avoid soaking it since trapped moisture can cause the seal to deteriorate faster.
Mistake Seven: Mixing Incompatible Cleaning Chemicals
Combining ammonia-based oven cleaners with bleach or vinegar creates toxic fumes and can also trigger unpredictable chemical reactions on the enamel surface, sometimes leaving permanent discoloration.
This is one of the more dangerous oven cleaning mistakes because the risk isn’t just cosmetic, it’s a genuine health hazard in an enclosed kitchen space.
Better approach: Stick to one cleaning method per session. Rinse thoroughly and let the surface dry before switching to a different product if the first attempt wasn’t effective enough.
Mistake Eight: Cleaning With Excess Water and Soaking the Interior
It seems logical that more water means more effective cleaning, but oversaturating the oven interior can seep into vents, electrical components, and insulation beneath the enamel panels.
Trapped moisture behind enamel panels contributes to rust formation from the inside out, a problem you won’t notice until bubbling or flaking appears months later.
Better approach: Use a lightly damp cloth rather than pouring or spraying liquid generously. Always dry the interior completely with a clean towel before closing the door.
Mistake Nine: Using the Wrong Cleaning Schedule for Enamel Protection
Waiting months between deep cleans forces you into aggressive scrubbing just to catch up, while cleaning too frequently with harsh products wears down the enamel’s protective sheen prematurely.
Proper oven enamel protection relies on a balanced rhythm: light wipe-downs weekly, moderate cleaning monthly, and a deeper session only when truly needed. This approach echoes the same philosophy found in thoughtful layered home maintenance routines that prevent small issues from becoming big renovation projects.
Consistency, not intensity, is what preserves that factory-fresh glossy enamel look for years rather than months.
Mistake Ten: Skipping Manufacturer Guidelines Entirely
Every oven model has specific care instructions tucked into the manual, yet most people never read them, relying instead on generic internet advice or whatever worked on a previous appliance.
Some manufacturers explicitly warn against self-cleaning cycles for certain enamel finishes, while others specify exact cleaner types that won’t void the warranty or damage the coating.
Better approach: Keep your manual or find a digital copy online, and reference it before trying any new cleaning method. This single habit prevents more oven cleaning mistakes than almost any other tip in this guide.
Gentle Techniques That Actually Protect Enamel Long-Term
Prevention beats correction every time. A thin layer of oven liner or a baking sheet placed beneath dishes catches drips before they hit the enamel floor at all.
For stubborn baked on grease removal situations, a paste of baking soda and water applied overnight, then wiped with a soft cloth in the morning, works remarkably well without a single harsh chemical.
Vinegar and water solutions in a spray bottle also help cut through grease residue gently, and they neutralize odors left behind by baking soda paste during the rinse step.
For broader kitchen and gardening maintenance inspiration, resources like the Royal Horticultural Society offer excellent guidance on maintaining durable surfaces across both indoor and outdoor living spaces, reinforcing that gentle, consistent care always outperforms aggressive quick fixes.
Building a Smarter Oven Cleaning Routine Going Forward
Avoiding these ten oven cleaning mistakes isn’t about working harder, it’s about working smarter with gentler tools and better timing. A quick wipe after cooking prevents the kind of buildup that demands drastic measures later.
Pair soft tools with patient techniques, respect the self clean cycle hazards by using that feature sparingly, and always prioritize oven enamel protection over speed.
Your oven’s glossy interior can genuinely last the life of the appliance when treated with the same care you’d give any other glass surface in your home, proving that the gentlest approach is almost always the most effective one.