
If your toilet bowl looks permanently stained no matter how much bleach you pour into it, you are not alone. Hard water deposits build up quietly over months, leaving behind a crusty ring that scrubbing brushes and harsh chemicals simply cannot touch. That is exactly where pumice stone hacks come to the rescue, offering a gentle yet surprisingly powerful way to dissolve stubborn mineral buildup without damaging your fixtures. In this guide, we are breaking down five unstoppable pumice stone hacks that will leave your scaled toilet bowl gleaming like the day it was installed.
Why Pumice Stone Hacks Work Better Than Chemical Cleaners
Pumice stone is a lightweight volcanic rock filled with tiny air pockets, giving it a naturally abrasive texture that feels almost soft to the touch. That texture is precisely why pumice stone hacks have become a go-to solution for homeowners battling a stubborn hard water ring toilet problem.
Unlike chlorine-based cleaners that mask stains temporarily, pumice physically lifts calcium and lime deposits right off the porcelain surface. The science behind it is simple: when used wet, the stone’s micro-abrasive surface grinds away mineral layers without scratching glazed porcelain, as long as you follow proper technique.
Most homeowners reach for pumice only after their go-to cleaners fail, but seasoned cleaning experts know better. Using it proactively, once every few weeks, prevents deposits from hardening into the stubborn rings that require serious elbow grease later on.
A natural, budget-friendly fix Pumice stones cost just a few dollars and last for dozens of cleaning sessions, making them one of the most cost-effective tools in your home cleaning arsenal. There is no need for expensive descaling products when a simple volcanic rock can do the job just as well, if not better.
Hack One: The Wet Pumice Glide for Mineral Deposit Toilet Rings
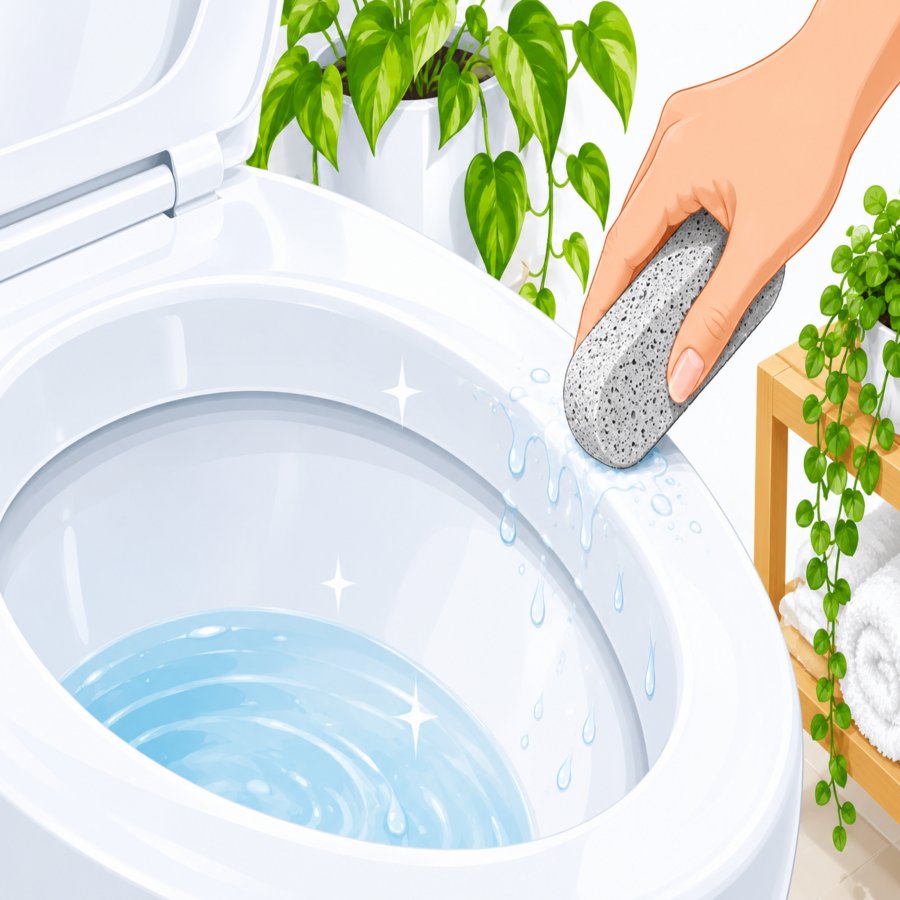
The most fundamental of all pumice stone hacks is also the simplest. Submerge your pumice stone in warm toilet water for about two minutes before use, allowing it to soften slightly and reducing the risk of surface scratches.
Once softened, glide the stone gently across the mineral deposit toilet ring using light, even strokes. Never apply heavy pressure, since the goal is to let the abrasive texture do the work gradually rather than forcing it.
Work in small sections Focus on one quadrant of the bowl at a time, rinsing the stone frequently to clear away loosened mineral debris. This keeps grit from re-scratching the surface as you move along.
Within a few minutes, you will notice the brownish-orange ring lifting away, revealing the bright white porcelain underneath. This single technique alone resolves the majority of mild to moderate staining cases.
Hack Two: Scratch Free Porcelain Cleaning With a Soap Barrier
Scratching porcelain is the number one fear homeowners have when attempting pumice stone hacks for the first time, and rightfully so. Fortunately, there is a clever workaround that virtually eliminates the risk entirely.
Before scrubbing, coat the stained area with a thin layer of liquid dish soap or specialized toilet bowl gel. This creates a lubricating barrier between the pumice and the porcelain, enabling truly scratch free porcelain cleaning every single time.
Test on a hidden spot first Always try your pumice stone on an inconspicuous area, such as under the rim, before tackling the main stain. This confirms your technique is gentle enough for your specific porcelain finish.
The soap barrier method works wonders on older toilets with slightly worn glaze, which are more susceptible to visible scratching than newer, fully glazed models. Combining soap with slow, deliberate strokes gives you maximum stain removal with minimal risk.
Interestingly, this same gentle-abrasion philosophy applies to other home surfaces too. If you enjoy experimenting with textured design elements around the house, you might also appreciate how a fluted accent wall design adds dimensional texture to a bathroom while still being easy to wipe clean and maintain.
Hack Three: Pairing Pumice With Vinegar for Deep Descaling
For toilets that have not been cleaned in a long while, plain pumice scrubbing may need a little chemical assistance. White vinegar is a mild acid that softens calcium buildup, making the abrasive action of pumice far more effective.
Pour two cups of undiluted white vinegar directly into the bowl and let it sit for thirty minutes to an hour. The acidity breaks down the crystalline mineral structure, loosening its grip on the porcelain before you even pick up the stone.
Why this combination outperforms store-bought descalers Many commercial descaling products rely on similar acidic compounds but add unnecessary fragrances and dyes. Vinegar achieves the same softening effect naturally, and pairing it with pumice stone hacks delivers a one-two punch that tackles even years-old buildup.
After the soak, flush the toilet to drain most of the vinegar, then apply the pumice stone as usual. You should notice significantly less resistance as the stone glides across the previously stubborn ring.
Gardeners already know vinegar’s versatility outdoors, since it is also commonly used as a natural weed deterrent around patio stones and walkways. Bringing that same multipurpose ingredient indoors for descaling simply makes smart household sense.
Hack Four: Targeting the Waterline for a Hard Water Ring Toilet Fix
The waterline is where hard water deposits concentrate most heavily, since it marks the boundary between constant moisture exposure and air. This band of buildup is typically the thickest and most discolored part of any hard water ring toilet.
To tackle it effectively, lower the water level first by turning off the supply valve and flushing the tank empty. This exposes the full ring, allowing your pumice stone unobstructed access to the entire stained band.
Circular motion technique Rather than scrubbing back and forth, move the stone in small circular motions along the waterline. This distributes abrasive contact evenly and prevents any single spot from being over-scrubbed.
Homes with notably hard water, often identified by chalky faucet residue or cloudy glassware, will need to repeat this hack more frequently. Installing a water softening system can dramatically reduce how often you need to rely on pumice stone hacks in the first place.
According to cleaning guidance published by Better Homes & Gardens, consistent mineral deposit maintenance prevents permanent etching in porcelain fixtures, reinforcing why early intervention with gentle abrasives matters so much.
Hack Five: Maintaining Scratch Free Porcelain Cleaning Long-Term
Removing existing stains is only half the battle. The real win comes from maintaining that gleaming finish so deposits never get the chance to harden again.
Store your pumice stone in a small dish near the toilet so it is always within reach for quick touch-ups. A thirty-second once-over every week keeps mineral buildup from accumulating into a visible ring at all.
Rinse and dry your stone properly After each use, rinse the pumice thoroughly and let it air dry completely before storing. A damp stone left in a closed container can develop mold or mildew, which defeats the purpose of a hygienic cleaning tool.
Replace your pumice stone every few months, especially once it becomes smooth or starts crumbling at the edges. A worn-down stone loses its abrasive quality and will not deliver the same reliable results on tough buildup.
Beyond the toilet bowl, pumice stones are wonderfully versatile around the home and garden. They work beautifully for scrubbing clay pot residue, smoothing rough garden tool handles, and even removing light rust from metal planters, proving that pumice stone hacks extend well past the bathroom.
Common Mistakes That Undermine Pumice Stone Hacks
Even the best technique can fail if a few critical mistakes creep into your routine. Knowing what to avoid is just as important as knowing the proper method.
Never use a dry pumice stone Scrubbing porcelain with a completely dry stone is the single fastest way to cause scratches. Always ensure both the stone and the toilet surface are wet before any contact is made.
Avoid using it on fiberglass or acrylic surfaces Pumice is formulated for hard, glazed porcelain only. Using it on fiberglass tubs, acrylic sinks, or colored resin fixtures will almost certainly leave permanent dulling or scratches.
Do not mix cleaning chemicals carelessly Combining vinegar with bleach-based products creates toxic fumes that are dangerous to inhale. Stick to one cleaning agent at a time and rinse thoroughly between different products.
Patience is another underrated factor. Rushing through heavy-duty stains with aggressive pressure often backfires, whereas slow and steady strokes consistently produce the cleanest, safest results.
Preventing Future Mineral Deposit Toilet Buildup
Prevention is always easier than cure, and a few simple habits can dramatically slow down future staining. Small, consistent adjustments protect your hard-earned gleaming finish for the long haul.
Keep the lid closed between uses This simple habit reduces airborne mineral dust settling onto the bowl’s surface, slowing the rate at which new deposits form.
Install an inline water filter A whole-house or toilet-specific filter reduces the calcium and magnesium content reaching your fixtures, directly addressing the root cause behind that stubborn hard water ring toilet appearance.
Clean weekly instead of monthly Mineral deposits are exponentially easier to remove when they are fresh rather than set. A quick weekly wipe-down with your pumice stone prevents the need for intense scrubbing sessions later.
Gardeners dealing with hard water on outdoor fountains or bird baths can apply these same principles too. The Royal Horticultural Society notes that regular maintenance of water features prevents mineral scaling from compromising both appearance and function, a lesson that translates perfectly indoors.
Final Thoughts on Mastering Pumice Stone Hacks at Home
Restoring a scaled toilet to a bright, gleaming finish does not require harsh chemicals or expensive professional descaling services. With the right technique, a humble volcanic stone can outperform nearly every bottled cleaner on the market.
From the wet glide method to vinegar-assisted descaling, each of these five pumice stone hacks addresses a different stage of mineral buildup. Together, they form a complete toolkit for tackling even the most stubborn stains safely.
Remember that gentleness, patience, and proper technique are what separate a successful, scratch-free clean from an accidental damage report. Keep your stone wet, your strokes light, and your maintenance consistent, and your toilet bowl will stay sparkling for years to come.
With these pumice stone hacks now part of your regular cleaning routine, that frustrating ring of buildup will become a thing of the past, leaving behind nothing but bright, polished porcelain every time you walk into the bathroom.