Every bumper vegetable harvest starts long before the first seed hits the dirt, and that’s exactly why thorough garden soil preparation is the single most important habit a home gardener can build. Healthy, well-structured earth feeds your plants, drains excess water, and holds onto nutrients when your tomatoes and peppers need them most. Skip this step and even the priciest seedlings will struggle, but invest a weekend in proper garden soil preparation and you’ll be rewarded with vigorous roots, fewer pests, and baskets of produce all season long.
In this guide, we’re breaking down seven essential steps that transform tired, compacted dirt into a thriving growing medium. From testing to tilling, amending to mulching, you’ll have everything you need to set your vegetable garden up for its most abundant season yet.
Essential Guide to garden soil preparation
Step 1: Clear and Assess Your Garden Bed
Before any digging begins, clear your planting area of weeds, rocks, old roots, and leftover plant debris from last season. Leaving decaying matter behind can harbor pests and disease that will plague your new crops.
Once the bed is cleared, take a close look at the ground itself. Check for drainage issues by watering a small patch and watching how quickly it absorbs; puddling water signals compaction that needs addressing early in your garden soil preparation process.
This assessment phase also gives you a chance to map out sun exposure and plan crop placement, saving you from having to relocate thirsty vegetables mid-season.
Step 2: Soil pH Testing and Nutrient Analysis
Every seasoned grower will tell you that soil pH testing is non-negotiable. Most vegetables thrive in slightly acidic to neutral soil, somewhere between 6.0 and 7.0, and anything outside that range locks away essential nutrients from plant roots.
A simple home testing kit or digital meter will give you accurate readings in minutes. If your soil pH testing reveals overly acidic ground, a dusting of garden lime will sweeten it; if it’s too alkaline, elemental sulfur or pine bark can bring it back into balance.
For a more detailed breakdown of nitrogen, phosphorus, and potassium levels, consider sending a sample to your local cooperative extension office. The Royal Horticultural Society offers excellent guidance on interpreting these results and tailoring amendments to specific vegetable crops.
Step 3: Loosening and Aerating Compacted Earth
Compacted dirt suffocates roots and prevents water from reaching deeper layers where plants need it. Use a garden fork or broadfork to break up the top twelve inches, working in sections rather than trying to tackle the whole bed at once.
Avoid over-tilling, though. Excessive mechanical disruption destroys beneficial soil structure and the microbial networks that help plants absorb nutrients naturally.
If you’re working with heavy clay, this loosening stage is especially critical, and it’s the point where many gardeners decide to transition into raised bed gardening tips rather than fighting stubborn native ground year after year.
Step 4: Enriching with Organic Compost Amendments
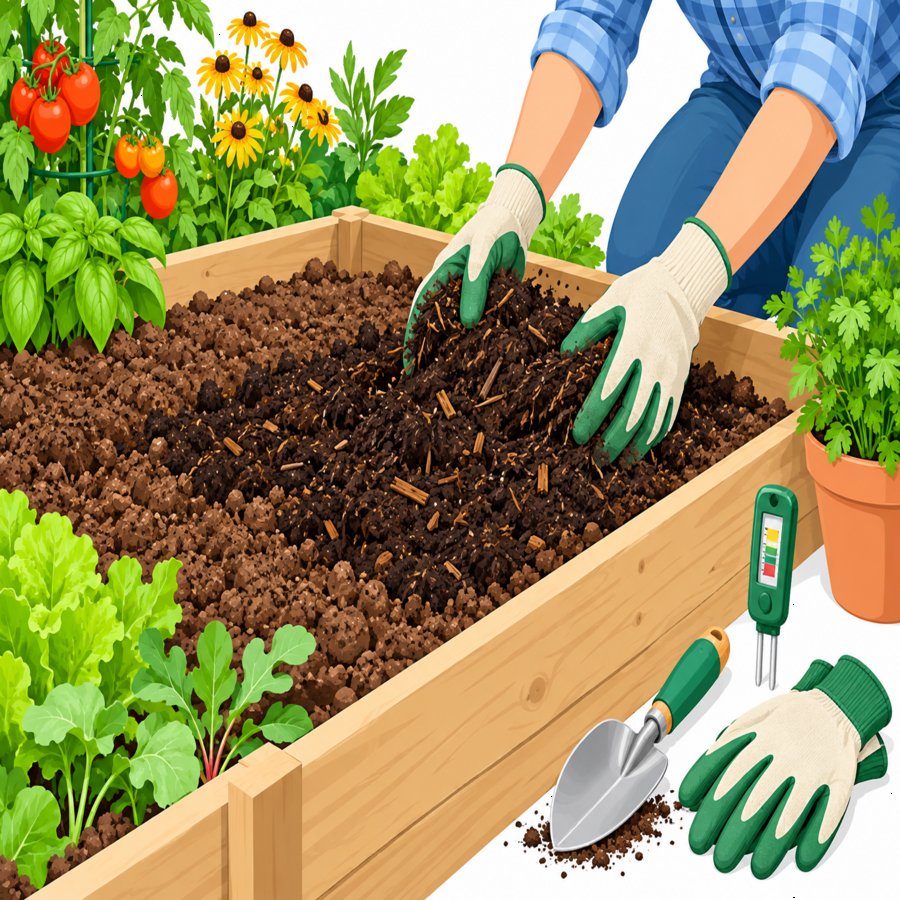
This is where the real magic of garden soil preparation happens. Working organic compost amendments into your beds introduces beneficial microorganisms, improves water retention, and slowly releases nutrients over the entire growing season.
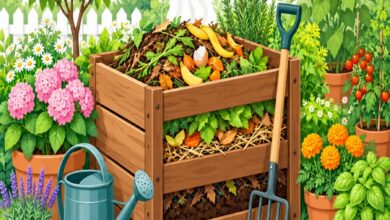
Spread two to four inches of finished compost over the bed surface and work it into the top six inches with a fork or tiller. Well-rotted manure, leaf mold, and kitchen scrap compost all count as excellent organic compost amendments, each contributing slightly different nutrient profiles.
If your compost pile isn’t quite ready, bagged options from a trusted garden center work just as well. The goal is simply to feed the living ecosystem beneath your vegetables, not just the plants themselves.
Step 5: Raised Bed Gardening Tips for Better Control
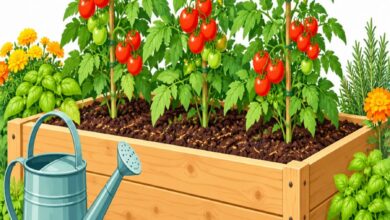
If your native ground is rocky, poorly drained, or contaminated with old construction debris, raised beds offer a fresh start. One of the best raised bed gardening tips is to fill new frames with a blend of topsoil, compost, and coarse material like perlite for drainage.
Build beds no wider than four feet so you can reach the center without stepping on and recompacting your carefully prepared soil. Height matters too; a bed at least twelve inches deep gives root vegetables like carrots and beets plenty of room to stretch.
Interestingly, the same resourceful mindset that inspires clever furniture conversions, like these creative upcycled shelving ideas for small-space gardening storage, can also apply to building raised beds from reclaimed lumber or old containers around your home.
Raised beds also warm up faster in spring, which means you can start your garden soil preparation and planting schedule a few weeks earlier than in-ground gardens in cooler climates.
Step 6: Balancing Texture and Drainage
The ideal vegetable garden soil feels crumbly and loose, holding together loosely when squeezed but breaking apart easily. This texture, often called loam, balances the three main soil types: sand, silt, and clay.
If your ground leans too sandy, water and nutrients drain away too quickly. Mixing in compost and aged bark fines helps sandy soil retain moisture longer, giving roots time to absorb what they need.
On the opposite end, heavy clay holds water too long and starves roots of oxygen. Coarse sand, gypsum, and generous organic matter break up dense clay particles, improving aeration dramatically over just one or two seasons of consistent garden soil preparation.
According to Better Homes & Gardens, testing a handful of moist soil with the simple squeeze test remains one of the fastest ways to gauge texture without any special equipment.
Step 7: Mulching and Final Pre-Planting Touches
Once your beds are loosened, tested, and enriched, a two to three inch layer of mulch locks in moisture and suppresses weeds before they can compete with your vegetables. Straw, shredded leaves, or untreated grass clippings all work beautifully.
Water the bed thoroughly a day or two before planting to let everything settle naturally. This also gives you a final chance to spot any low areas that need extra soil before seeds go in the ground.
Finishing with mulch is the last piece of the garden soil preparation puzzle, protecting all the hard work you’ve put into building a rich, living foundation for your vegetable garden.
Maintaining Healthy Soil Through the Growing Season
Preparation doesn’t end once seeds are sown. Side-dressing with additional compost mid-season keeps nutrient levels steady as heavy feeders like squash and corn pull resources from the ground.
Rotating crop families each year also prevents the nutrient depletion and disease buildup that comes from planting the same vegetables in identical spots repeatedly. Cover cropping in the off-season, using plants like clover or winter rye, adds organic matter back into the earth while you’re not actively growing food.
The Old Farmer’s Almanac has long championed these rotation and cover cropping practices as time-tested methods for keeping garden earth productive for generations.
Revisiting your soil pH testing annually also ensures that amendments from previous seasons haven’t pushed your garden too far in one direction, keeping nutrient availability consistent year after year.
Final Thoughts on Building Better Garden Soil
Abundant vegetable harvests are never accidental; they’re the direct result of thoughtful, consistent garden soil preparation practiced season after season. Each step, from clearing debris to mulching your finished beds, builds toward a growing environment where plants can truly thrive.
Whether you’re working with in-ground rows or exploring raised bed gardening tips for a tricky backyard corner, the fundamentals remain the same: test, loosen, amend, and protect. Give your soil the attention it deserves, and your vegetable garden will reward you tenfold.