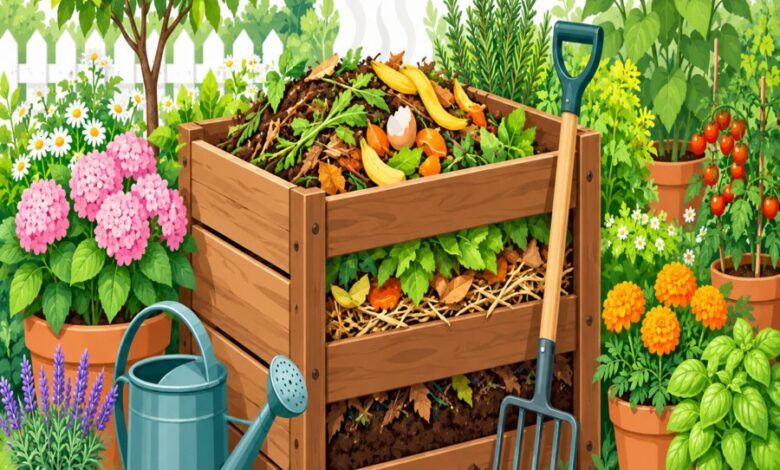
Why Hot Composting Hacks Are the Secret to Garden Gold
If you have ever peeked into a neighbor’s compost bin and wondered how they produce crumbly, dark, earthy-smelling humus in a matter of weeks while your own pile sits cold and soggy for a year, the answer lies in a handful of clever hot composting hacks . Hot composting is a science-backed method that uses heat-generating microbial activity to break down organic waste at lightning speed. Instead of waiting twelve months for kitchen scraps and yard debris to slowly rot, hot composting can deliver finished, nutrient-rich black gold in as little as four to eight weeks.
The magic happens when you give thermophilic bacteria exactly what they need: the right mix of materials, enough oxygen, and sufficient moisture. Once those conditions are met, your pile can reach internal temperatures of 130 to 160 degrees Fahrenheit, cooking down tough plant fibers and even destroying weed seeds and pathogens. This guide will walk you through every practical hot composting hack a home gardener needs, from building the perfect pile to troubleshooting common slowdowns.
By the end, you will understand exactly how to transform ordinary yard and kitchen waste into the kind of soil amendment that professional landscapers pay top dollar for. Let’s dig in.
Understanding the Carbon Nitrogen Ratio Compost Formula
Every successful hot compost pile begins with one foundational concept: the carbon nitrogen ratio compost balance. Microbes need carbon for energy and nitrogen for protein and reproduction, and getting this ratio right is what separates a pile that heats up quickly from one that just sits there decomposing slowly.
The ideal target ratio is roughly 25 to 30 parts carbon to 1 part nitrogen by weight. Carbon-rich “brown” materials include dried leaves, straw, shredded cardboard, and wood chips. Nitrogen-rich “green” materials include fresh grass clippings, vegetable scraps, coffee grounds, and manure.
A Simple Layering Trick Think of building your pile like a lasagna. Alternate a layer of browns roughly two to three inches thick with a layer of greens about one inch thick. This layering approach makes it easy to eyeball a correct carbon nitrogen ratio compost mix without needing a scale or calculator.
Common Ratio Mistakes Too much nitrogen creates a slimy, foul-smelling pile that struggles to breathe. Too much carbon results in a pile that never heats up at all. If your compost smells like ammonia, add more browns immediately; if it seems dry and inactive, add more greens and a splash of water.
Mastering this balance is arguably the single most important of all hot composting hacks, because every other technique in this guide builds on top of a correctly proportioned pile.
Pile Temperature Aeration: The Engine of Fast Decomposition
Once your carbon and nitrogen materials are balanced, the next critical factor is pile temperature aeration . Thermophilic microbes are aerobic, meaning they require oxygen to thrive, multiply, and generate heat. Without consistent airflow, your pile’s core quickly turns anaerobic, slows down, and may even start to smell.
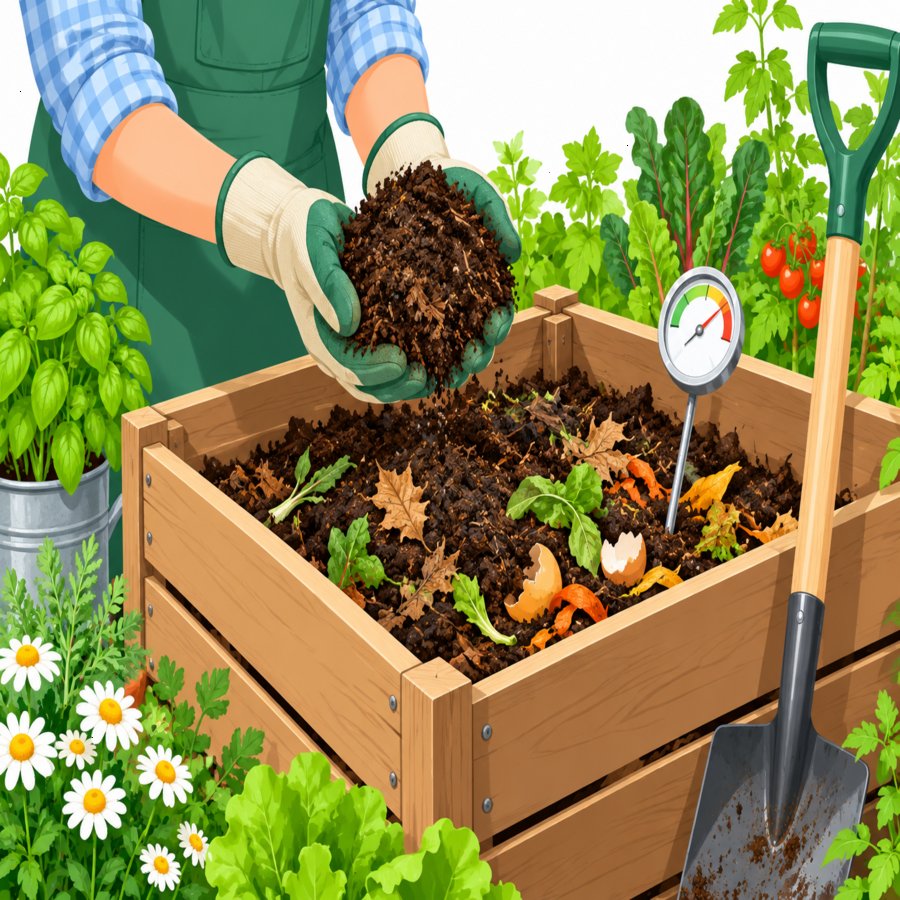
Monitoring Temperature Invest in an inexpensive long-stem compost thermometer and check the core temperature every two to three days. A healthy hot pile should climb to 130 to 160 degrees Fahrenheit within the first week. If it stalls below 100 degrees, your pile needs either more nitrogen, more moisture, or more oxygen.
Turning Schedule Turning the pile with a garden fork every three to five days reintroduces oxygen, redistributes moisture, and moves cooler outer material into the hot center. This single action is one of the most effective hot composting hacks for maintaining consistent pile temperature aeration throughout the entire breakdown cycle.
Passive Aeration Tools If frequent turning sounds exhausting, consider inserting perforated PVC pipes vertically through the pile, or building your heap over a base layer of coarse twigs and branches. Both methods allow air to circulate naturally without constant physical labor.
According to the Royal Horticultural Society, maintaining adequate aeration and moisture is essential for encouraging the beneficial bacteria and fungi responsible for efficient organic matter breakdown.
Building Your Pile: Size, Shape, and Ideal Location
Pile dimensions matter more than most beginners realize. A hot compost heap needs enough mass to insulate its own core, but not so much that oxygen cannot reach the center.
The Ideal Dimensions Aim for a cube roughly three feet by three feet by three feet at minimum, and no larger than five feet in any direction. Smaller piles lose heat too quickly, while oversized piles become difficult to turn and can develop compacted, airless pockets.
Choosing a Location Place your bin or heap on bare soil in a spot that receives partial sun, which helps retain warmth without drying the pile out excessively. Good drainage underneath prevents waterlogging during heavy rain.
Bin Versus Open Pile Enclosed tumblers and wire bins help retain heat and keep pests out, while open piles are easier to turn with a fork. Either structure works beautifully as long as you apply the same core hot composting hacks for moisture, ratio, and airflow.
Interestingly, the same attention to structural precision that prevents sloppy results in composting also applies indoors; just as homeowners must avoid common tile grouting mistakes during bathroom renovations, gardeners must avoid sloppy pile-building habits that sabotage decomposition speed.
Moisture Management and Material Selection
Moisture is the quiet partner to temperature in every successful compost pile. Microbes need water to survive, but too much water drowns the oxygen they depend on.
The Wrung Sponge Test Grab a handful of material from the center of your pile and squeeze it. It should feel like a damp sponge that has been wrung out, releasing only a drop or two of water. If it drips freely, add dry browns; if it crumbles apart dustily, add water or juicy greens.
Materials to Favor Shredded fall leaves, grass clippings, fruit and vegetable scraps, eggshells, coffee grounds, and straw are reliable staples. Chopping or shredding larger materials before adding them dramatically increases surface area, which accelerates microbial activity and speeds up overall rapid humus production.
Materials to Avoid Skip meat, dairy, oily foods, diseased plants, and pet waste, as these attract pests and can introduce pathogens. Also avoid glossy or coated paper and treated wood, which may contain chemicals harmful to soil life.
The Old Farmer’s Almanac notes that keeping particle size small and moisture consistent are two of the most overlooked yet impactful composting practices home gardeners can adopt.
Advanced Hot Composting Hacks for Rapid Humus Production
Once you have mastered the basics, a few advanced techniques can push your pile from merely functional to exceptionally fast, delivering true rapid humus production in record time.
The Berkeley Method Developed at the University of California, this intensive technique involves turning the pile daily for the first two weeks, which can produce finished compost in as little as 18 days. It demands effort but rewards gardeners with astonishingly quick results.
Inoculating With Finished Compost Adding a shovelful of mature, finished compost or garden soil to a new pile introduces an established colony of beneficial microbes, jump-starting decomposition immediately rather than waiting for wild microbes to colonize naturally.
Shredding Everything Running leaves and stems through a mulching mower or leaf shredder before adding them to the pile is one of the simplest hot composting hacks, yet it can cut decomposition time nearly in half by maximizing microbial access to plant tissue.
Insulating in Cold Climates In winter months, wrapping your bin with straw bales or a tarp helps retain internal heat, keeping thermophilic bacteria active even when outdoor temperatures drop significantly.
Layering Activators Alfalfa meal, blood meal, and comfrey leaves are natural nitrogen boosters that reignite a stalled pile’s heat cycle without resorting to synthetic additives.
Troubleshooting a Stalled or Smelly Pile
Even experienced composters occasionally run into trouble. Fortunately, nearly every common problem has a straightforward fix once you understand the underlying cause.
Pile Won’t Heat Up This usually points to insufficient nitrogen, a pile that is too small, or excessive dryness. Add fresh greens, increase overall volume, and moisten thoroughly before turning again.
Pile Smells Like Ammonia An ammonia odor signals too much nitrogen relative to carbon. Mix in extra shredded cardboard, dried leaves, or straw to restore a healthier carbon nitrogen ratio compost balance.
Pile Smells Rotten or Sulfurous This indicates anaerobic conditions from compaction or excess moisture. Turn immediately to restore oxygen flow and add dry bulky material to improve structure.
Pests and Rodents Burrowing animals are usually attracted by food scraps left exposed. Always bury kitchen waste under a layer of browns and avoid adding meat or dairy entirely.
Applying these corrective hot composting hacks promptly keeps your pile on track and prevents weeks of wasted effort.
Harvesting and Using Your Finished Black Gold
You will know your compost is finished when it turns dark brown to black, crumbles easily, smells earthy like a forest floor, and no longer generates noticeable heat.
Screening for Quality Sift finished compost through a half-inch mesh screen to remove any undecomposed twigs or chunks, which can be tossed back into a new pile to jump-start the next batch.
Curing Before Use Letting finished compost rest, or cure, for two to four weeks allows any remaining acidity to mellow, making it gentler on tender seedlings and root systems.
Application Tips Work two to three inches of finished compost into garden beds before planting, use it as a nutrient-dense top dressing around established shrubs, or blend it into potting soil for container gardens.
The USDA highlights that finished compost improves soil structure, water retention, and microbial diversity, making it one of the most valuable amendments available to home gardeners.
With these hot composting hacks in your toolkit, you are fully equipped to turn everyday scraps and yard waste into rich, productive black gold, season after season.