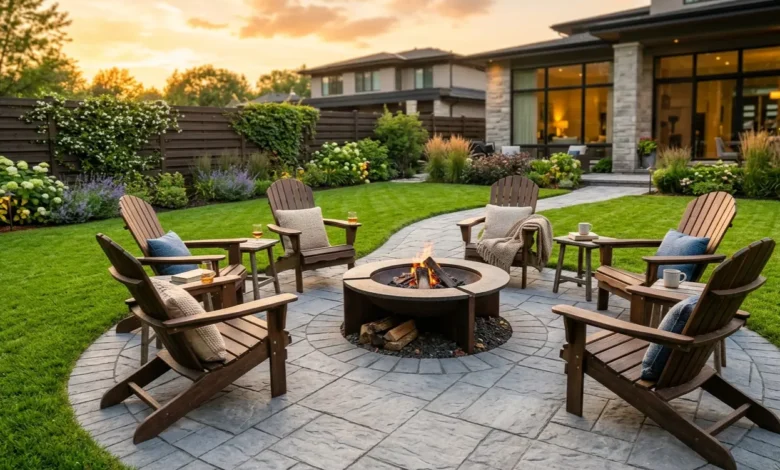
Creating a luxurious outdoor sanctuary does not have to drain your savings or require a massive construction crew. Installing your own diy patio pavers is the ultimate weekend transformation project that practically any ambitious homeowner can master. By investing some sweat equity, you can slash thousands of dollars off standard contractor rates while building something truly permanent.
Whether you want a cozy backyard fire pit area or a sprawling dining terrace, taking the do-it-yourself route guarantees massive satisfaction. A well-built hardscape instantly upgrades your backyard while adding serious market value to your property. If you are ready to completely revolutionize your outdoor living experience, you are in exactly the right place.
The biggest mistake beginners make is rushing the invisible foundation to get to the pretty stones on top. The visible surface is only the tip of the iceberg when it comes to long-term durability and structural integrity. A truly enchanting and enduring outdoor space relies entirely on what happens underneath the ground level. We are going to build a rock-solid base that easily withstands freezing winter heaves and heavy summer storms.
Before you grab a shovel, you need a meticulous plan and a clear understanding of the process. This comprehensive masterclass will walk you through every critical phase of hardscape construction. Let us dive into the eight brilliant steps to installing a flawless foundation and gorgeous stone surface.
Planning Your Enchanting Space
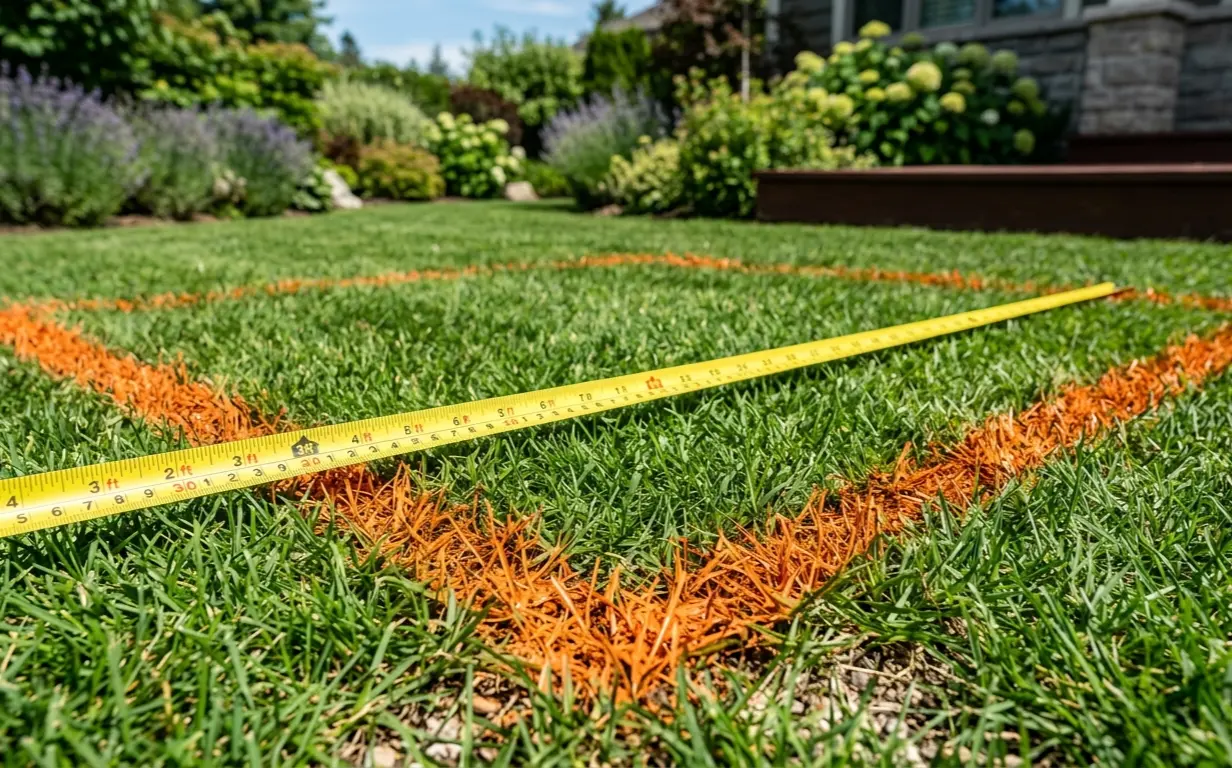
Grab a can of brightly colored marking paint and draw your dream patio shape right on the grass. You must visualize the exact physical footprint before calculating your material orders or making a single cut. Keep in mind that straight lines and square corners are vastly easier for beginners to install than intricate, sweeping curves.
If you do choose a curved edge design, be prepared to do some heavy, dusty cutting with a rented wet saw. Always account for a slight, deliberate slope away from your home’s concrete foundation to prevent water pooling. The golden engineering rule is a drop of one-quarter inch for every foot of horizontal distance to ensure flawless drainage.
Before digging a single inch, you must call 811 to have the local utility companies mark your underground lines. Striking a buried gas line or electrical cable is incredibly dangerous and will ruin your entire landscaping project instantly. Once your yard is marked and declared safe, you can confidently move on to evaluating your soil conditions and ordering supplies.
Gathering the Ultimate Hardscaping Materials
A premium outdoor living area requires heavy, high-quality materials delivered straight to your driveway. You will need heavy-duty landscape fabric, tons of crushed gravel for the sub-base, coarse bedding sand, and rigid edge restraints. Then, of course, you need to select the aesthetic star of the show: your actual stone blocks.
For a standard pedestrian walking and sitting area, you must plan to dig down about seven to eight inches total. This depth accommodates roughly four inches of compacted gravel, one inch of sand, and the thickness of the stones themselves. If you live in a climate with extreme ground freezing, you may need an even deeper gravel trench.
Always over-estimate your material order by at least ten to fifteen percent to account for waste. Having a few extra blocks on hand will save you a frantic trip to the hardware store when you inevitably miscalculate a difficult cut. It also ensures you have matching stones from the exact same dye lot for future repairs.
Excavating and Preparing the Ground
It is finally time to break a sweat and aggressively remove the existing sod, roots, and topsoil. Renting a motorized sod cutter or even a mini-excavator can save your back if you are tackling a massive square footage. Dig down to a uniform, flat depth across the entire marked footprint, checking your work constantly.
Use a standard tape measure attached to a wooden stake to ensure you are consistently hitting that target depth. Do not create deep pockets or uneven holes, as this will complicate your foundation layers later. Once the dirt is completely removed, clear out any large rocks or stubborn tree roots that could disrupt the base.
Tamp the bare earth aggressively until it is perfectly compact, flat, and hard to the touch. This crucial step prevents your entire massive project from settling unevenly over the coming years. A solid earth floor is the required canvas for your beautiful diy patio pavers.
Laying the Crushed Gravel Base
Roll out a thick, high-quality landscape fabric directly over the freshly compacted dirt floor. This impenetrable layer prevents aggressive weeds from creeping up and keeps your expensive gravel from sinking into the muddy earth. Overlap the fabric seams by at least six inches to ensure total ground coverage.
7 Cheap Kitchen Upgrades That Add Instant Value to Your Home
Pour your crushed gravel base material in two-inch layers, rather than dumping all four inches at once. You must tamp the gravel thoroughly between each addition to achieve maximum density and structural locking.
A rented plate compactor is worth every single penny for this stage.
Wetting the gravel base slightly with a garden hose helps lock the jagged stone edges together during compaction. You want this subterranean foundation to feel as solid as a poured concrete slab before moving forward. Take your time here, because a weak base guarantees a bumpy, failing surface next season.
Screeding the Flawless Bedding Sand
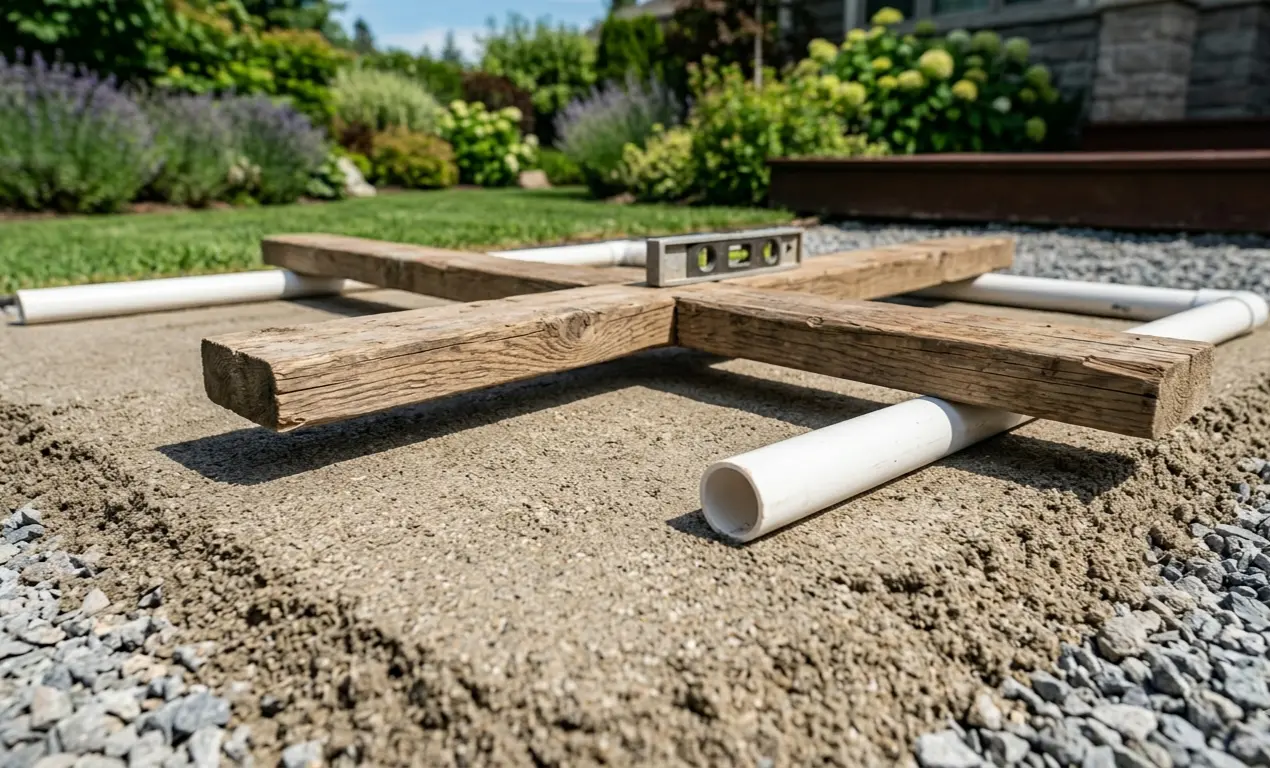
Place two parallel lengths of one-inch outer-diameter PVC pipe directly on top of your compacted gravel base. These smooth pipes will act as your foolproof depth guides for creating the perfect sand layer. Ensure these pipes follow the slight drainage slope you established during the excavation phase.
Pour your coarse concrete sand directly between the pipes, slightly overfilling the area. Drag a perfectly straight two-by-four wooden board across the top of the PVC pipes in a sawing motion. This critical action, known in the trade as screeding, creates a perfectly smooth, uncompressed one-inch bed of sand.
Gently remove the PVC pipes and carefully fill the remaining narrow trenches with a handful of loose sand. Use a hand trowel to delicately smooth those filled lines without pressing down on the surrounding material. Never step on, touch, or disrupt this smoothed surface once it is fully prepared.
Placing Your DIY Patio Pavers
The visual magic finally begins as you start dropping your chosen diy patio pavers directly into place. Start from a hard, straight, ninety-degree corner like your house foundation and methodically work your way outward. Follow your chosen pattern strictly, ensuring your lines remain perfectly straight as you expand into the yard.
Drop the heavy stones straight down into the sand rather than sliding or dragging them across the surface. Sliding completely destroys the perfectly smooth bed you just spent hours working so hard to prepare. Work slowly and methodically, checking your pattern alignment every few rows to avoid a crooked layout.
Use a heavy rubber mallet to gently tap the blocks down so they sit perfectly flush with one another. Check your surface work frequently with a long carpenter’s level to maintain that essential, invisible drainage slope. Take frequent steps back to admire the pattern and catch any twisted blocks early in the process.
Securing the Rigid Edge Restraints
Without proper edge restraints installed, your beautiful new stones will slowly drift apart and separate over time. This heavy-duty plastic or metal edging physically locks the entire outer perimeter of your hardscape tightly in place. It acts like a stiff belt, holding the sand and stones perfectly together against the pressure of foot traffic.
Push the rigid edging tightly against the outside border of your freshly laid stones. Secure it aggressively by driving ten-inch steel landscaping spikes straight down through the plastic holes and into the compacted gravel base. Space these heavy steel spikes about every eight to twelve inches for maximum holding strength.
Make sure the top of the edging sits slightly below the final surface height of your surrounding lawn. You want the natural grass to eventually grow over the rim, completely hiding the plastic border from view. This creates a seamless, professional transition between your lush lawn and the elegant stone structure.
Locking the Joints with Polymeric Sand
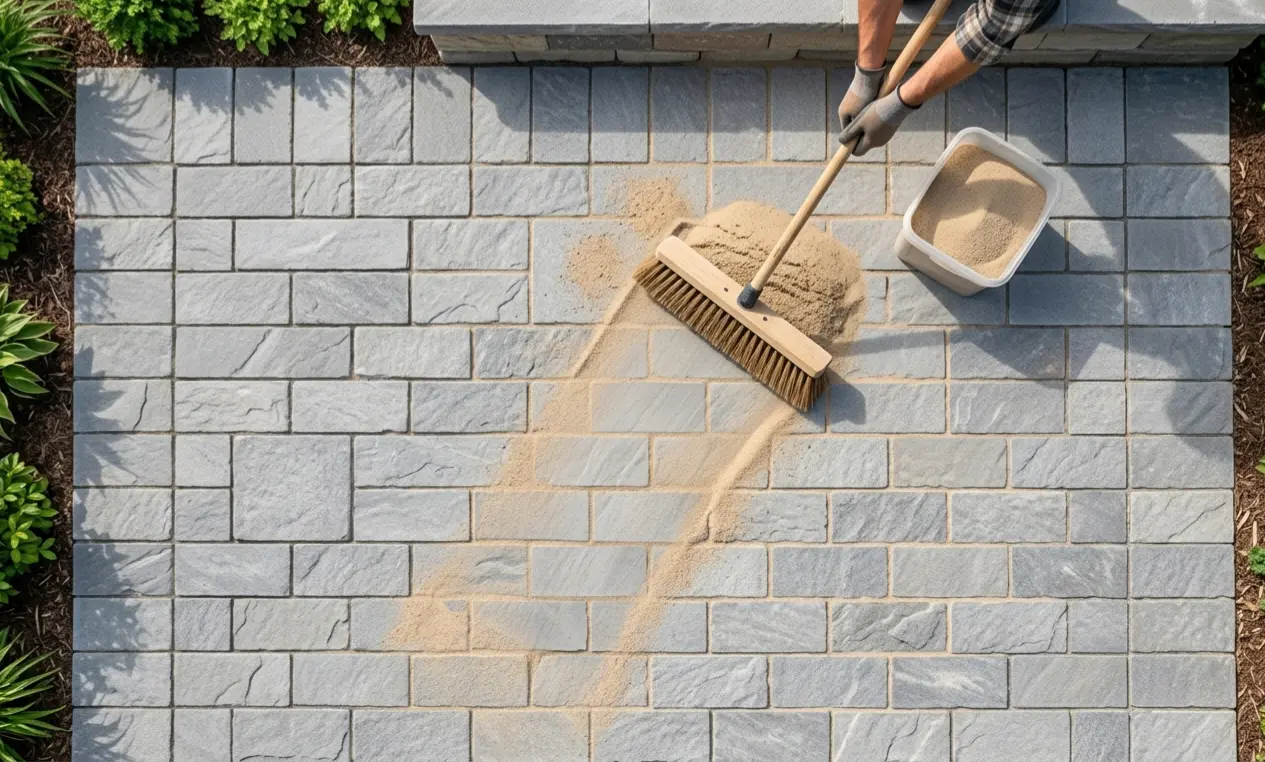
Sweep advanced polymeric sand diagonally across the entire stone surface to aggressively fill every tiny visible gap. This specialized modern sand contains unique binding agents that harden exactly like cement when activated with water. It prevents washouts, stops weed growth, and completely blocks annoying ant colonies from ruining your design.
Run the heavy plate compactor over the finished, swept surface one last time to settle the sand deep into the joints. You must place a protective rubber pad on the bottom of the machine so you do not scratch or crack your brand new diy patio pavers. Sweep more sand into the joints until they are completely packed and flush with the bottom of the stone bevel.
Sweep away absolutely all excess dust from the surface, then mist the entire area lightly with a garden hose set to “shower”. Follow the exact manufacturer instructions on the bag to ensure you do not over-water and wash out the bonding polymers. Once fully dry and cured, those tightly packed joints will lock the entire patio into one solid, unbreakable mass.
Maintaining Your Majestic Outdoor Living Room
Now that your breathtaking diy patio pavers are fully installed, keeping them looking pristine is wonderfully easy. A simple seasonal sweep with a stiff broom and a gentle, wide-fan power wash are usually all you need. Avoiding harsh chemical cleaners will preserve the original color and integrity of the manufactured stones.
Consider applying a specialized breathable stone sealer to protect against stubborn stains from barbecue grease, spilled wine, or wet fallen leaves. A high-quality liquid sealant also dramatically enhances the natural colors of the concrete, giving it a rich, permanent wet look. Reapply this protective coating every three to five years depending on your local weather conditions and sun exposure.
You have successfully built a professional-grade outdoor living room with your own two hands. The massive labor is over, the yard looks incredible, and your property value just skyrocketed. Now, grab a cold drink, set up your favorite patio lounge chair, and deeply enjoy your stunning, enchanting new creation.