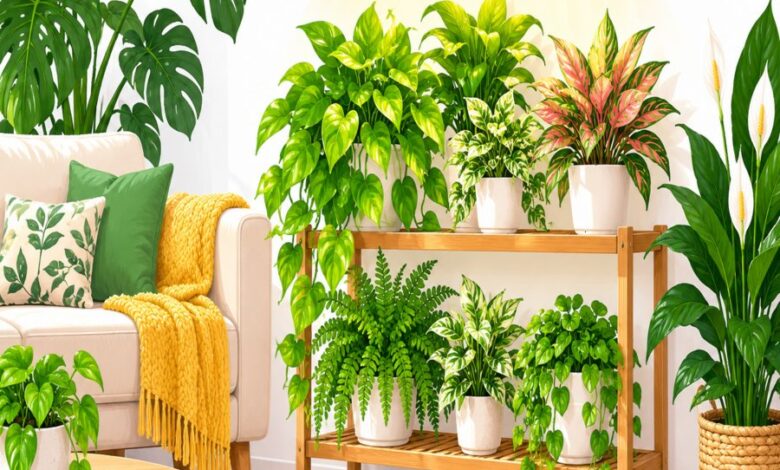
If your houseplants are stretching toward the window, toppling over, or growing pale and sparse, the problem usually is not the plant itself but where the light sits relative to its leaves. Mastering a few simple grow light positioning hacks can transform spindly, sad-looking seedlings and houseplants into compact, vibrant specimens within just a few weeks. Leggy growth is almost always a cry for help from a plant that is reaching desperately for brighter conditions. In this guide, we will walk through five precision techniques that correct distance, angle, and duration so your indoor garden thrives rather than merely survives.
Understanding the Etiolated Houseplant Fix Before You Reposition Anything
Before diving into hardware adjustments, it helps to understand exactly what you are fixing. Etiolation is the botanical term for the pale, stretched, weak-stemmed growth that happens when a plant cannot find enough light and elongates its cells in a desperate search for brightness.
An effective etiolated houseplant fix is not about simply adding more light randomly; it is about reintroducing the correct intensity, spectrum, and duration in a controlled way. Snipping leggy stems helps cosmetically, but unless the lighting setup changes, the regrowth will stretch again almost immediately.
This is precisely where thoughtful grow light positioning hacks come into play. By adjusting height, angle, and spread, you give your plant permission to grow compact and sturdy instead of thin and desperate. Think of light positioning as physical therapy for your plant’s growth habit, gradually training it back into a healthy shape.
Hack 1: Mastering Full Spectrum LED Distance for Compact Growth
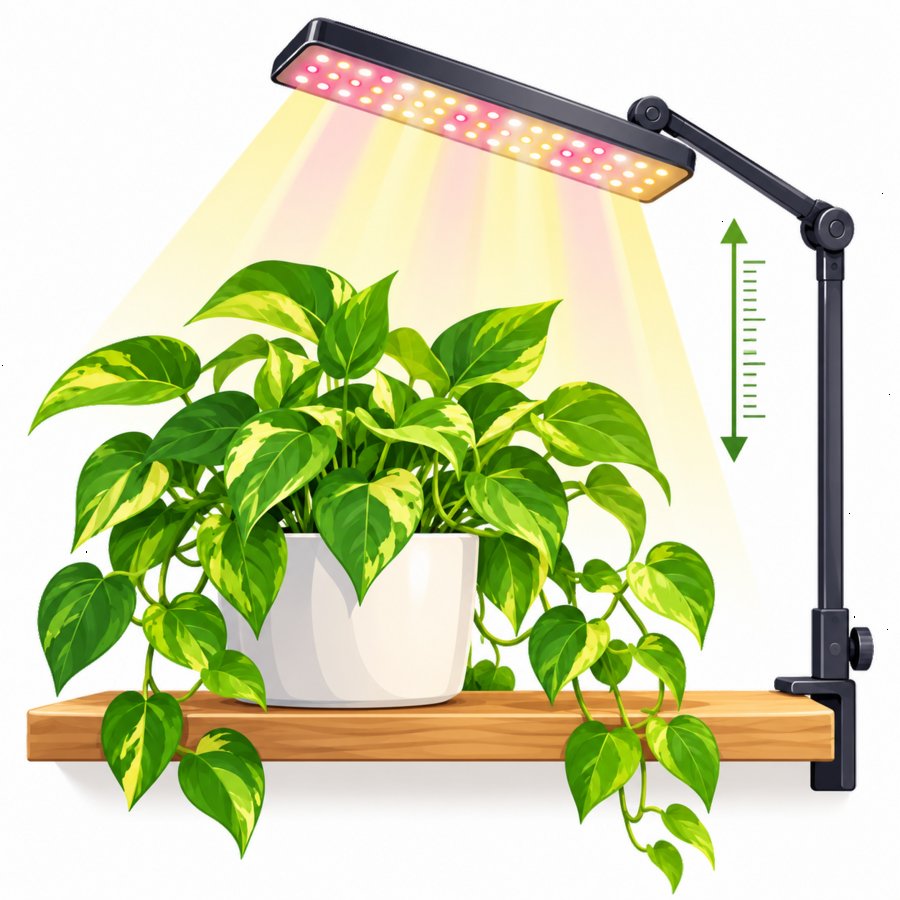
The single biggest mistake growers make is placing their light fixture too far from the canopy. Understanding proper full spectrum LED distance is the foundation of every other positioning strategy on this list.
As a general rule, most full spectrum LED panels should sit between 12 and 24 inches above the plant canopy for leafy houseplants, while high-output panels used for seedlings and herbs may need to be closer, around 6 to 12 inches, depending on wattage.
Check the manufacturer’s PPFD chart. Every quality LED grow light includes a photosynthetic photon flux density chart showing intensity at various distances; use this instead of guessing.
Use the hand test as a backup. Hold your hand under the light at canopy height; if it feels uncomfortably hot within a few seconds, the light is too close and may scorch leaves.
Fine-tuning the full spectrum LED distance weekly as your plant grows taller is one of the most overlooked yet powerful grow light positioning hacks because static lighting setups quickly become outdated as your plant’s canopy rises closer to the fixture.
Hack 2: Calculating Indoor Plant Foot Candles for the Right Intensity
Light intensity is measured in several ways, but for home growers, indoor plant foot candles remain one of the most practical units to understand because many affordable light meter apps use this measurement.
Low-light plants like pothos and snake plants thrive around 75 to 200 foot candles, while medium-light plants such as philodendrons and ferns prefer 200 to 500 foot candles. Sun-loving plants like succulents, citrus, and flowering herbs often need 1,000 foot candles or more to avoid stretching.
Download a light meter app. Most smartphone light meter apps can give you a rough indoor plant foot candles reading directly at leaf level, letting you confirm whether your current setup actually meets your plant’s needs.
Measure at multiple canopy points. Light intensity drops dramatically toward the edges of a plant’s leaves compared to the center, so take several readings before concluding your fixture placement is adequate.
Once you know your actual foot candle readings, you can apply targeted grow light positioning hacks like lowering the fixture, adding a secondary panel, or repositioning the plant closer to a window to close the gap between what the plant needs and what it is receiving.
Hack 3: Angling Lights to Eliminate Shadow Gaps and One-Sided Growth
Vertical distance is only half the equation; angle matters just as much. A light positioned directly above a plant often fails to reach lower leaves and side branches, creating uneven, lopsided growth.
Position lights at a slight diagonal. Angling your fixture 10 to 15 degrees off-center helps light penetrate deeper into the plant’s lower canopy, reducing the bare, leggy stems that develop near the base.
Rotate your plants weekly. Turning pots a quarter turn every few days ensures all sides receive equal exposure, preventing the classic one-directional lean that leaves plants looking lopsided and weak-stemmed on their shaded side.
Use multiple smaller fixtures instead of one large panel. For wide or bushy plants, two angled lights positioned on opposite sides often outperform a single overhead light, since they eliminate shadow pockets that a single downward beam cannot reach.
These angling strategies are among the more advanced grow light positioning hacks because they address the three-dimensional shape of the plant rather than just the distance between light source and topmost leaf.
Hack 4: Adjusting Photoperiod Timers to Match Growth Stage
Positioning is not only about where the light sits but also how long it stays on. Even a perfectly placed fixture will fail to correct legginess if the photoperiod is mismatched to the plant’s stage of growth.
Seedlings and cuttings generally need 14 to 16 hours of light daily to establish sturdy stems, while most mature houseplants do well with 10 to 14 hours depending on species.
Install an inexpensive outlet timer. Consistency matters more than perfection; a plant that receives light at the same hours every day will develop more evenly than one exposed to an erratic schedule.
Avoid the temptation to run lights 24 hours a day. Plants need a dark rest period to process stored energy properly, and continuous light can actually stress certain species rather than promoting faster growth.
Pairing a well-calibrated timer with the right full spectrum LED distance creates a one-two punch that resolves most etiolation issues within two to four weeks of consistent application.
Hack 5: Creative Furniture and Shelf Placement for Even Light Distribution
Where you physically place your plant within a room matters just as much as the light fixture itself. Furniture placement, shelving height, and proximity to reflective surfaces can all be leveraged as free, passive grow light positioning hacks.
Use elevated shelving near windows. Raising plants closer to eye level and window glass, rather than leaving them on the floor, dramatically increases the natural light they intercept throughout the day.
If you are looking for an attractive way to elevate your plants into brighter zones without drilling bulky brackets into your walls, these floating wood shelf installation techniques offer a clean, minimalist solution that also doubles as stylish home decor.
Add light-colored or mirrored surfaces nearby. White walls, pale furniture, and mirrors bounce available light back toward the plant, effectively increasing the usable light without adding another fixture.
Avoid clustering too many plants together. Overcrowded shelves create shadows that block light from reaching lower leaves, undermining even the best-positioned grow light setup.
Signs Your Grow Light Positioning Hacks Are Actually Working
Patience is essential, but you should start noticing measurable improvements within two to three weeks of correcting your light setup. Knowing what to look for helps confirm your adjustments are on the right track.
Shorter internode spacing. New growth should emerge closer together along the stem, rather than the long, sparse gaps typical of etiolated growth.
Darker, thicker foliage. Pale, washed-out leaves should gradually deepen in color and become firmer to the touch as chlorophyll production increases.
Upright, self-supporting stems. Plants that previously leaned or flopped over should begin standing taller without needing stakes or support ties.
If you are not seeing these improvements after a month, revisit your indoor plant foot candles measurements and double-check your full spectrum LED distance calculations, since even small miscalculations can slow recovery considerably.
Common Mistakes That Undermine Your Light Positioning Efforts
Even well-intentioned growers sabotage their own progress with a few recurring errors. Avoiding these pitfalls will make your positioning adjustments far more effective.
Forgetting to adjust height as plants grow. A light positioned perfectly for a six-inch seedling will be far too close once that plant doubles in height, risking leaf burn.
Relying on old or dim bulbs. LED output degrades gradually over years of use, so a fixture that once provided ample intensity may now be underperforming even at the correct distance.
Ignoring seasonal natural light changes. Supplemental lighting needs typically increase in autumn and winter when days shorten, so a setup that worked in summer may need recalibrating.
For further guidance on matching light requirements to specific plant varieties, the Royal Horticultural Society offers detailed growing guides that pair well with any indoor lighting strategy.
Building a Long-Term Lighting Routine for Healthier Plants
Fixing leggy stems is not a one-time project; it requires an ongoing routine of observation and small adjustments. Treat your lighting setup as a living system that evolves alongside your plants.
Keep a simple growth journal. Jotting down stem height, leaf color, and fixture distance every two weeks makes it easy to spot trends before legginess becomes severe again.
Schedule a monthly fixture check. Dust accumulation on LED panels can reduce output by a surprising margin, so wiping down your lights regularly preserves their effective intensity.
By consistently applying these grow light positioning hacks and remaining attentive to your plants’ feedback through their leaf color, stem strength, and growth pattern, you will build the instincts of an experienced indoor grower. Over time, correcting an etiolated houseplant fix becomes less of a rescue mission and more of a quick, confident adjustment made at the first sign of stretching.