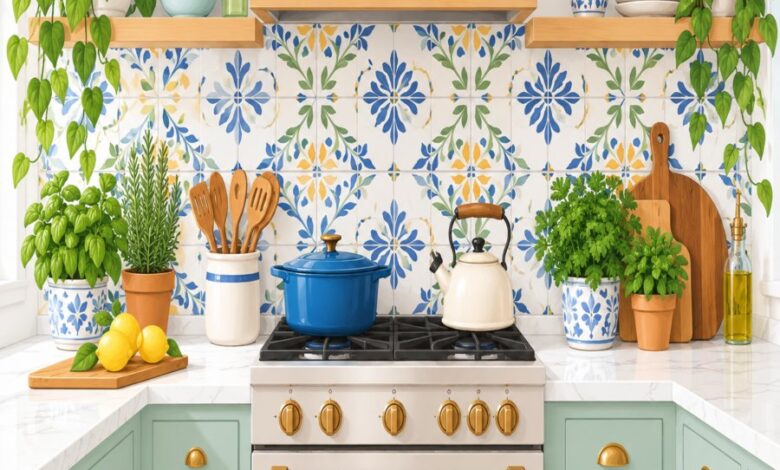
If you have ever hovered near your stove wondering whether that gorgeous new wall covering will warp, bubble, or peel the moment a pot boils over, you are not alone. The good news is that modern peel-and-stick backsplash hacks have evolved far beyond the flimsy, heat-sensitive stickers of a decade ago. Today’s best products and installation tricks can genuinely withstand the intense heat radiating from your cooktop, all while looking like a custom tile job that cost a fortune.
In this guide, we are diving deep into every trick, material choice, and installation secret that separates a backsplash that bubbles within a month from one that lasts for years behind a hardworking range. Whether you are a renter looking for a temporary upgrade or a homeowner wanting a weekend win, these strategies will help you achieve a kitchen refresh that is both beautiful and genuinely heat-tolerant.
Why Most Peel-and-Stick Backsplash Hacks Fail Near the Stove
Before we get into solutions, it helps to understand the problem. Standard vinyl or PVC-based tiles were originally designed for low-heat zones, like a dining nook or a bathroom vanity wall, not the splatter zone directly behind a burner.
When exposed to sustained heat above 150 degrees Fahrenheit, cheap adhesive backing softens and loses its grip. The tile edges curl upward, grease seeps underneath, and within weeks you have a peeling, sticky mess instead of a polished kitchen wall.
The core issue is twofold. First, the material itself may not be rated for high temperatures. Second, the kitchen wall adhesive used in manufacturing may degrade under repeated thermal cycling, meaning it heats up during cooking and cools down afterward, over and over again.
This is precisely why the smartest peel-and-stick backsplash hacks focus on two things simultaneously: choosing a genuinely heat-rated material, and reinforcing the bond at the wall itself. Skip either step, and you are gambling with your investment.
Choosing Heat Resistant Tiles That Actually Perform
Not all peel-and-stick products are created equal, and the material composition makes all the difference when your range is blasting away. Look specifically for products labeled as heat resistant tiles, as these are engineered with denser cores and higher melting thresholds.
Metal-look aluminum composite tiles. These thin metal tiles are naturally heat resistant tiles and mimic the look of stamped tin or brushed steel. They handle radiant heat beautifully and wipe clean in seconds.
Gel-based resin tiles. Many premium peel-and-stick lines now use a 3D gel coating over a fiberglass mesh. This construction tolerates higher temperatures than older PVC sheets and resists yellowing from heat exposure.
Real thin-set mosaic sheets. Some brands now sell genuine glass or stone mosaic sheets pre-mounted on a mesh backing with a peel-and-stick edge border, combining true heat resistance with authentic texture.
Always check the manufacturer specification sheet for a maximum temperature rating. If a listing does not mention heat tolerance at all, assume it is not designed for direct cooktop exposure and reserve it for a lower-risk wall instead.
The Kitchen Wall Adhesive Secret Behind a Lasting Bond
Even the best heat resistant tiles will fail if the underlying kitchen wall adhesive cannot keep up. The factory-applied sticky backing is often rated for general use, not necessarily for the hot zone directly above a range.
Prep the surface obsessively. Grease and dust are the number one reason adhesive fails prematurely. Wipe the wall with isopropyl alcohol or a degreasing cleaner, then let it dry fully before applying anything.
Add a construction-grade adhesive boost. For the row of tiles closest to the stovetop, many seasoned renovators apply a thin bead of high-temperature silicone adhesive around the tile perimeter before pressing it into place. This supplements the factory kitchen wall adhesive without damaging the tile surface.
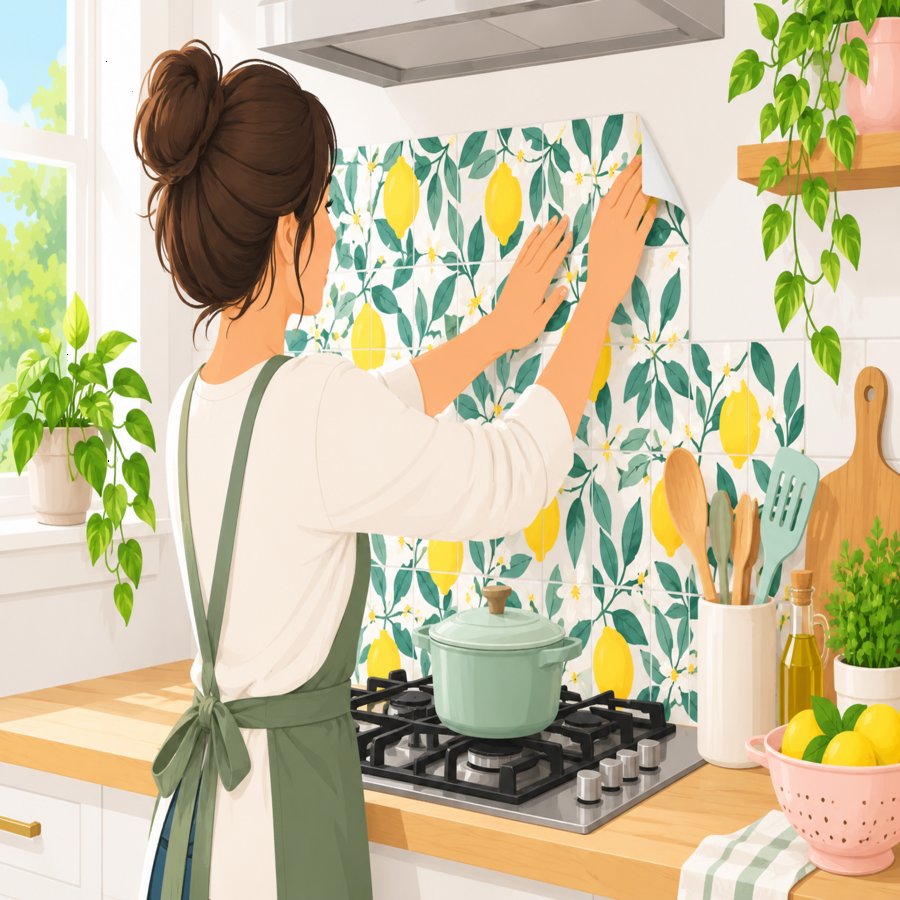
Press, don’t just stick. Use a plastic smoothing tool or a clean rolling pin wrapped in cloth to apply firm, even pressure across the entire tile. This activates the adhesive fully and eliminates air pockets where heat and moisture can collect.
Mind the cure time. Give newly applied tiles at least 24 to 48 hours before turning on the stove at full blast. Adhesive needs time to fully set, and rushing this step is one of the most common installation mistakes.
Smart Peel-and-Stick Backsplash Hacks for the Hot Zone
Here is where the real craftsmanship comes in. Professional installers and savvy DIYers rely on a handful of clever peel-and-stick backsplash hacks specifically for the zone directly behind the cooktop, where temperatures spike the most.
Create a buffer zone with a metal strip. Install a thin stainless steel or aluminum trim strip directly behind the burners, then transition to your decorative peel-and-stick tile on either side. This isolates the hottest area from the more delicate tile material.
Double up on edge sealing. Run a bead of clear, heat-rated silicone caulk along every tile edge and seam in the hot zone. This prevents grease and moisture from sneaking under the tile where it can loosen the bond over time.
Stagger your seams away from direct heat. When mapping your tile layout, try to position full, uncut tiles directly behind the burners rather than small cut pieces. Fewer seams in the hottest area means fewer weak points.
Use a heat-diffusing backer board. For gas ranges especially, adhering a thin cement backer board to the wall before applying your peel-and-stick tiles adds a layer of thermal mass that slows heat transfer to the adhesive layer beneath.
These peel-and-stick backsplash hacks take a bit more effort upfront, but they are the difference between a backsplash that needs replacing every year and one that genuinely lasts.
Rental Friendly Backsplash Options That Still Deliver Style
If you are renting, you want style without risking your security deposit. Thankfully, a rental friendly backsplash does not have to mean a boring, flimsy solution anymore.
Choose removable-rated adhesive tiles. Many brands now specifically market a rental friendly backsplash line with adhesive that releases cleanly from drywall or tile without stripping paint, as long as you remove it slowly and warm the edges slightly with a hairdryer first.
Install over a removable backer sheet. Some renters apply a layer of clear adhesive-backed contact paper to the wall first, then stick their tiles on top of that. When it is time to move out, the entire backer peels away in one piece, leaving the original wall untouched.
Test a hidden corner first. Always apply a single tile in an inconspicuous spot, like behind where the microwave sits, and leave it for a week. This lets you confirm it releases cleanly before committing to the full wall.
A well-chosen rental friendly backsplash proves that temporary does not have to mean temporary-looking. With the right product, your landlord will never know the gorgeous tile wall was not a permanent fixture.
Step-by-Step Installation for Maximum Heat Durability
Let’s walk through the full installation sequence, combining everything above into one streamlined process you can follow this weekend.
Step one: Deep clean the wall. Degrease thoroughly, especially directly behind the stove where cooking oils accumulate invisibly over time. A wall that looks clean can still have a thin greasy film that sabotages adhesion.
Step two: Map your layout dry. Lay tiles out on the floor or trace your wall dimensions on paper first. This helps you plan seams away from the hottest zone directly above the burners.
Step three: Start from the center and work outward. Find the horizontal center point above your range and begin your first tile there. Working outward in both directions keeps your pattern symmetrical and professional looking.
Step four: Reinforce the hot zone as you go. As you reach the tiles directly behind the burners, apply the supplemental high-heat adhesive bead mentioned earlier before pressing each tile into place.
Step five: Seal every edge. Once the layout is complete, run clear silicone caulk along the top, bottom, and any exposed side edges. This locks out moisture and grease from day one.
Step six: Let it cure before cooking. Resist the urge to test your new backsplash with a big pasta night immediately. Give the adhesive the full recommended cure window first.
Following this sequence transforms a basic DIY project into one of the most reliable peel-and-stick backsplash hacks available to home cooks who want style without sacrificing durability.
Maintaining Your Backsplash So It Lasts for Years
Installation is only half the battle. Long-term maintenance is what keeps your heat resistant tiles looking brand new well beyond the first year.
Wipe up splatters immediately. Grease that sits on peel-and-stick surfaces for extended periods can slowly work its way into seams. A quick wipe after cooking prevents buildup before it starts.
Avoid abrasive scrubbing pads. Stick to a soft microfiber cloth with mild dish soap. Harsh scrubbing can dull the surface finish or loosen tile edges over time.
Use steam carefully and sparingly. Steam cleaning tools are fantastic for deep-cleaning kitchen surfaces, but concentrated steam can soften adhesive if held too close for too long. For broader kitchen cleaning strategies that are safe for various surfaces, check out these steam mop hacks for sparkling kitchen floors and surfaces to round out your cleaning routine.
Re-caulk annually. Silicone seals can shrink slightly over time with repeated heat exposure. A quick annual check and touch-up keeps moisture and grease from sneaking underneath your tiles.
Inspect corners and edges seasonally. Corners take the most physical abuse from reaching hands and swinging pot handles. Catching a lifted corner early means a quick fix instead of a full tile replacement.
Design Inspiration to Pair With Your New Backsplash
Once your heat-tolerant foundation is sorted, it is time for the fun part: choosing a design that complements your kitchen’s personality.
Classic subway look. White or cream brick-pattern tiles remain timeless and pair beautifully with both farmhouse and modern kitchens. They also tend to hide minor seam lines well, which is a bonus near the stove.
Moroccan-inspired patterns. Bold geometric tiles add personality without requiring a full renovation budget. Many of these patterned options now come in genuinely heat resistant tiles formulations, so you do not have to sacrifice style for safety.
Faux marble and stone finishes. High-resolution printing technology has made faux stone peel-and-stick tiles nearly indistinguishable from the real thing, offering an upscale look at a fraction of the cost and installation time.
Textured metallic accents. A hammered copper or brushed brass look adds warmth and a touch of glamour, and metal-based materials happen to be among the most naturally heat-tolerant options on the market.
Whatever aesthetic you choose, confirming the heat rating first ensures your design choice will actually survive daily cooking, not just look good in photos on day one.
Common Mistakes to Avoid With Peel-and-Stick Backsplash Hacks
Even with the best intentions, a few recurring mistakes trip up otherwise careful DIYers. Avoiding these will save you time, money, and frustration.
Installing directly over textured or glossy paint. Heavily textured walls prevent full adhesive contact, while high-gloss paint can be too slick for tiles to grip properly. Both situations lead to early lifting.
Placing tiles too close to an open flame. Gas range users should maintain the manufacturer-recommended clearance, typically a few inches above the grates, since direct flame contact exceeds what any peel-and-stick product can handle.
Skipping the primer on bare drywall. Unfinished or newly patched drywall is porous and dusty, which weakens adhesive bonds significantly. A simple coat of primer creates a smoother, more reliable surface.
Ignoring the manufacturer’s heat clearance guidelines. Every reputable brand publishes a minimum distance from heat sources. Treat this number as a hard rule, not a suggestion, especially when experimenting with creative peel-and-stick backsplash hacks you found online.
For broader guidance on kitchen surface safety and material durability standards, the Better Homes & Gardens kitchen design resource center offers excellent additional context on choosing materials that balance style with everyday function.
By sidestepping these common pitfalls, you set yourself up for a backsplash that performs as beautifully in year three as it did on installation day.
Final Thoughts on Building a Heat-Smart Kitchen Wall
Transforming your kitchen with confidence comes down to combining the right materials with the right technique. The smartest peel-and-stick backsplash hacks are not shortcuts that cut corners, they are thoughtful strategies that respect how real kitchens actually function.
Start with genuinely heat resistant tiles, reinforce your kitchen wall adhesive in the hottest zones, and seal every seam like your kitchen depends on it, because in many ways, it does. Whether you need a rental friendly backsplash that disappears without a trace when you move out, or a permanent upgrade built to last for years, the strategies in this guide give you a reliable, repeatable path to success.
With a little patience and the right prep work, your new backsplash will handle everything from a gentle simmer to a roaring stir-fry session, all while looking like a designer feature that has always belonged in your kitchen.