
If your tile floors look dull, hazy, or streaked with stubborn grime no matter how often you mop, you are not alone. The real culprit usually hides in the grout lines, and the good news is that a handful of clever steam mop hacks can transform even the dingiest floor into a showroom-worthy surface. Steam mops harness the power of superheated vapor to break down grease, bacteria, and mineral buildup without soaking your subfloor or leaving chemical residue behind. In this guide, we are unpacking five revolutionary techniques that homeowners swear by, along with practical tips for sanitizing tile floors, tackling grout cleaning hacks, and mastering high heat floor care for every room in your house.
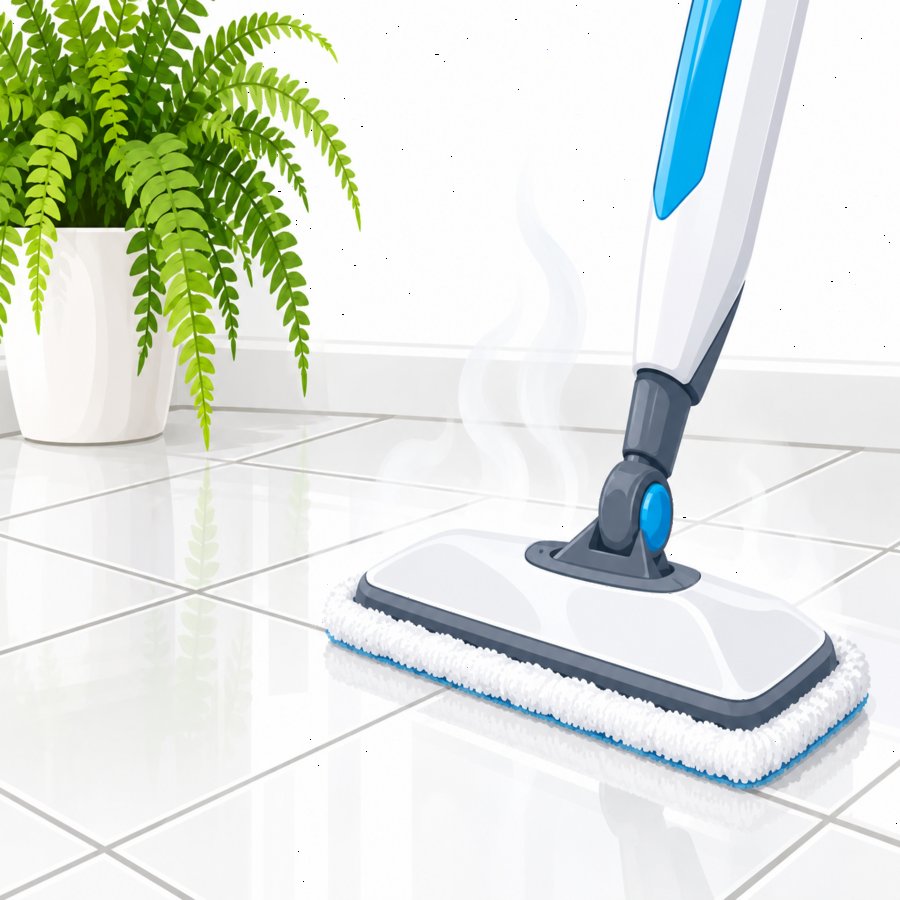
Before we dive into the hacks themselves, it helps to understand why steam works so well on tile and grout in the first place. Traditional mopping pushes dirty water around the surface and often leaves grout lines wetter and grimier than before.
Steam, on the other hand, penetrates porous grout at a molecular level, loosening grease and mineral deposits that have been baked in by foot traffic and time. This is precisely why steam mop hacks have become the go-to solution for homeowners who want deep cleaning without harsh scrubbing or toxic fumes.
Why Steam Mop Hacks Outperform Traditional Grout Cleaning Methods
Grout is essentially a sponge made of sand, cement, and water, which means it absorbs everything that touches it, from spilled coffee to muddy paw prints. Scrubbing with a brush and chemical cleaner can lighten the surface, but it rarely reaches the deeper layers where bacteria and mold tend to colonize.
Steam changes the equation entirely because water vapor at 200 to 300 degrees Fahrenheit expands into tiny crevices that a brush simply cannot access. This is the foundation of effective grout cleaning hacks , and it explains why professional cleaning crews have relied on commercial steam units for decades.
Another major advantage is that steam requires little to no detergent, which makes it a safer choice for households with children, pets, or anyone sensitive to chemical odors. Sanitizing tile floors with heat alone also reduces the environmental footprint of your weekly cleaning routine, since you are not pouring bottles of bleach-based solution down the drain.
Perhaps most importantly, steam mops are remarkably efficient with time. A single pass can accomplish what used to take twenty minutes of kneeling and scrubbing, which is why so many busy homeowners are turning to steam mop hacks as their new weekend ritual.
Hack One: The Slow Pass Technique for Deep Grout Penetration
The single most common mistake people make with a steam mop is moving it too quickly across the floor, as if they were vacuuming carpet. Grout needs sustained heat exposure to loosen the grime trapped within its texture, so speed is actually your enemy here.
Instead, hover the steam head directly over each grout line for three to five seconds before gliding forward. This slow pass technique is one of the simplest yet most effective steam mop hacks because it gives the vapor time to actually soften buildup rather than just dampening the surface.
For particularly dark or discolored grout, try a figure-eight motion directly over the trouble spots. This overlapping pattern increases dwell time without requiring you to stop and restart the machine, keeping your workflow smooth and efficient.
Follow the slow pass with a dry microfiber pad attachment to lift the loosened debris immediately. Skipping this step often means the dirt simply resettles into the grout once the moisture evaporates, undoing much of your hard work.
Hack Two: Pairing a Grout Brush Attachment With High Heat Floor Care
Most modern steam mops come with interchangeable heads, and the small triangular grout brush attachment is arguably the most underused accessory in the box. This narrow nozzle concentrates steam into a tighter stream, which dramatically boosts cleaning power along narrow seams.
Combining this attachment with proper high heat floor care settings is essential, since not every tile type can handle maximum temperature. Porcelain and ceramic tiles generally tolerate high heat beautifully, but natural stone like marble or travertine may require a lower setting to avoid etching.
Always check your steam mop manual for the recommended temperature range for your specific flooring material. Running the unit on its highest setting without verifying compatibility is a shortcut that can backfire into dulled or damaged tile.
When using the grout brush head, work in short back-and-forth strokes along a single line rather than dragging it diagonally across multiple seams. This keeps the concentrated heat focused exactly where grime has accumulated most stubbornly.
For an extra layer of brightness, homeowners styling an open-concept living space often extend their cleaning overhaul into adjacent decor choices; if you are refreshing a hallway or entryway alongside your flooring, it is worth reviewing these common gallery wall design mistakes to avoid so your newly spotless tile is matched by equally polished wall decor nearby.
Hack Three: The Vinegar Pre-Treatment Boost
While steam alone handles most everyday grime, truly neglected grout sometimes needs a chemical nudge before you bring out the mop. A light pre-treatment with diluted white vinegar can dissolve mineral deposits and make the subsequent steam pass far more effective.
Mix one part white vinegar with two parts warm water in a spray bottle, then mist it directly onto the grout lines. Let it sit for five to ten minutes so the mild acid has time to break the bonds holding dirt in place.
Once the vinegar has worked its magic, go over the area with your steam mop as usual. This two-step combination is among the most requested grout cleaning hacks in online home improvement communities because it tackles both chemical and thermal breakdown simultaneously.
A word of caution: never use vinegar on natural stone tile, since the acidity can etch and permanently dull surfaces like marble, limestone, or travertine. This pre-treatment is best reserved for ceramic and porcelain tile only.
For stone flooring, substitute a pH-neutral stone cleaner in place of vinegar, then proceed with your steam mop exactly as you would on any other surface. The heat will still lift grime effectively without risking damage to delicate stone.
Hack Four: Baking Soda Paste for Extreme Grout Stains
Some stains, like old grease splatters near the stove or years of accumulated foot traffic grime near entryways, resist even vinegar and steam alone. For these extreme cases, a baking soda paste provides the gentle abrasion needed without scratching your tile.
Combine baking soda with just enough water to form a thick paste, then apply it directly along the stained grout lines using an old toothbrush. Allow it to sit for fifteen to twenty minutes before steaming.
The steam will reactivate the baking soda, creating a gentle fizzing action that lifts even the most ground-in discoloration. This is one of the more satisfying steam mop hacks to witness firsthand, since the transformation often happens within seconds.
After steaming, wipe the area with a clean microfiber cloth to remove any remaining paste residue. Repeat on particularly stubborn sections, but avoid doing this more than once a week since frequent abrasive treatments can gradually wear down grout sealant.
If your grout was sealed within the past year, you may notice this method requires less effort overall, since sealant prevents stains from penetrating as deeply in the first place. Resealing grout annually is one of the easiest ways to keep future cleaning sessions shorter and simpler.
Hack Five: Sanitizing Tile Floors in High-Traffic and High-Moisture Zones
Kitchens, bathrooms, and mudrooms endure a different kind of grime than the rest of the house, often involving moisture, bacteria, and organic residue that standard cleaning overlooks. Sanitizing tile floors in these zones requires a slightly different steam mop approach than your living room or hallway.
In bathrooms, focus extra steam time around the base of the toilet, shower threshold, and any corners where moisture tends to linger. These areas are prime real estate for mold and mildew, and the high temperature of steam effectively kills most common household bacteria and fungal spores on contact.
In kitchens, pay special attention to the areas directly in front of the sink and stove, where grease aerosolizes during cooking and settles into nearby grout over time. A slow, deliberate steam pass here pairs perfectly with the vinegar pre-treatment mentioned earlier for maximum grease-cutting power.
Mudrooms and entryways benefit from a slightly different rhythm, since dirt here tends to be dry and gritty rather than greasy. A quick dry sweep before steaming prevents you from simply smearing grit into the grout, which can happen if you steam over a dusty floor without pre-sweeping.
For households with pets, consider steaming high-traffic zones twice weekly rather than the typical once-a-week schedule most homes follow. According to cleaning guidance published by Better Homes & Gardens, consistent light-duty cleaning routines are generally more effective at preventing deep grime buildup than infrequent deep cleans alone.
Maintaining Your Steam Mop for Long-Term Grout Care Success
Even the best steam mop hacks will fall flat if your machine itself is poorly maintained. Mineral buildup inside the water tank and heating element can reduce steam output significantly over time, especially in homes with hard water.
To prevent this, use distilled water instead of tap water whenever possible, particularly if your local water supply has a high mineral content. This simple swap can double the lifespan of your steam mop’s internal components.
Descale your unit once a month by running a mixture of equal parts water and white vinegar through the tank, following your manufacturer’s specific instructions. Skipping this maintenance step is one of the most common reasons steam mops lose power within the first year of ownership.
Replace microfiber pads regularly, since worn-out pads lose their ability to trap dirt effectively and can actually drag grime back across your freshly steamed floor. Most manufacturers recommend replacing pads every three to six months depending on usage frequency.
Finally, always empty and dry the water tank completely after each use rather than leaving residual water sitting inside the reservoir. This small habit prevents mold growth inside the machine itself, which defeats the entire purpose of using steam for sanitation in the first place.
Common Mistakes That Undermine Even the Best Steam Mop Hacks
One frequent error is steaming over visibly dirty floors without sweeping or vacuuming first. Loose debris simply gets pushed around rather than lifted away, and in some cases it can scratch delicate tile glazing as the mop head drags it across the surface.
Another misstep is assuming all steam mops are safe for all flooring types. Unsealed grout, certain laminate products, and some engineered wood floors can warp or discolor under sustained heat exposure, so always verify compatibility before your first use.
Overloading the water tank or using the wrong attachment for the job can also limit your results. A flat mop head works wonderfully for open floor space, but it simply cannot reach into grout lines the way a dedicated grout nozzle can.
Lastly, many homeowners rush the drying stage, walking across freshly steamed tile before it has had a chance to air dry or be buffed with a dry cloth. This can leave faint water spots or streaks, particularly on darker grout, undoing some of the visual payoff from your cleaning session.
Building a Sustainable Steam Cleaning Routine for Every Room
Consistency matters more than intensity when it comes to tile and grout maintenance. A quick fifteen-minute steam session twice a week will generally outperform an exhausting two-hour deep clean attempted only once a season.
Consider creating a simple rotation schedule, steaming kitchens and bathrooms weekly while reserving less-trafficked areas like guest rooms or formal dining spaces for a biweekly pass. This approach keeps your overall workload manageable while still catching grime before it sets in permanently.
Seasonal changes also affect how often you should reach for your steam mop. Winter months often bring more salt and sand indoors on shoes, while spring and summer introduce pollen and outdoor dirt, both of which settle readily into grout lines if left unaddressed.
Gardeners and outdoor enthusiasts in particular benefit from an entryway steam routine, since soil and plant debris tracked in from backyard beds can be surprisingly abrasive on tile over time. A dedicated boot removal station near the door paired with regular steaming keeps this problem largely under control.
Ultimately, the most successful steam mop hacks are the ones that fit naturally into your existing cleaning habits rather than requiring a complete overhaul of your schedule. Small, consistent efforts compound into dramatically cleaner floors over just a few short weeks.
With these five techniques in your cleaning arsenal, dull and grimy grout no longer has to be an unavoidable part of homeownership. From the slow pass technique to proper high heat floor care and routine machine maintenance, you now have a complete toolkit for restoring your tile to its original brightness and keeping it that way for years to come.