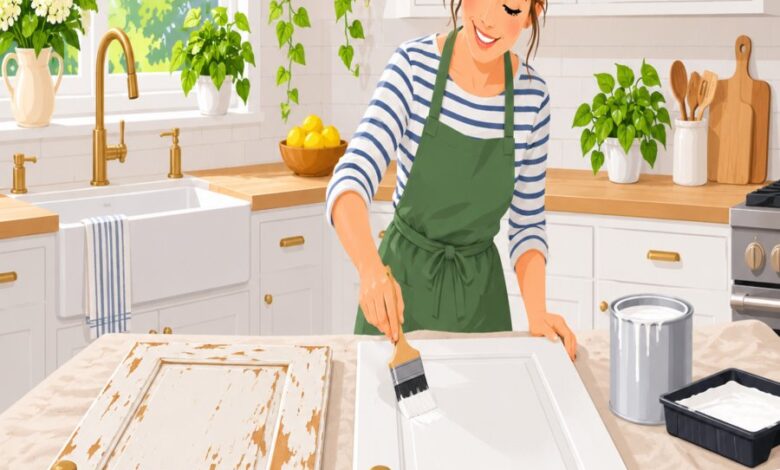
There is nothing quite as deflating as stepping back from a weekend-long cabinet painting project only to watch the finish crack and lift weeks later. Most kitchen cabinet painting blunders are not about the paint brand you chose, but about the steps you skipped before the lid ever came off the can. If your once-smooth doors are now shedding paint chips like autumn leaves, you are dealing with a preventable problem, not a defective product.
This guide walks through exactly why enamel peels, flakes, and bubbles on kitchen cabinetry, and how to fix it permanently with the right prep, primer, and application technique.
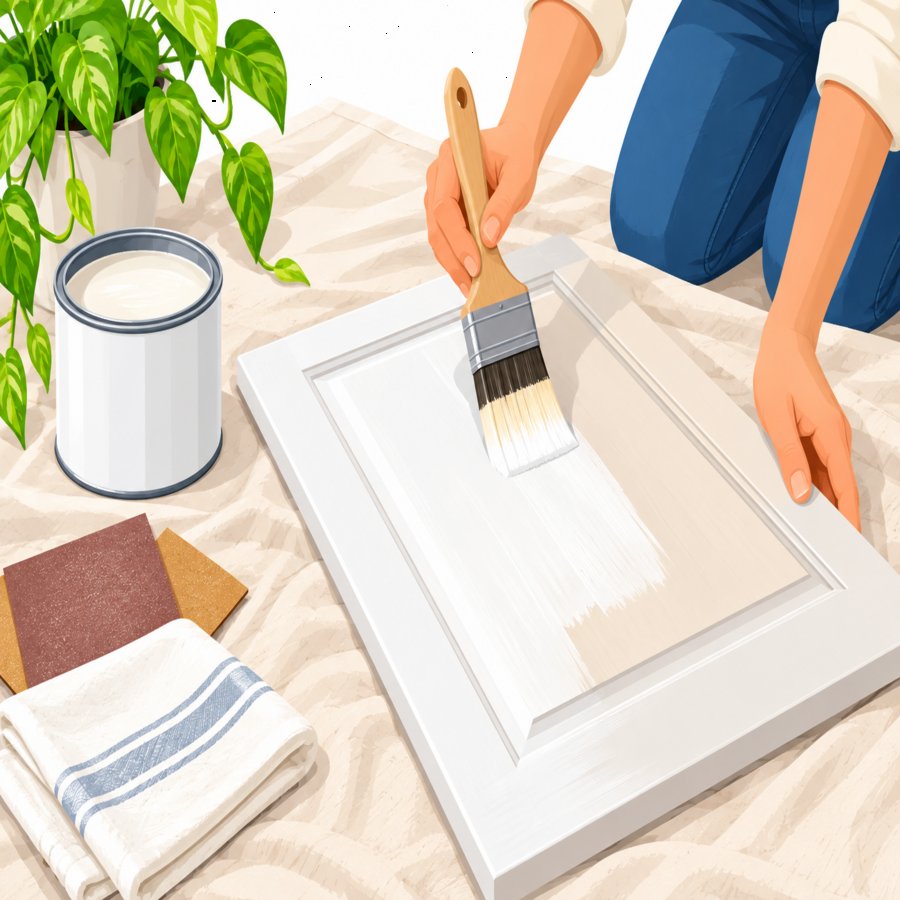
Essential Guide to kitchen cabinet painting blunders
Why Flaking Enamel Is the Most Common Kitchen Cabinet Painting Blunder
Flaking enamel almost always comes down to one issue: adhesion failure. Paint needs a slightly rough, clean, and chemically receptive surface to bond to, and kitchen cabinets rarely offer that naturally.
Factory-finished cabinet doors are typically coated in a slick lacquer or polyurethane that repels new paint unless it is properly roughed up and primed first. Skip that step, and you have set the stage for failure before you even opened the paint can.
The heat and humidity factor. Kitchens are uniquely hostile environments for paint. Steam from boiling pots, grease splatter from the stovetop, and temperature swings near the oven all stress a painted surface daily, which is why so many kitchen cabinet painting blunders only reveal themselves months after the project looked perfect.
Understanding this helps reframe the whole project. You are not just painting a door, you are building a layered system that has to survive steam, grease, and daily hand contact for years.
Skipping Degreasing: The Hidden Cause of Peeling Cabinet Paint
If you only remember one lesson from this article, make it this one. Invisible grease film is the number one reason behind peeling cabinet paint, and it is almost always overlooked.
Every time you cook, a fine mist of airborne grease settles on cabinet surfaces, even ones nowhere near the stove. This film feels dry to the touch, but it creates a barrier that paint simply cannot grip.
How to properly degrease before painting. Wipe every surface with a trisodium phosphate (TSP) solution or a dedicated degreasing cleaner, working in small sections and rinsing with clean water as you go. Follow with a second pass using a lint-free cloth dampened only with water to remove residue.
Let the wood dry completely, which usually takes a few hours in a well-ventilated kitchen. Painting over even slightly damp or residue-coated wood is one of the fastest routes to premature chipping.
Interestingly, grease and grime buildup is not unique to cabinetry. If you have ever dealt with musty odors or residue inside your laundry appliance, you will recognize the same principle at play in our breakdown of common washing machine cleaning mistakes homeowners make, where skipped maintenance steps quietly cause bigger problems down the line.
Choosing the Wrong Cabinet Degreasing Primer
Primer is not optional on kitchen cabinets, and it is not a place to grab whatever is cheapest on the shelf. A proper cabinet degreasing primer does two jobs at once: it chemically bonds to glossy or grease-prone surfaces and it seals in stains, tannins, and residual odors before they bleed through your topcoat.
Standard wall primers are formulated for drywall, not for slick factory finishes, and using one on cabinetry is a classic mistake that leads to early peeling.
What to look for in a cabinet primer. Choose a bonding primer specifically labeled for cabinets, trim, or high-gloss surfaces. Shellac-based and oil-based bonding primers excel at adhering to laminate, melamine, and previously varnished wood, while also blocking grease and tannin bleed-through from oak or cherry.
Apply primer in thin, even coats rather than one thick layer. Thick primer coats take longer to cure fully and are more prone to cracking once the topcoat is applied, which defeats the purpose of using a quality product in the first place.
Give primer a full 24 hours to cure in a dry, ventilated space before sanding lightly and moving on to your enamel topcoat. Rushing this stage is one of the most common kitchen cabinet painting blunders amateur DIYers make when they are eager to see the finished result.
Surface Prep Mistakes That Guarantee a Flaking Finish
Beyond degreasing, there is a whole sequence of prep steps that get rushed or skipped entirely, and each one chips away at your paint job’s lifespan, quite literally.
Sanding too little, or not at all. Glossy factory finishes need to be scuffed with 150 to 220-grit sandpaper to create “tooth” for primer to grip. Skipping sanding because the surface “looks clean” is a top contributor to adhesion failure.
Leaving sanding dust behind. Fine dust left in wood grain acts as a barrier layer, exactly like grease does. Vacuum thoroughly, then wipe with a tack cloth before any primer touches the wood.
Painting over damaged or swollen wood. Water damage near the sink or dishwasher softens wood fibers, and paint applied over compromised wood will flake no matter how good your technique is. Address moisture damage and let wood fully dry before painting.
Not removing hardware first. Painting around hinges and knobs traps moisture and grime underneath, creating weak points where enamel lifts first. Always remove all hardware and label pieces in labeled bags before you start.
For additional guidance on surface preparation standards that apply broadly to painted wood furniture and trim, the Better Homes & Gardens painting resource library offers reliable, tested techniques worth cross-referencing before you begin.
Application Errors That Lead to Peeling Cabinet Paint
Even with flawless prep, how you apply the paint itself determines whether you get a durable finish or one that chips at the first bump from a casserole dish.
Painting in the wrong temperature or humidity. Enamel paint needs stable conditions, generally between 50 and 85 degrees Fahrenheit with moderate humidity, to cure correctly. Painting in a cold garage or a steamy kitchen slows curing and weakens the paint film’s internal bond.
Applying coats too thickly. It is tempting to apply a heavy coat to get full coverage in one pass, but thick paint skins over on top while staying wet underneath. That trapped moisture eventually causes cracking and peeling as the layers cure unevenly.
Not allowing enough time between coats. Rushing a second coat onto a tacky first coat is one of the most frequent kitchen cabinet painting blunders, since it prevents proper intercoat adhesion. Always check the manufacturer’s recoat window, typically listed directly on the can.
Rehanging doors before full cure. Paint can feel dry to the touch within hours but may need up to three weeks to fully cure and harden. Hanging doors and slamming cabinets shut before that cure time is complete is a near-guaranteed path to chips around the edges and hinges.
How to Achieve a Smooth Cabinet Finish Every Time
A truly professional-looking smooth cabinet finish is less about talent and more about method. These are the techniques that separate a Pinterest-worthy result from a streaky, uneven one.
Use a sprayer or a quality synthetic brush. Fine-bristle synthetic brushes or an airless sprayer minimize brush strokes far better than standard bristle brushes. If spraying, practice on cardboard first to dial in your technique and avoid drips.
Thin the paint slightly when needed. A small amount of flow-enhancing additive, following label instructions, helps self-leveling enamels settle smooth and reduces visible brush marks without compromising durability.
Sand lightly between coats. Using a fine 320-grit sanding sponge between dried coats knocks down dust nibs and raised grain, giving each subsequent layer a smoother surface to adhere to.
Work in a dust-free, well-lit space. Lay doors flat on a drop cloth away from foot traffic, fans, and pets. Dust and hair landing in wet enamel is a cosmetic flaw, but it also creates texture that invites chipping at that spot later.
Finish with a protective topcoat where appropriate. A clear polyurethane or catalyzed topcoat over enamel adds a layer of defense against daily wear near handles and edges, extending the life of your paint job significantly.
Fixing Existing Flaking Enamel Without a Full Repaint
If you are already dealing with chips and flakes, the good news is that a full strip-down is not always necessary. Spot repairs, done correctly, can blend seamlessly into the existing finish.
Scrape and feather the edges. Use a plastic scraper to remove all loose, flaking paint, then sand the edges of the remaining sound paint so the transition is gradual rather than a hard ridge.
Re-degrease and re-prime the bare spot. Even a small repair area needs the same degreasing and priming treatment as the full project. Skipping this on a “quick touch-up” is how the same flaking returns within weeks.
Match sheen, not just color. A perfectly color-matched touch-up can still look obvious if the sheen level differs. Satin and semi-gloss enamels reflect light very differently, so test on an inconspicuous spot first.
If flaking covers more than roughly a quarter of a door’s surface, patch repairs tend to look patchy and uneven over time, so a full strip and repaint is the more durable long-term investment.
Long-Term Maintenance to Keep Your Cabinet Paint Job Intact
Even a flawless paint job needs ongoing care to stay chip-free for years. A little routine maintenance goes a long way toward protecting your investment of time and materials.
Wipe with gentle, pH-neutral cleaners. Harsh degreasers and abrasive scrub pads used for regular cleaning can slowly erode enamel over time. A soft microfiber cloth with a mild dish soap solution is usually sufficient for daily grime.
Address spills and splatters promptly. Acidic foods like tomato sauce or citrus juice can soften enamel if left to sit, so wiping cabinets near the stove and sink regularly prevents slow chemical degradation of the finish.
Install soft-close bumpers. The repeated impact of doors slamming shut is a surprisingly common cause of chipping at the edges. Small adhesive bumpers absorb that shock and protect your paint at the most vulnerable points.
Taking these precautions seriously is what separates homeowners who repaint their cabinets once a decade from those who find themselves correcting the same kitchen cabinet painting blunders every couple of years. For additional seasonal home maintenance tips that protect painted surfaces indoors and out, resources like the Old Farmer’s Almanac home care guides are a useful reference point throughout the year.
Ultimately, avoiding flaking enamel comes down to respecting the process: degrease thoroughly, prime with the right product, apply thin even coats, and give every layer the time it needs to cure. Do that consistently, and your cabinets will reward you with a finish that looks freshly painted for years rather than months.